Devices


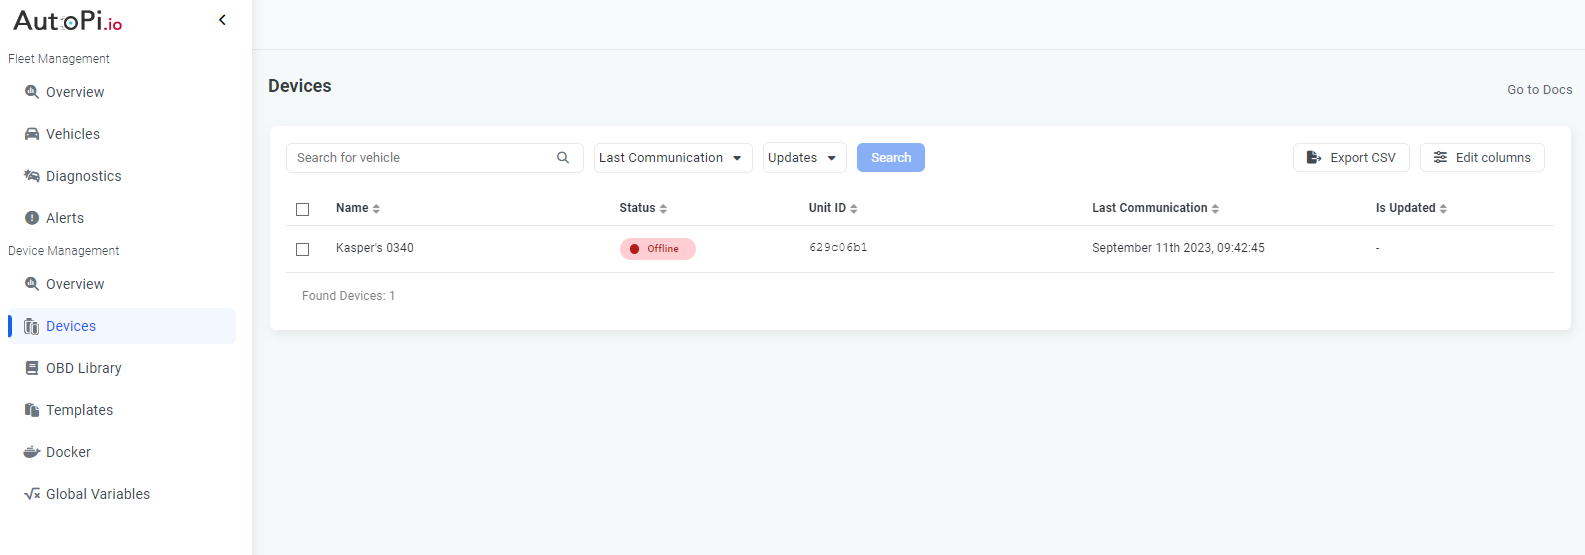
Devices List
The Devices List provides a table view of all your devices, including key details such as device name, unit ID, last communication timestamp, and more.
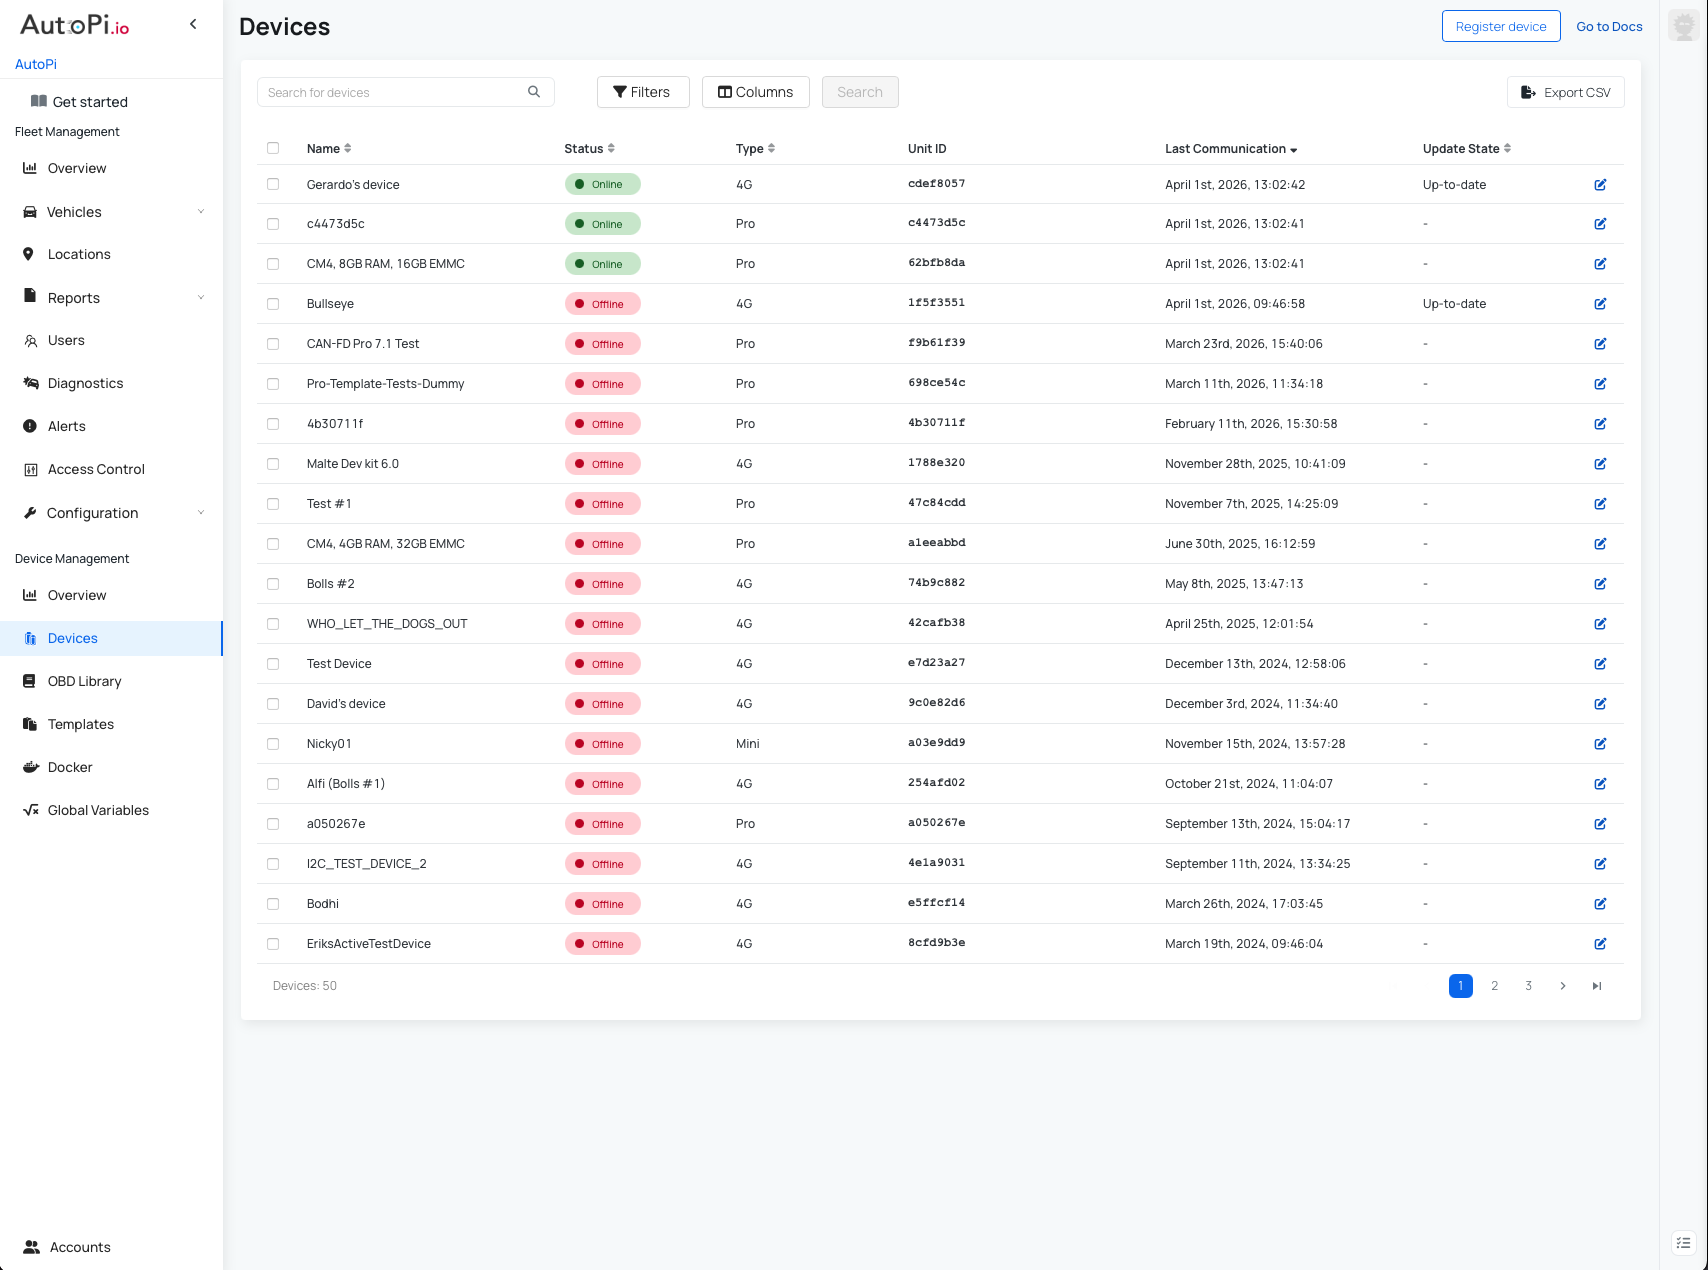
Search and Filter Devices
To quickly find a specific device:
- Use the Search for Vehicle field at the top of the page.
- Use Filters to refine the list based on specific criteria.
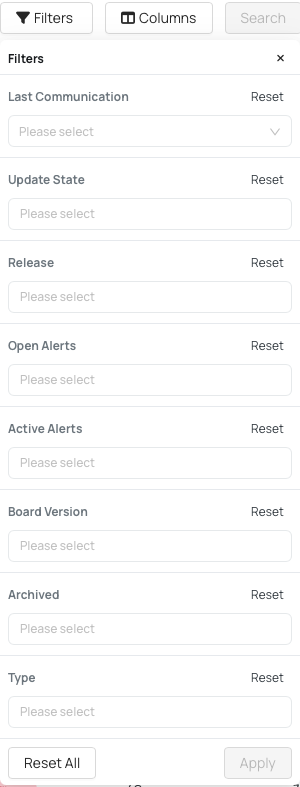
Available Filters:
- Last Communication – online now, last 15 minutes, last hour, today, last 7 days, last 30 days.
- Update State – up-to-date, awaiting update, update failed.
- Release – filter by software release.
- Open Alerts – filter by severity (low, medium, high, critical).
- Active Alerts – filter by specific active device alerts.
- Board Version – filter by device hardware version.
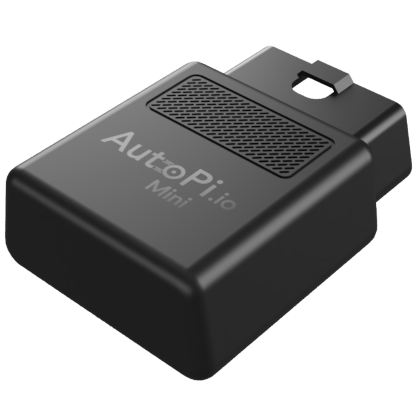
- Type – filter by device type: 4G - TMU CM4; Mini; Pro - CAN-FD Pro.
Customize Table View
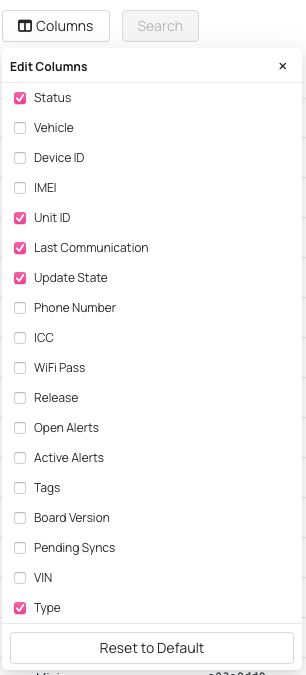
You can customize the table using Edit Columns to include additional details.
Available Columns:
- Status
- Vehicle
- Device ID
- IMEI
- UNIT ID
- Last Communication
- Update State
- Phone Number
- ICCID
- WiFi Password
- Release
- Open Alerts
- Tags
- Board Version
- Pending Syncs
- VIN
- Type.
Additional Actions
- Register Device – add a new device to your account.
- Go to Docs – open documentation for this page.
- Export CSV – export device data for reporting or sharing.

To view more details about a device, click on it to open the Device Overview page.
Device Overview
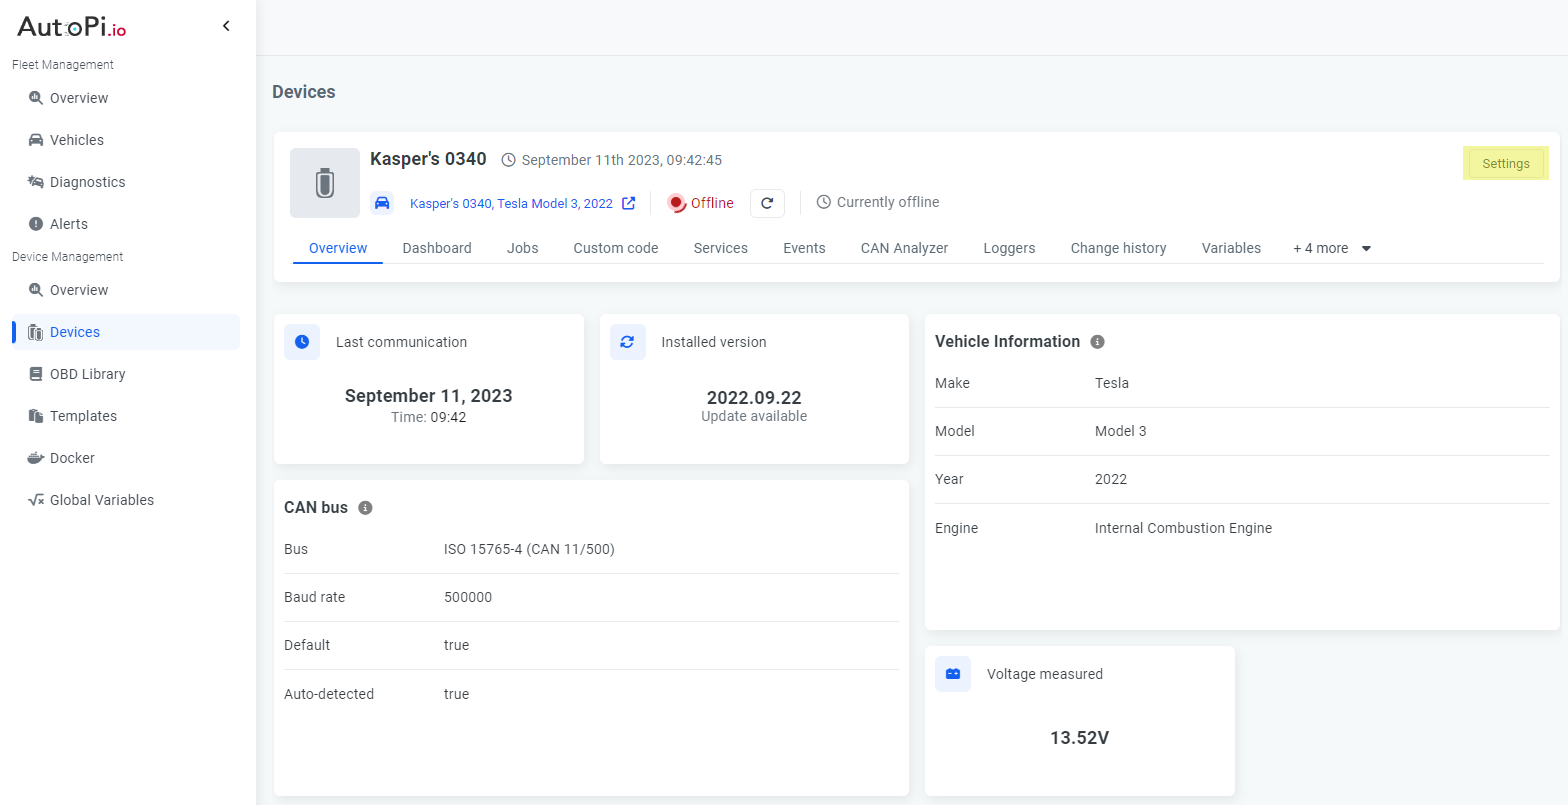
When you select a device from the list, you are redirected to its dedicated Device Overview page.
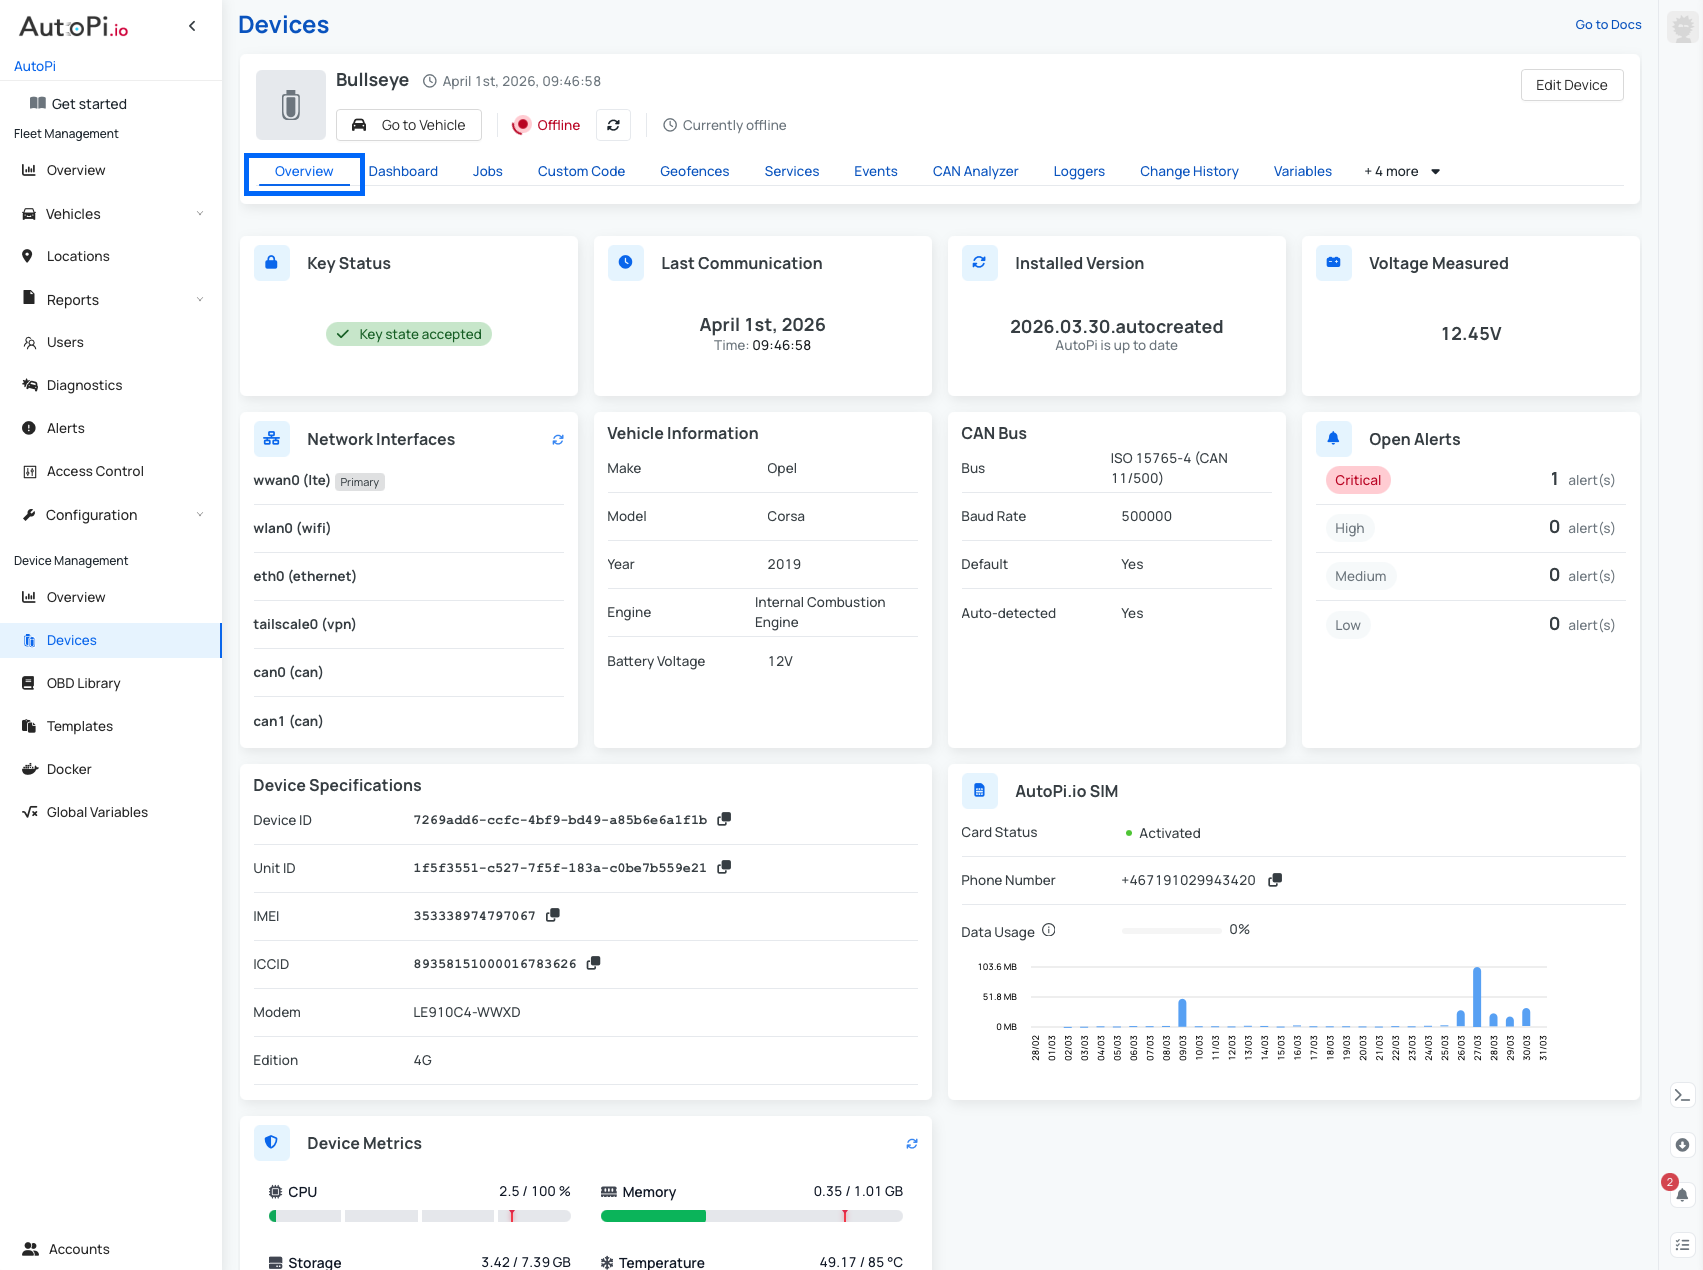
General Information
At the top of the page, you will find:
- Device name.
- Last communication timestamp.
- "Go to Vehicle" button (to view the associated vehicle).
- "Edit Device" option (top-right corner).

Other Available Tabs for Device
Each device includes multiple tabs for configuration and monitoring:
- Dashboard
- Jobs (not available for AutoPi Mini devices)
- Custom Code (not available for AutoPi Mini devices)
- Geofences (not available for AutoPi Mini devices)
- Services (not available for AutoPi Mini devices)
- Events
- CAN Analyzer (TMU CM4 only)
- Loggers / CAN Logging
- Change History
- Variables (not available for AutoPi Mini devices)
- Advanced Settings
- Triggers
- Alerts
- Software Updates
Overview Widgets
The Device Overview page includes several widgets that provide key insights:
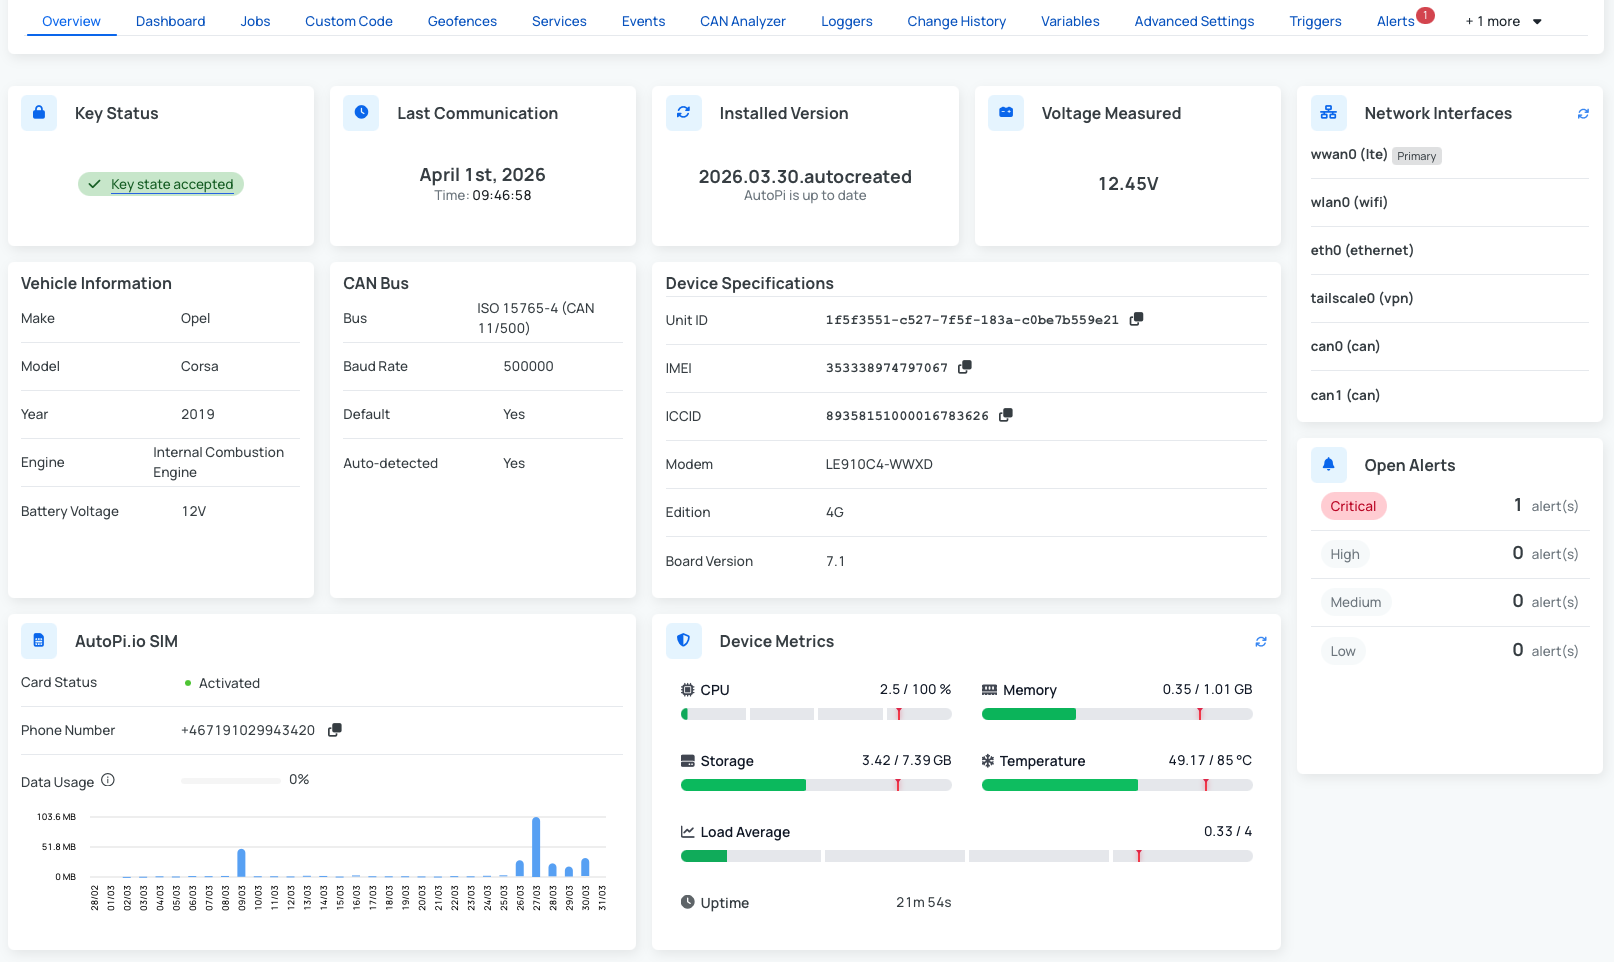
- Key Status - accepted/ denied.
- Last Communication - timestamp of the last time the device send data.
- Installed Version - backend installed version.
- Voltage Measured - the Voltage reading from the vehicle.
- Network Interfaces - basic information about network interfaces.
- Vehicle Information - Make, Model, Year, engine type.
- CAN Bus Configuration - CAN Bus protocol with Baud Rate.
- Open Alerts (by severity) - shows the count of open alerts.
- Device Specifications - information such as UNIT ID, Device ID, template, modem, board version.
- AutoPi.io SIM - if you purchased the AutoPi SIM you will be able to access: status, phone number and monthly data usage overview.
- Device Metrics - information about device metrics such as CPU, memory, storage..
These widgets provide a quick and comprehensive overview of your device’s status, configuration, and activity.
Connecting Your AutoPi Device to a Vehicle
Follow the steps below to connect your AutoPi device to either a new or existing vehicle.
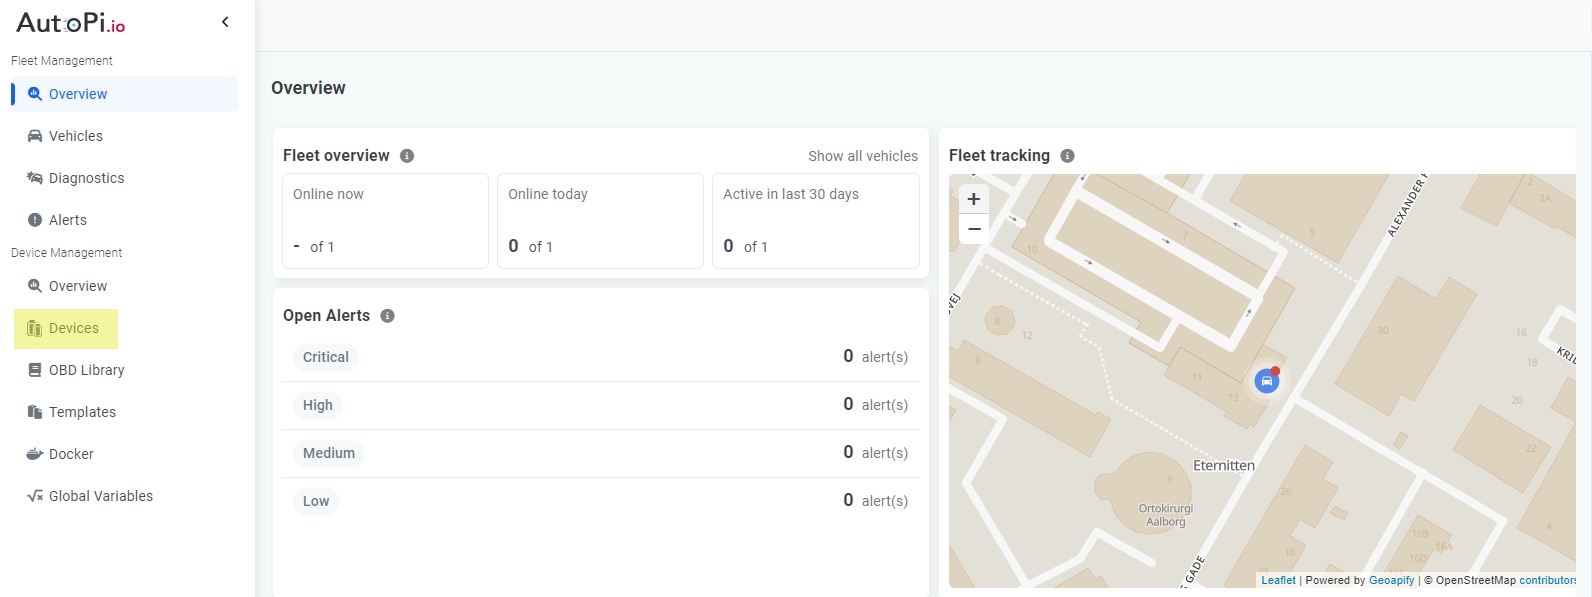
Step-by-Step Instructions
- Log in to the AutoPi Cloud Platform using your account credentials.
- From the main dashboard, go to the Devices tab.
- Select the device you want to configure.
- Click the Settings button in the upper-right corner.
Option A: Pair with a New Vehicle
If you haven't created a vehicle yet, follow these steps:
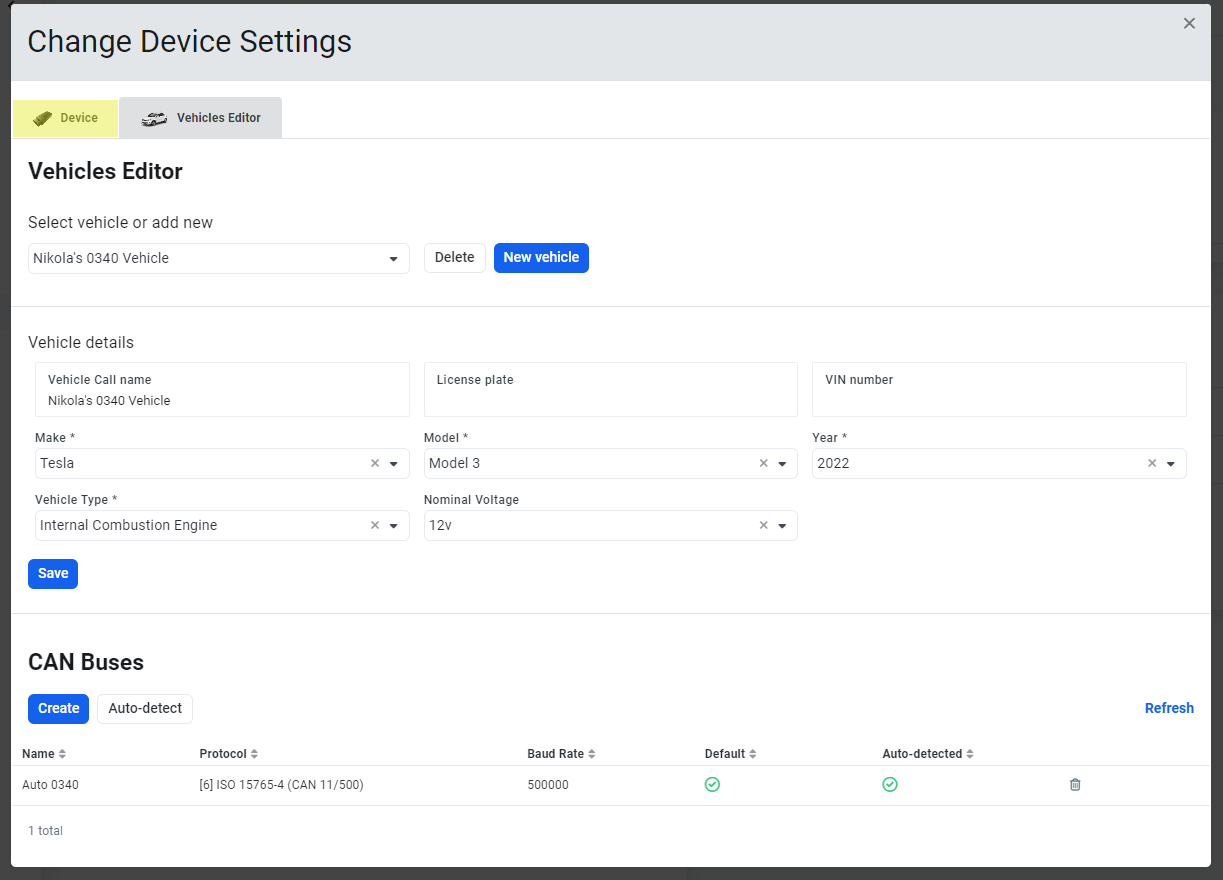
- In the settings pop-up, go to the Vehicles Editor tab.
- Click the New Vehicle button.
- Fill in the required vehicle details, such as:
- Make
- Model
- Year
- Vehicle type
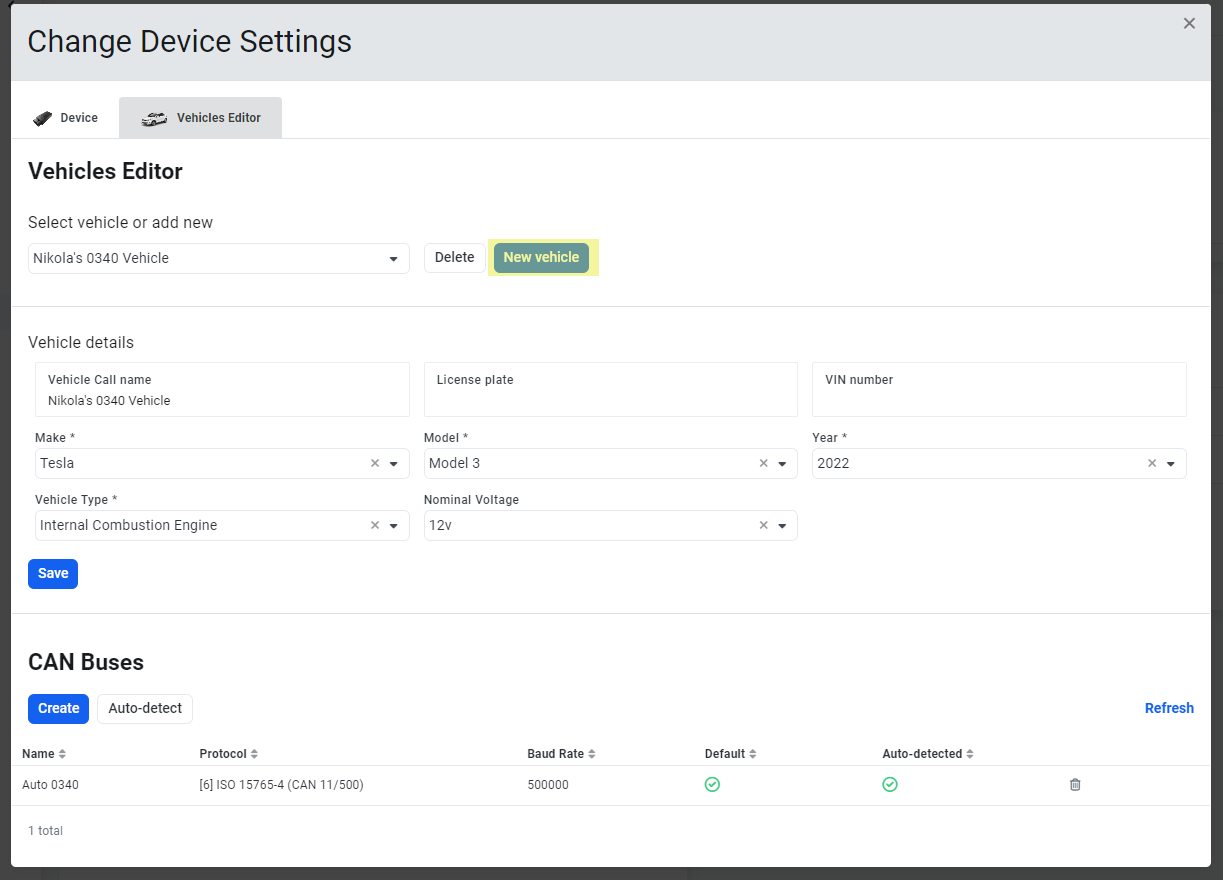
- (Optional) Set up CAN bus settings if applicable.
- Click Save to store the changes. Your AutoPi device is now paired with the new vehicle.
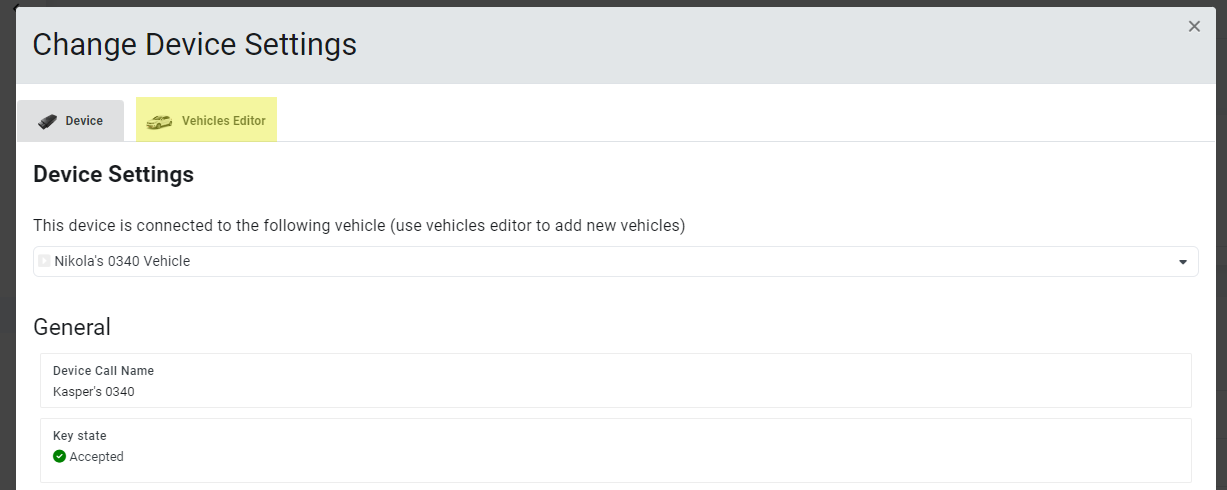
Option B: Connect to an Existing Vehicle
If a vehicle is already set up, follow these steps:
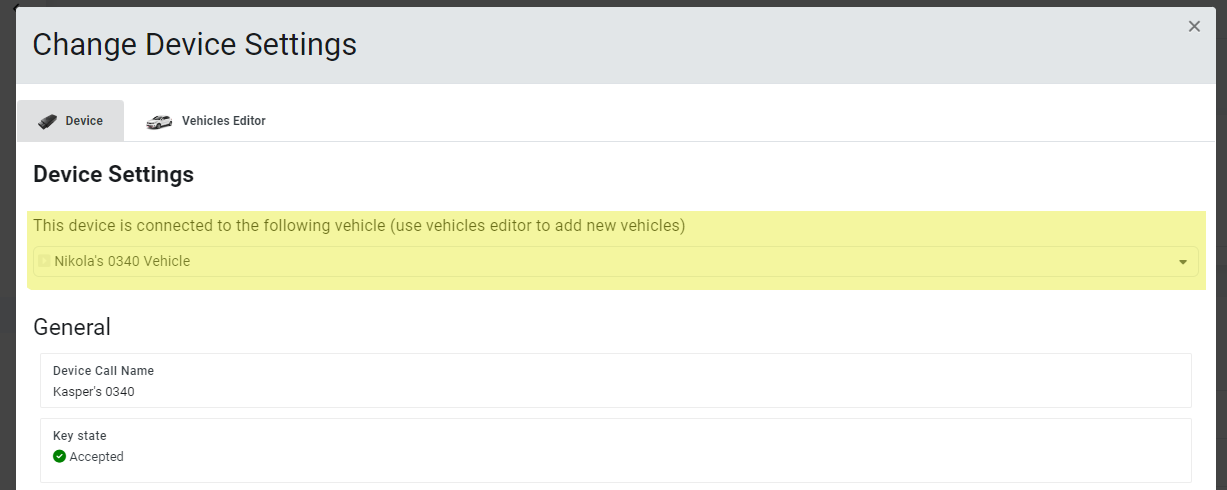
- In the settings pop-up, go to the Device tab.
- At the top of the device settings, there is a dropdown menu showing the currently connected vehicle.
- Click the dropdown to view a list of all existing vehicles. Select the one you want and click Save.
Your AutoPi device is now successfully paired with a vehicle and ready for use!
 Buy AutoPi device
 Compare all AutoPi devices
 Contact our sales team