How to SSH to Your Device
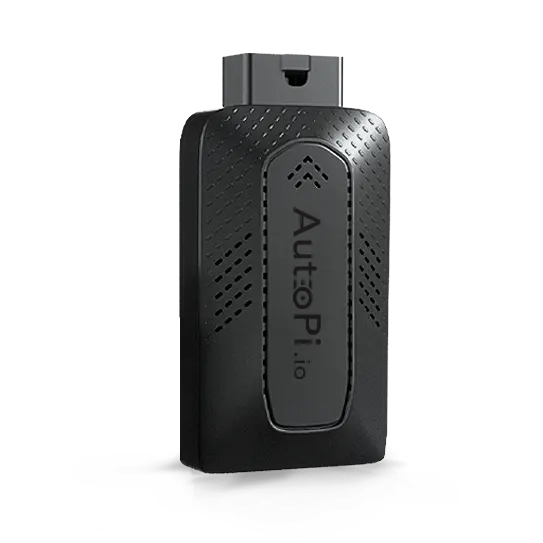
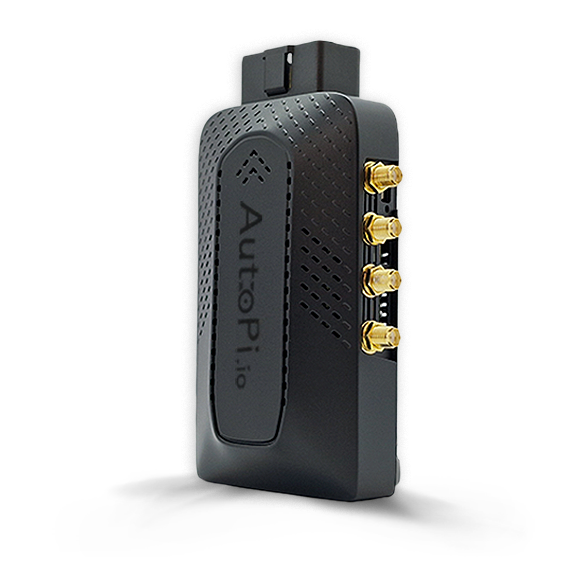
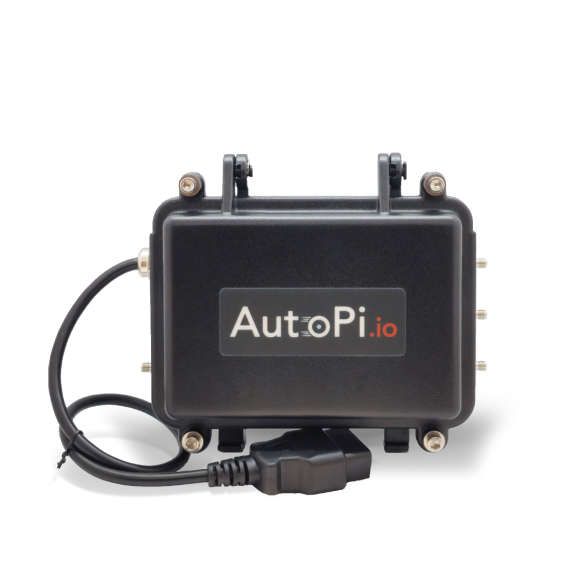
This guide will walk you through accessing your AutoPi device remotely using SSH (Secure Shell). You'll learn how to connect through multiple methods: device hotspot, local Wi-Fi network, Tailscale VPN, and WireGuard VPN. The guide covers SSH setup and connection procedures, file transfer using SCP, and executing AutoPi commands remotely from your terminal.
Connection methods covered:
- Device hotspot.
- Local Wi-Fi network.
- Tailscale VPN.
- WireGuard VPN.
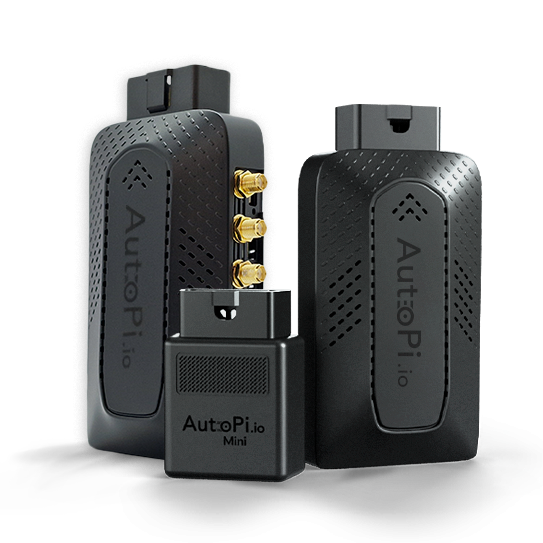
SSH access is not available for AutoPi Mini devices.
Connect to the Device's Hotspot
The simplest way to connect to your device is directly through its Wi-Fi hotspot.
Step 1: Connect to the Hotspot
Use the following credentials:
-
SSID:
AutoPi-XXXXXXXXXXXX(“AutoPi-” followed by the last 12 characters of your Unit ID). Unit ID is the unique ID on the side of your device. Alternatively, you can find your Unit ID by navigating to Devices > Select your device > Overview: Device specifications: Unit ID. -
Password: the first 13 characters of your Device ID, including dashes. You can find your Device ID either by navigating to Devices > Select your device > Overview: Device specifications; or in the documentation attached to your shipping email.
Additionally, you can access hotspot information directly from the AutoPi Cloud. To do this, navigate to Devices > Select Your Device > Advanced Settings > Wi-Fi. Here, you will find the Wi-Fi hotspot's password and SSID credentials.
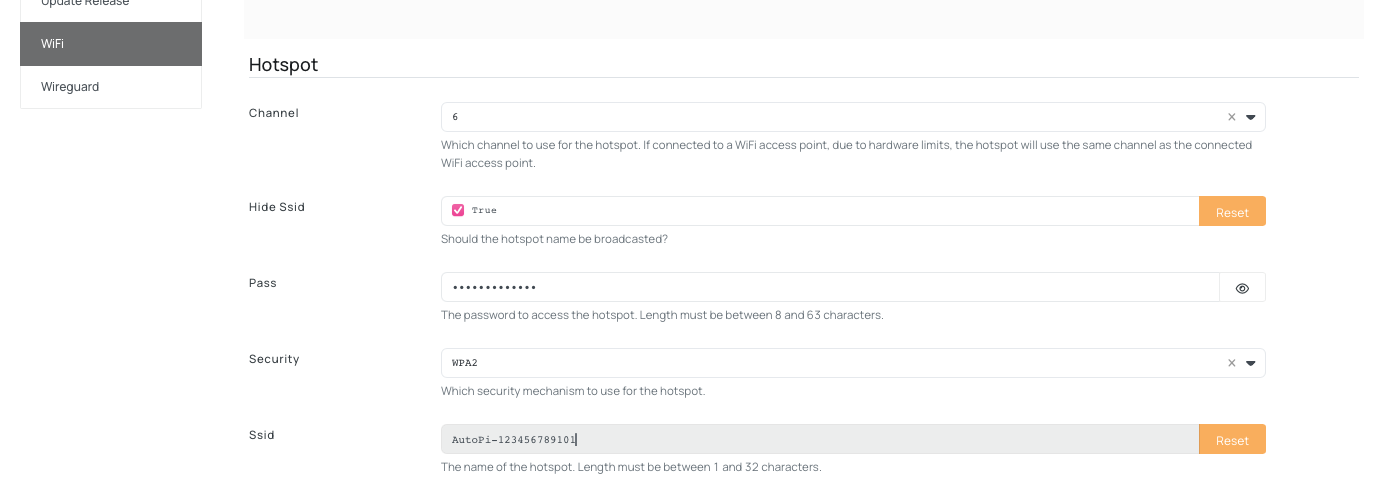
You can change the hotspot SSID and password in Advanced Settings → WiFi in the AutoPi Cloud.
Step 2: Connect via SSH
Once connected to the hotspot, open your SSH client and connect using the following details:
- Host:
local.autopi.io - User:
pi - Password:
- for devices with board versions earlier than 7.0 the password:
autopi2018. - for devices with board version 7.0 and newer the password: First 13 characters of the Device ID (including dash).
- for devices with board versions earlier than 7.0 the password:
Example:
ssh pi@local.autopi.io
Connect Through Your Home Wi-Fi
If your AutoPi device is connected to your local Wi-Fi network, you can also access it through SSH. By default, SSH access through Wi-Fi is disabled for security reasons, especially when using public networks.
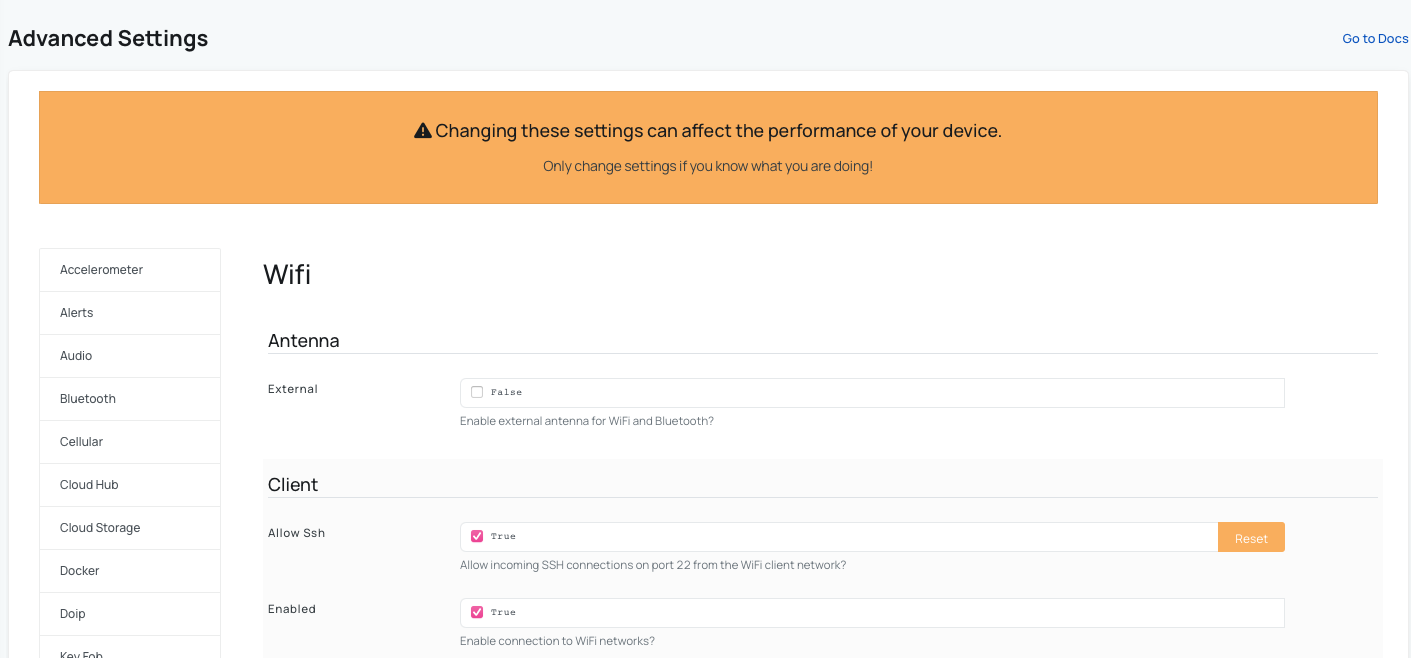
Enable SSH on Wi-Fi:
- Open AutoPi Cloud.
- Navigate to Device → Advanced Settings.
- Go to WiFi → Client.
- Enable Allow SSH.
- Once enabled, connect using the IP address assigned by your router.
Example:
ssh pi@192.168.1.50
Connect Using Tailscale
You can also use Tailscale for secure remote access to your AutoPi device from anywhere. If you want to read about the whole setup, check out this guide: How to connect to Tailscale on your Autopi device
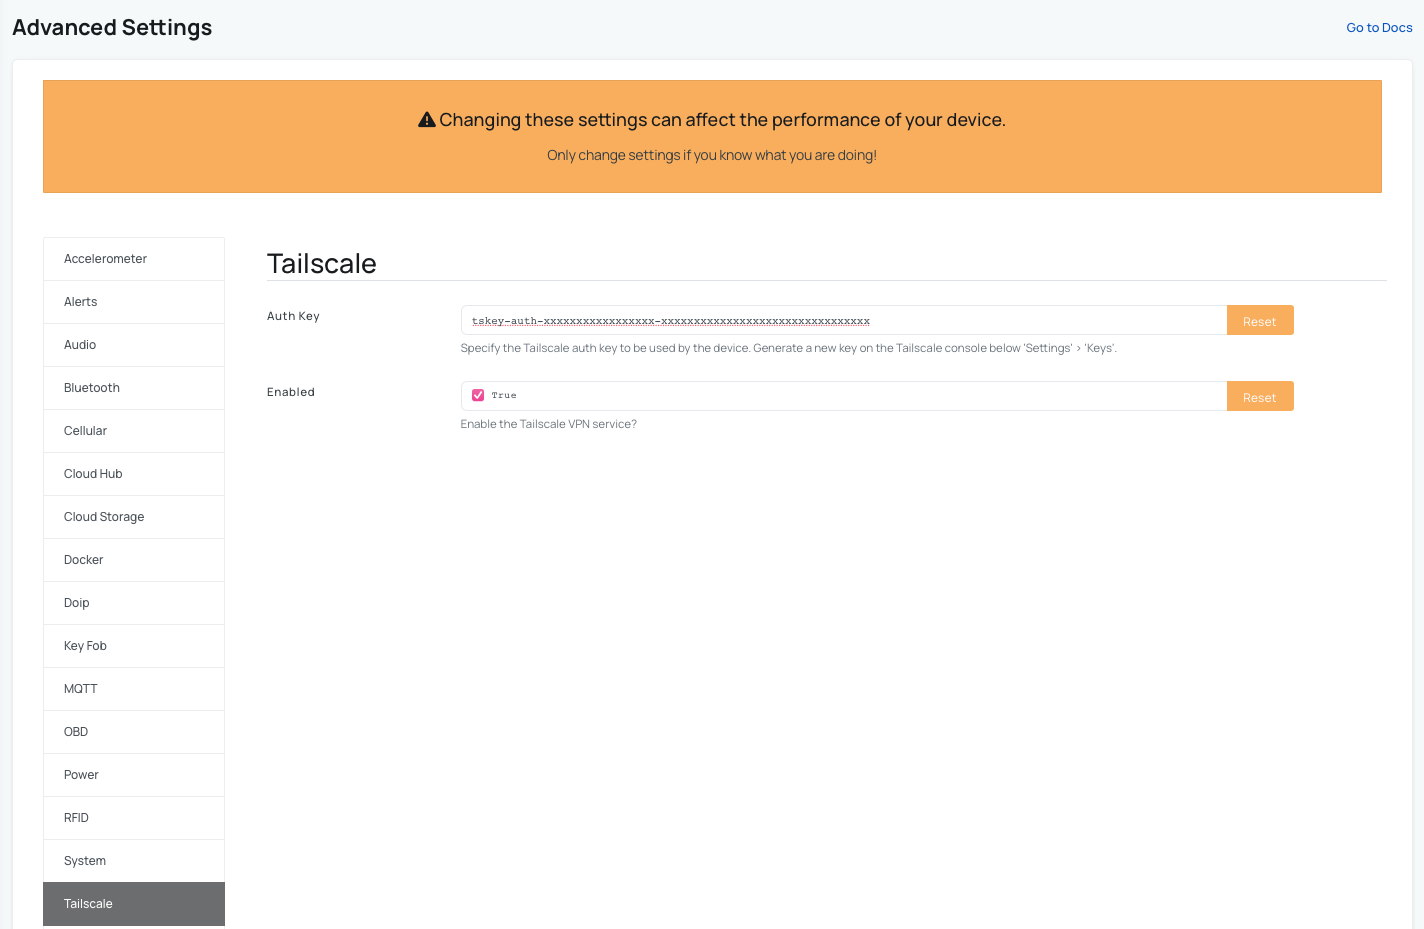
Setup Steps:
- Open Advanced Settings on your device.
- Navigate to Tailscale.
- Enable Tailscale and provide your Auth Key.
- For a full setup guide, refer to the Tailscale documentation.
- Once configured, connect using the device’s Tailscale IP address.
Example:
ssh pi@tailscale_IP
Connect Using WireGuard
If you operate your own VPN server, you can connect to the device using WireGuard. You can read more about specific settings here: Wireguard settings
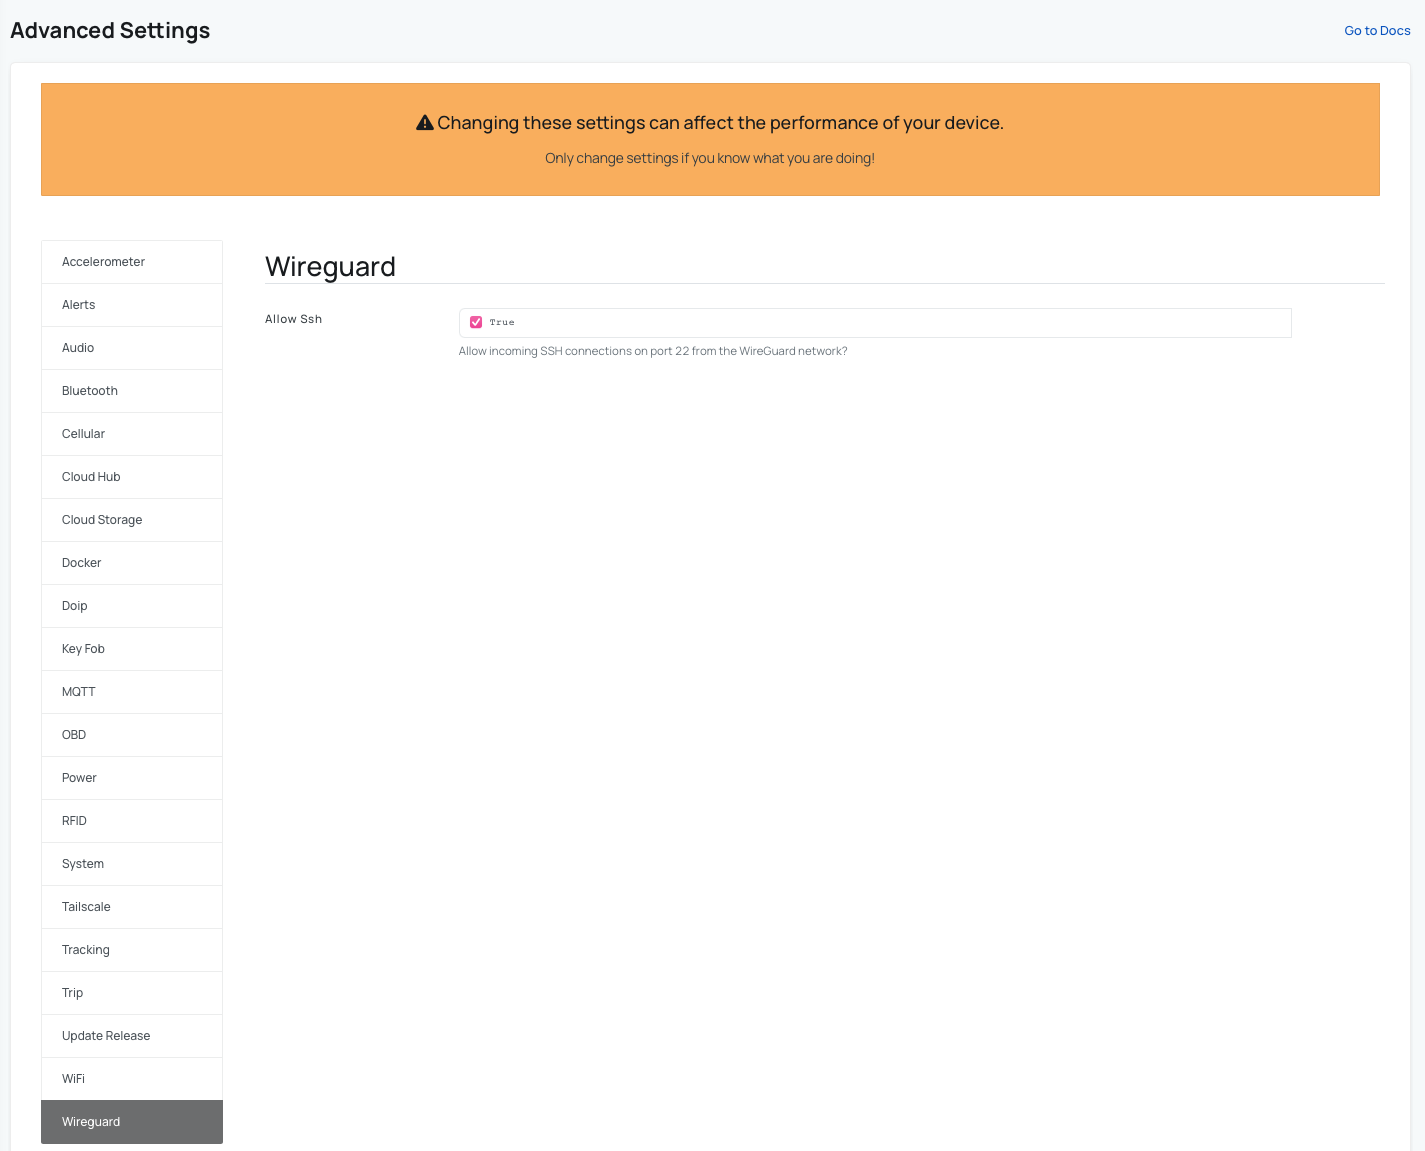
Setup Steps:
- Navigate to Device → Advanced Settings.
- Open the WireGuard configuration.
- Enable:
- Allow SSH.
- Enable WireGuard.
- After enabling these settings, configure the Interface and Peer parameters according to your WireGuard setup.
Transfer Files Using SCP
If you are using an AutoPi CAN-FD Pro device, you can also transfer files from the device using SCP (Secure Copy Protocol).
Example command:
scp pi@192.168.0.100:/opt/autopi/can0/log.csv ~/Downloads
For more details, see the guide: Accessing files via SFTP/SCP on AutoPi
Executing AutoPi Commands via SSH
Most AutoPi commands that you normally run from the Cloud Terminal can also be executed directly through SSH.
To run them from the SSH terminal, prepend the command with autopi.
Example of power.status command:
autopi power.status
If you want to learn more about different commands you can use, check out this part of AutoPi documentation: Commands.
Running commands through SSH can be useful for:
- Local development.
- Troubleshooting devices.
- Adjusting configurations directly on the device.
 Shop AutoPi devices
 Compare devices
 Contact sales
 Contact support