Accessing files via SFTP/SCP on AutoPi
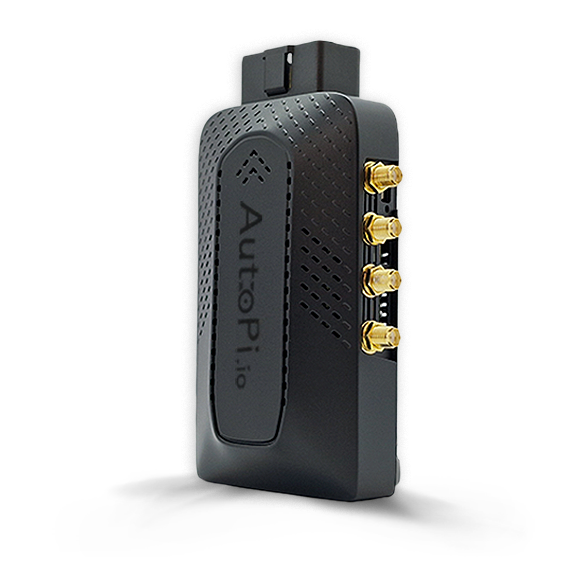
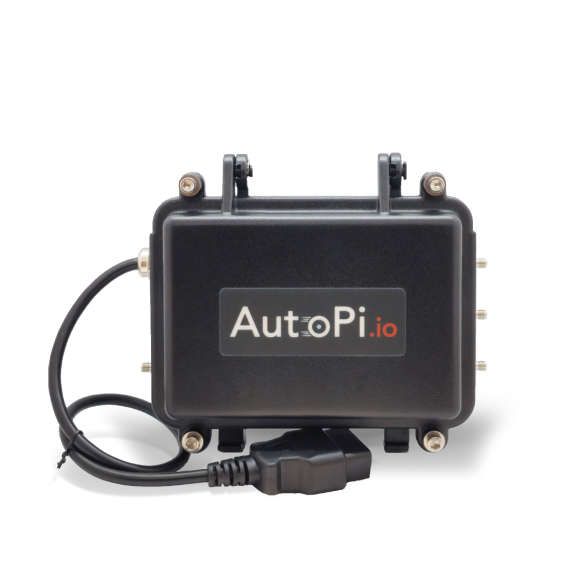
This guide will walk you through accessing files stored on your AutoPi device using SFTP (SSH File Transfer Protocol) or SCP (Secure Copy Protocol). These methods allow you to securely transfer files between your AutoPi device and your computer over a network connection. Whether you prefer a graphical file manager or command-line tools, this guide covers both approaches.
Available Methods:
- SFTP with Cyberduck — Use a graphical interface for file transfers
- Command-line SCP — Transfer files directly from Terminal or PowerShell
If you are using Windows and want to use scp to download files from the AutoPi, you will need to set up OpenSSL on your system.
Option 1: Accessing files via SFTP
Prerequisites
- Username:
pi. - Password: The password for the
piuser (Available in advanced settings panel). - Network Connection: Ensure the AutoPi and your computer are on the same network (via one of the methods below).
- Software:
- GUI Tool: Cyberduck(free).
- CLI Option: Use
scporsftpcommands in Terminal (macOS/Linux) or PowerShell/WinSCP (Windows).
Step 1: Determine the Device’s IP Address
Choose your connection method:
-
1. Local WiFi Hotspot
- Ensure the device is connected to the hotspot.
- The IP is often static (e.g.,
192.168.1.1or10.0.0.1).
-
2. WiFi Client Network
- Connect the device and your computer to the same WiFi network.
- Find the device’s IP:
- Check your router’s DHCP client list (e.g.,
192.168.0.100). - In the terminal on AutoPi's cloud, run this command:
hostname -I
- Check your router’s DHCP client list (e.g.,
-
3. Ethernet (Direct Connection)
- Connect the AutoPi to your computer via Ethernet.
- The IP may be assigned via DHCP (check router) or use a static IP like
169.254.x.x.
-
4. Tailscale (VPN)
- Ensure Tailscale is installed and activated on both the AutoPi and your computer. You can read more at this guide: How to connect to Tailscale on your AutoPi device
- On the AutoPi, run
tailscale ipto get its Tailscale IP (e.g.,100.x.x.x).
If tailscale is setup on the device, you can use the IP address in the tailscale configuration to download from anywhere, this setup is equivalent to using the local IP.
Step 2: Connect Using Cyberduck
-
Open Cyberduck and click Open Connection.
-
Configure settings:
- Protocol: SFTP (SSH File Transfer Protocol).
- Server: Enter the IP address (from Step 1).
- Username:
pi. - Password: Enter the
piuser’s password. - Port:
22(default for SSH/SCP). - (Optional): Save the password in your keychain.
Read more here: Cyberduck Documentation
-
Click Connect.
Step 3: Access Files
- After connecting, navigate to:
/opt/autopi/can0/   # For CAN0 bus data
/opt/autopi/can1/ # For CAN1 bus data - Upload/Download: Drag and drop files between Cyberduck and your computer.
Option 2: Connect via Command Line (SCP)
Use scp to transfer files directly.
Download a File
scp pi@[IP_ADDRESS]:/opt/autopi/can0/filename.txt /local/destination
# Example:
scp pi@192.168.0.100:/opt/autopi/can0/log.csv ~/Downloads
Upload a File
scp /local/file.txt pi@[IP_ADDRESS]:/opt/autopi/can1/
Troubleshooting
- Connection Failed?
- Verify the AutoPi and your computer are on the same network.
- Ensure SSH is enabled on the AutoPi by checking the advanced settings or running this command in the terminal:
sudo systemctl enable ssh - Check firewall/antivirus settings (allow port 22).
- Tailscale Issues?
- Confirm both devices are logged into the same Tailscale account.
- Restart Tailscale by running this command:
sudo systemctl restart tailscaled
Security: For Tailscale, no need to open port 22 on your router—traffic is encrypted through the VPN.
Default Paths: Double-check /opt/autopi/can0 or /can1 for your specific files.
 Shop AutoPi devices
 Compare devices
 Contact sales
 Contact support