Getting Started
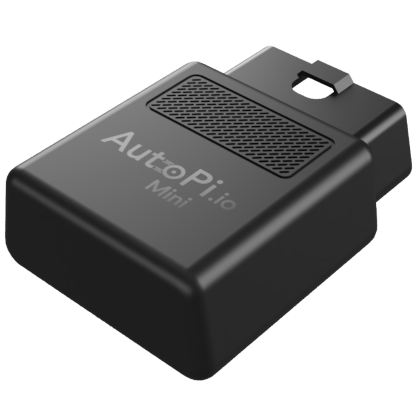
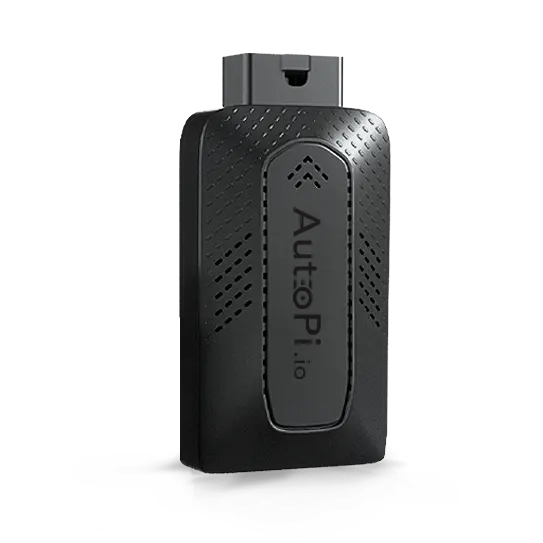
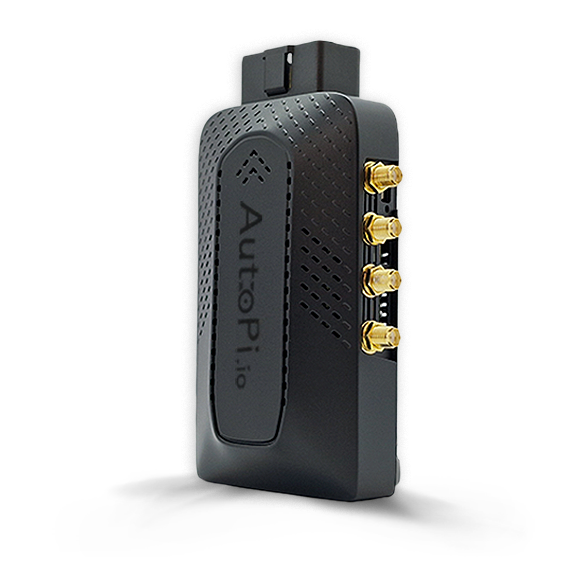
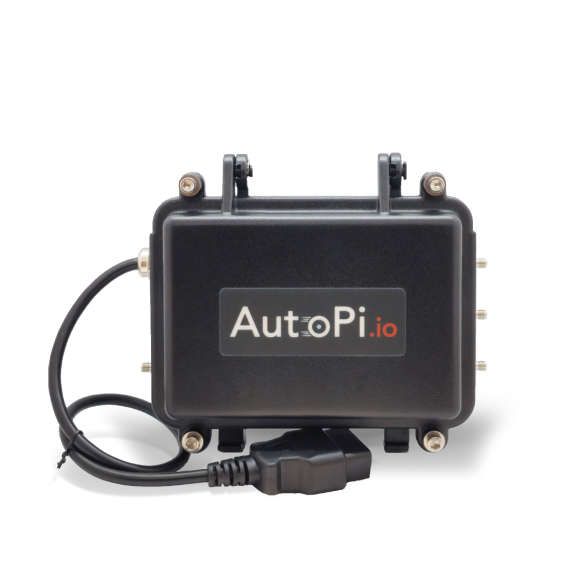
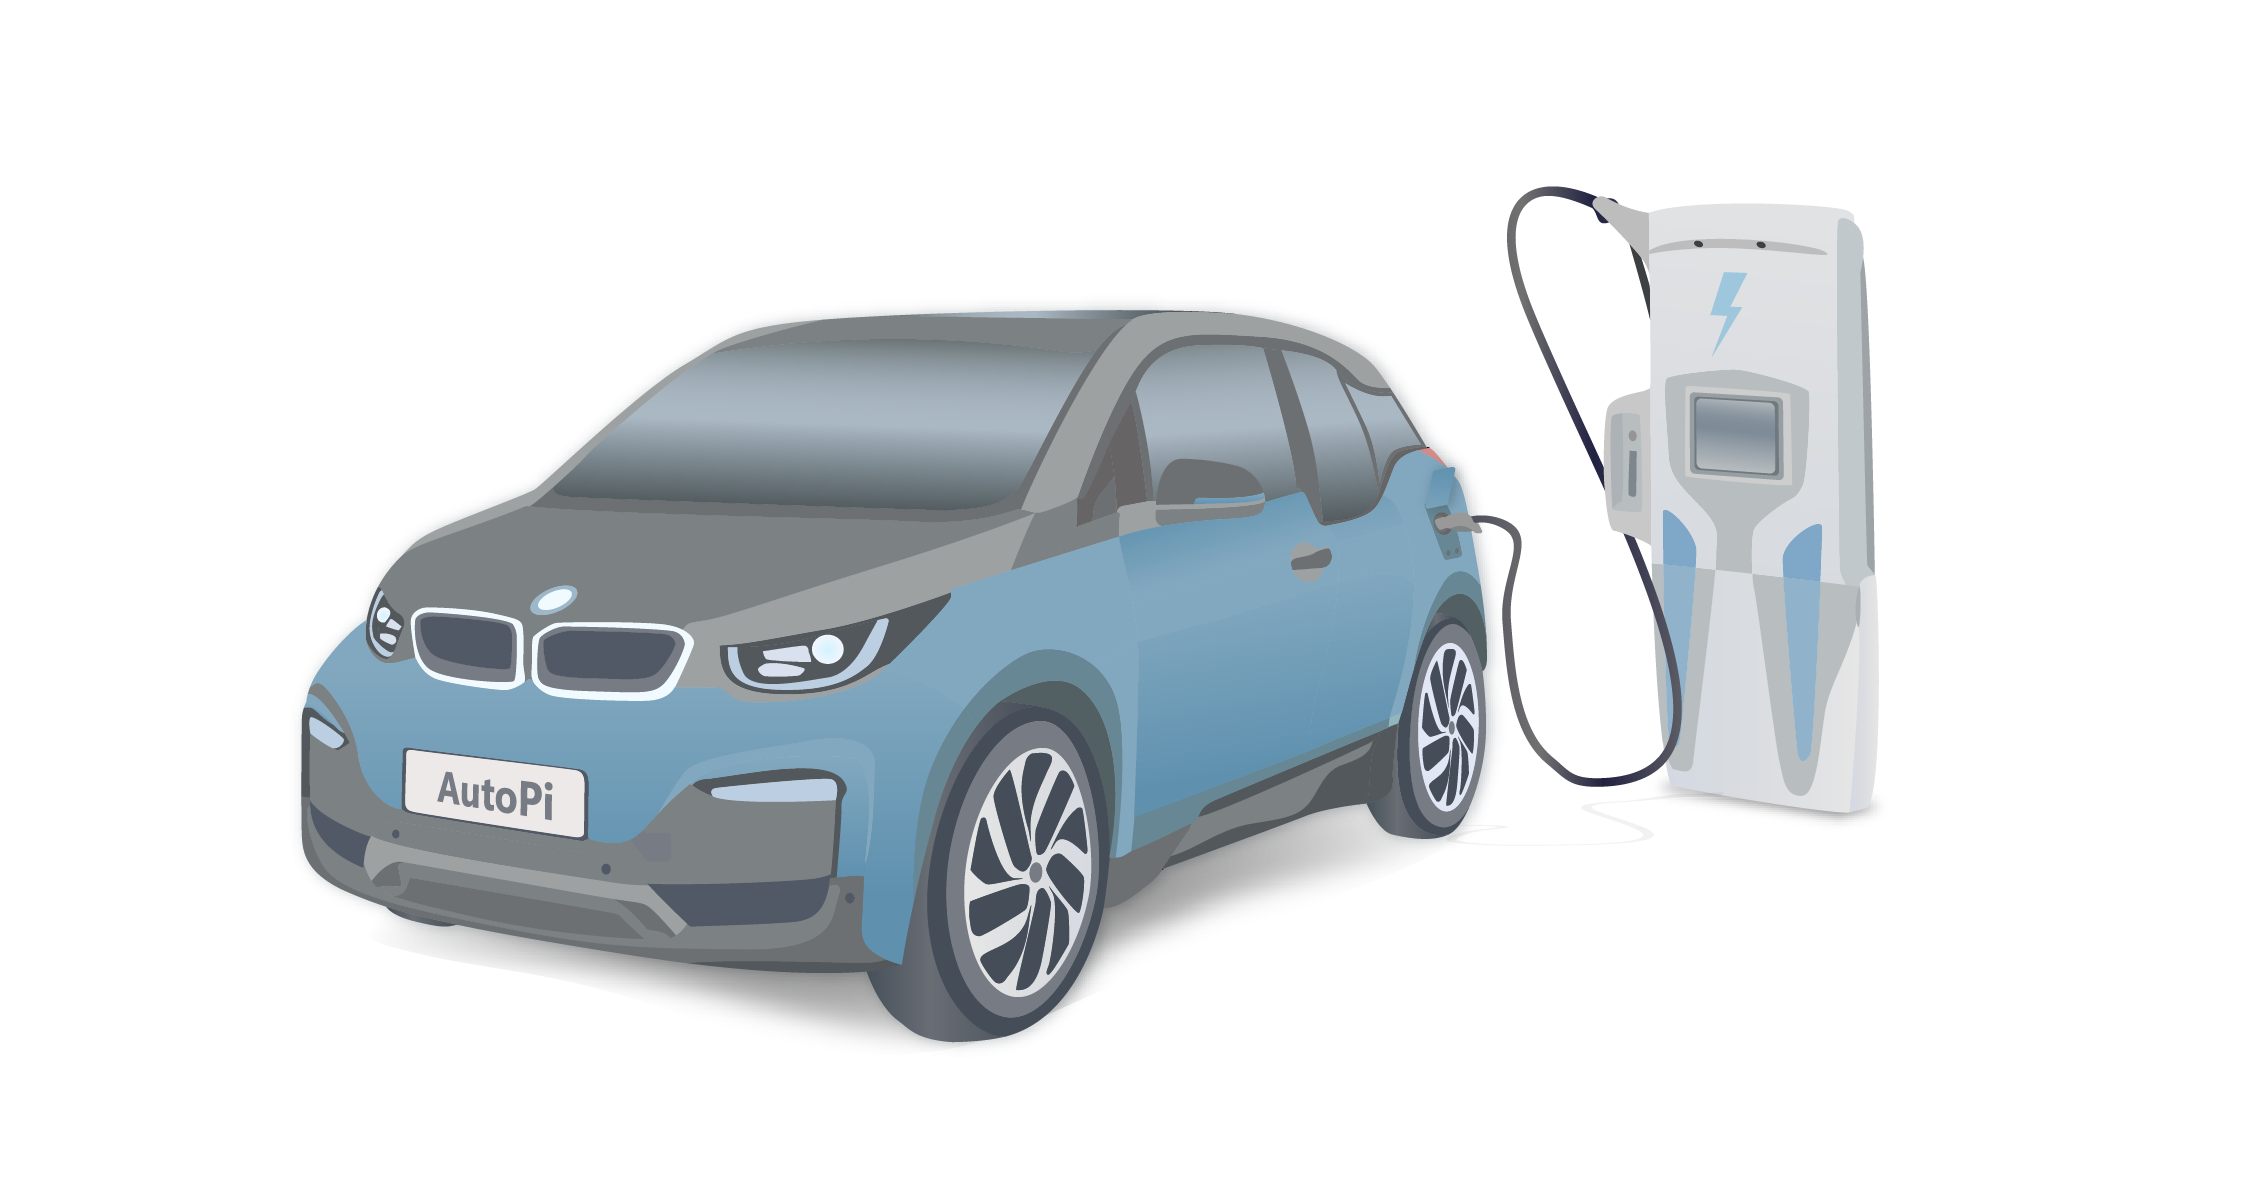
This guide explains how to configure an AutoPi device for an electric vehicle. The required settings depend on the AutoPi device edition and the data interfaces available in the vehicle.
The supported electric vehicle table applies only to the AutoPi Mini. The AutoPi TMU CM4 and AutoPi CAN-FD Pro also support electric vehicles, but they require vehicle-specific logger or CAN bus configurations and do not have published compatibility tables.
Choose Your Device Edition
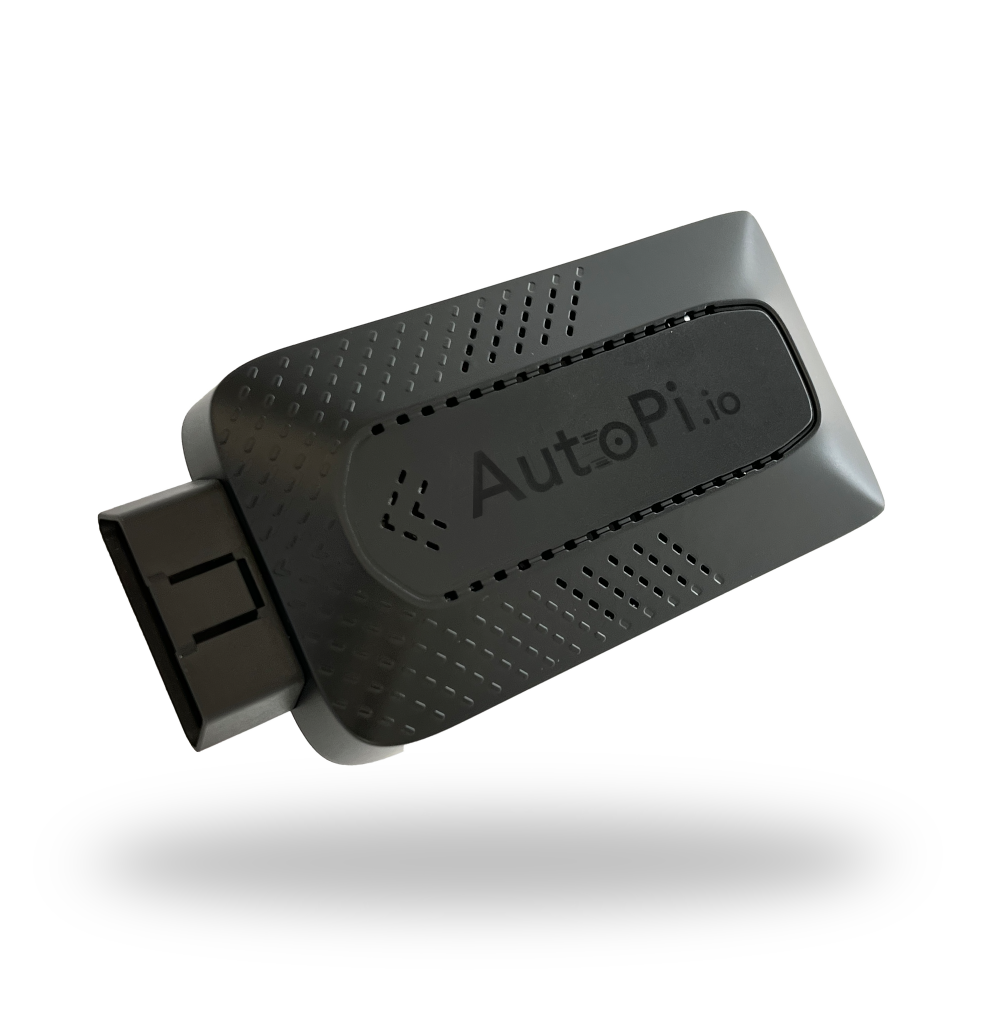
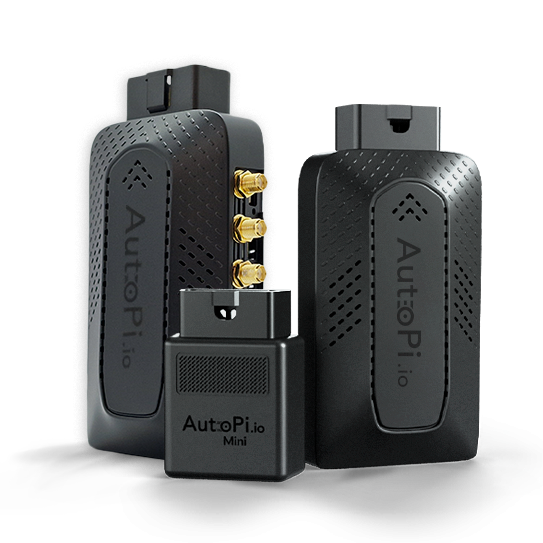
| Device edition | Recommended use | Electric vehicle configuration path |
|---|---|---|
| AutoPi Mini | Standard telematics and data collection through the vehicle's OBD-II connector | Configure the Mini's OBD behavior, VIN, ignition detection, and movement detection in Advanced Settings. |
| AutoPi TMU CM4 | Custom OBD-II or CAN data collection with configurable loggers | Complete the standard TMU CM4 installation, then create loggers for the signals supported by the vehicle. |
| AutoPi CAN-FD Pro | High-speed raw or decoded logging from one or two CAN/CAN-FD buses | Configure the CAN channels, bitrate, logger, decoder, and output for the vehicle. |
Install the device only while the vehicle is parked and powered off. Change its configuration only while the vehicle is parked, and never disconnect it while driving. Incorrect CAN parameters or active diagnostic requests can trigger vehicle warnings or interfere with CAN bus communication.
Before You Begin
- Identify your AutoPi device edition: Mini, TMU CM4, or CAN-FD Pro.
- If you use an AutoPi Mini, confirm that the vehicle and model year appear in the Mini supported electric vehicle table.
- Create an AutoPi Cloud account and register the device.
- Record the vehicle's 17-character VIN.
- Complete the installation and connectivity steps in the getting started guide for your device edition.
AutoPi Mini
Complete the AutoPi Mini getting started guide before continuing. When the Mini is online, apply the electric vehicle settings below.
Confirm compatibility and available data for your vehicle and model year in the Mini supported electric vehicle table. Support can vary by model year, trim, region, and battery or powertrain configuration.
Some electric vehicles do not support automatic VIN detection or standard OBD-II behavior. Without the following settings, the Mini may not identify the vehicle or collect trip and vehicle data correctly.
Set the OBD Feature
This setting allows the Mini to communicate with vehicles that do not use standard OBD-II behavior.
- Go to Advanced Settings > OBD Settings > OBD Feature.
- Select Non-OBD Compliant.
- Select Save.
Enter the VIN Manually
Enter the VIN manually even if the device detected it automatically.
- Go to Advanced Settings > OBD VIN Settings.
- Enter the 17-character VIN using digits and uppercase letters.
- Set VIN Source to Manual.
- Select Save.
Configure Ignition Detection
- Go to Advanced Settings > System > Ignition Settings.
- Select Accelerometer.
- Select Save.
Configure Movement Detection
- Go to Advanced Settings > System > Movement Source.
- Select Accelerometer.
- Set Movement start delay to a value from 5 to 12 seconds.
- Set Movement stop delay to a value from 30 to 60 seconds.
- Select Save.
After saving these changes, open Change History and confirm that each setting was applied successfully. Take a short test drive, then confirm that a new trip and the expected vehicle data appear in the AutoPi Cloud.
AutoPi TMU CM4
The TMU CM4 supports electric vehicles through configurable power, tracking, trip, and logger settings. The Mini supported electric vehicle table does not apply to this device. Configure the settings below so the TMU CM4 responds to battery and movement events instead of engine events.
- Complete the AutoPi TMU CM4 getting started guide.
- Confirm that the device is online in the AutoPi Cloud.
To configure the device's power cycles correctly, follow the Power Cycles guide.
Configure the Sleep Timer
The event-driven sleep timer determines which vehicle events start the timer that allows the device to enter sleep mode.
- Go to Advanced Settings > Power > Sleep Timer > Event Driven.
- Set Event Regex to
^vehicle/battery/(charging_slow|discharging). - Set Reason to
battery_discharging. - Select Save.
Configure Sleep Timer Suppression
Sleep timer suppression defines which events clear active sleep timers and prevent new ones from being enabled. This configuration keeps the device awake while the vehicle is moving or charging.
- Go to Advanced Settings > Power > Sleep Timer > Suppress.
- Set Event Regex to
^vehicle/(motion/(shaking|jolting)|battery/(charging|overcharging)). - Select Save.
Configure the Last Driven Source
This setting determines which event source updates the vehicle's Last Driven timestamp in the AutoPi Cloud.
- Go to Advanced Settings > Tracking > Last Driven.
- Set Source to Battery charging or Accelerometer motion, depending on which source most reliably represents vehicle use.
- Select Save.
Configure Trip Events
Use both GNSS and accelerometer movement to determine when a trip starts and stops.
- Go to Advanced Settings > Vehicle > Trip Event.
- Under Sources, select GNSS movement and Accelerometer motion.
- Open Transition to Start and set Match Count to
0. With this value, all selected sources must agree before a trip starts. - Open Transition to Stop and set Match Count to
1. With this value, either selected source can stop the trip. - Select Save.
Configure Electric Vehicle Data Collection
Available signals and query details vary by vehicle. Use parameters from the vehicle manufacturer or your integration specification. Do not assume that standard OBD-II PIDs for internal combustion engine vehicles are available.
- Obtain the required signal, PID, or CAN parameters for the vehicle.
- Follow Create Loggers for AutoPi TMU CM4 to configure the required data queries and collection interval.
- Apply the changes and confirm their status in Change History.
- Take a short test drive.
- Confirm that the device generates the expected trip start and stop events, updates Last Driven, and returns plausible values at the configured interval.
Do not copy parameters from another vehicle solely because it uses the same connector. CAN identifiers, diagnostic sessions, formulas, and security requirements can vary between manufacturers, models, and model years.
AutoPi CAN-FD Pro
The CAN-FD Pro supports electric vehicles by recording traffic directly from up to two CAN or CAN-FD channels. The Mini supported electric vehicle table does not apply to this device. Configure the channel connected to the vehicle bus, then create a logger and choose where to store or transfer the captured data.
Complete the AutoPi CAN-FD Pro getting started guide, including the external antenna and connectivity steps, before continuing. When the device is online, apply the electric vehicle settings below.
To configure the device's power cycles correctly, follow the Power Cycles guide.
Configure the Sleep Timer
The event-driven sleep timer determines which vehicle events start the timer that allows the device to enter sleep mode.
- Go to Advanced Settings > Power > Sleep Timer > Event Driven.
- Set Event Regex to
^vehicle/battery/(charging_slow|discharging). - Set Reason to
battery_discharging. - Select Save.
Configure Sleep Timer Suppression
Sleep timer suppression defines which events clear active sleep timers and prevent new ones from being enabled. This configuration keeps the device awake while the vehicle is moving or charging.
- Go to Advanced Settings > Power > Sleep Timer > Suppress.
- Set Event Regex to
^vehicle/(motion/(shaking|jolting)|battery/(charging|overcharging)). - Select Save.
Configure the Last Driven Source
This setting determines which event source updates the vehicle's Last Driven timestamp in the AutoPi Cloud.
- Go to Advanced Settings > Tracking > Last Driven.
- Set Source to Battery charging or Accelerometer motion, depending on which source most reliably represents vehicle use.
- Select Save.
Configure Trip Events
Use both GNSS and accelerometer movement to determine when a trip starts and stops.
- Go to Advanced Settings > Vehicle > Trip Event.
- Under Sources, select GNSS movement and Accelerometer motion.
- Open Transition to Start and set Match Count to
0. With this value, all selected sources must agree before a trip starts. - Open Transition to Stop and set Match Count to
1. With this value, either selected source can stop the trip. - Select Save.
Configure CAN Logging
When you connect a CAN-FD Pro to a vehicle for the first time, it uses Any (passive) autodetection by default. This method listens for CAN traffic without sending requests, reducing the risk of triggering vehicle warnings or communication issues. The device tests common bitrates automatically to identify the connected CAN bus.
Autodetection works best when the CAN bus is active. With the vehicle safely parked, turn on the ignition and check the result. If necessary, complete a controlled test drive and review the result afterward. Never change device settings while driving.
Verify Automatic CAN Bus Detection
- In the AutoPi Cloud, go to Devices, select the CAN-FD Pro, and open CAN Logging.
- Open the connected channel, such as can0 or can1, and select Configure.
- Confirm that the channel is enabled and that Any (passive) is selected.
- Open the device's Events section and review the autodetection result. The device may generate events such as:
vehicle/bus/can0/autodetectedvehicle/bus/can0/autodetect/any_passive/successfulvehicle/bus/can0/autodetect/any_passive/unsuccessful
- Run the
logger.statuscommand to view the current channel, logger, decoder, output, and storage status in real time. - Confirm that the channel receives frames and reports the detected bitrate.
Configure the CAN Bus Manually
If passive autodetection is unsuccessful, configure the channel manually:
- Obtain the vehicle's CAN or CAN-FD arbitration bitrate and, if applicable, its data bitrate.
- Open the channel configuration under CAN Logging.
- Enter the known bitrate values instead of using automatic bitrate detection.
- Keep frame transmission disabled unless the integration explicitly requires it and you understand the effect of transmitting on the vehicle bus.
- Apply the configuration, run
logger.status, and confirm that the channel receives frames without errors.
Configure Data Collection
After the CAN bus and bitrate are configured correctly:
- Check the OBD Community Library for PID details shared for your vehicle model.
- Configure the required queries or create a CAN logger for the channel.
- Choose raw logging to capture all bus traffic, or add the appropriate PID details or decoder to produce interpreted signals.
- Configure the required output, such as local files or an Amazon S3 bucket.
- Apply the configuration and confirm that the expected data and output files are created.
For channel settings, loggers, decoders, and outputs, follow the CAN-FD Pro user guide.
Active autodetection methods transmit diagnostic requests and can trigger warning indicators when the vehicle does not support the selected protocol. Keep the default Any (passive) setting unless the vehicle integration specifically requires an active method.
Validate the Installation
After configuring the device:
- Confirm that the device is online and that the latest changes were applied successfully.
- With the vehicle parked, confirm that the device reports data without triggering dashboard warnings.
- Take a short test drive in a safe area.
- Confirm that trip start and stop events are detected correctly.
- Where available, compare key values such as speed, state of charge, and odometer readings with the vehicle display.
- Check for missing, constant, implausible, or incorrectly scaled values before using the data in production.
If the device is online but does not collect the expected data, use the troubleshooting guide for your edition:
 Shop AutoPi devices
 Compare devices
 Contact sales
 Contact support