Configuring MQTT
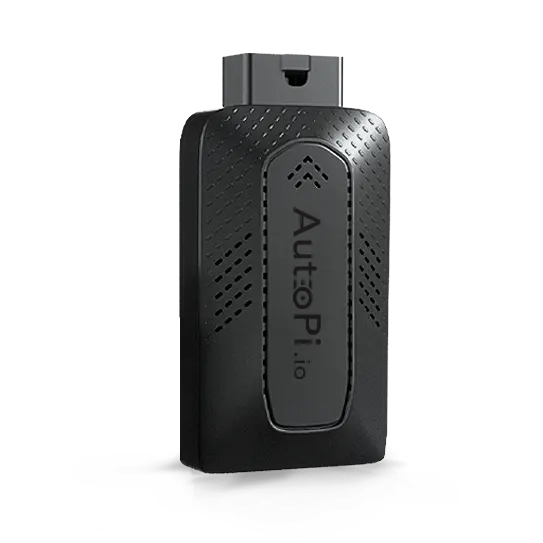
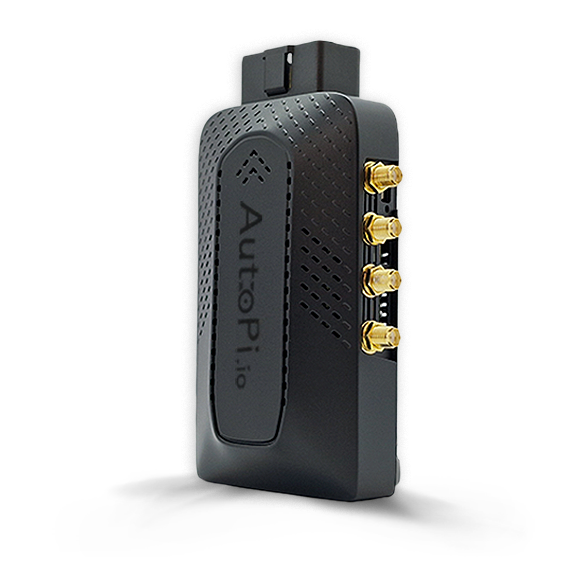
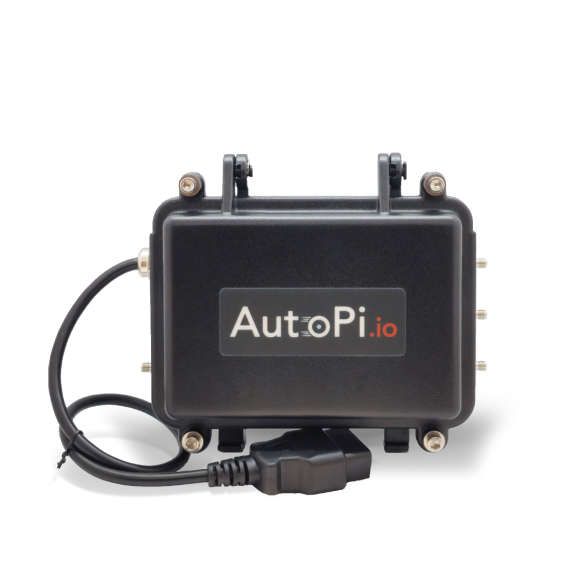
This guide will walk you through setting up complete MQTT connectivity between your AutoPi device and a Mosquitto broker. You'll learn how to install and configure a Mosquitto broker, connect your device in direct-connect or broker-bridge mode, enable MQTT returners for common data sources (loggers, services, and jobs), and validate your setup with end-to-end testing and troubleshooting guidance.
What you'll accomplish:
- Install and configure a Mosquitto MQTT broker on Linux.
- Connect your AutoPi device in direct-connect or broker-bridge mode.
- Enable MQTT returners on loggers, services, and jobs.
- Validate data flow and troubleshoot connectivity issues.
- Prepare your setup for production use.
Before you start, ensure you have:
- A Linux server reachable by your AutoPi device (examples use Debian 11).
- AutoPi Cloud permissions to edit Advanced Settings, Services, Loggers, and Jobs — see Account Permissions.
- Network access from device to broker on MQTT ports (1883 for non-TLS, 8883 for TLS).
- A connection mode choice: direct-connect (fast testing) or broker-bridge (resilient with buffering).
If you are unsure which mode to use, start with direct-connect mode for testing, then move to broker-bridge mode for production-like behavior.
The initial broker setup in this guide is intended for testing. Do not use allow_anonymous true in production.
This setup is not available for AutoPi Mini devices. There might be a different option available at no cost. If you are interested, contact our sales team at sales@autopi.io.
1. Set Up the Endpoint Broker
Install Mosquitto and MQTT client tools on your Linux server:
sudo apt update
sudo apt install -y mosquitto mosquitto-clients
For quick testing, create a minimal open configuration:
sudo sh -c "echo 'allow_anonymous true
listener 1883 0.0.0.0' > /etc/mosquitto/conf.d/mosquitto.conf"
Restart and verify broker status:
sudo systemctl restart mosquitto.service
sudo systemctl status mosquitto.service
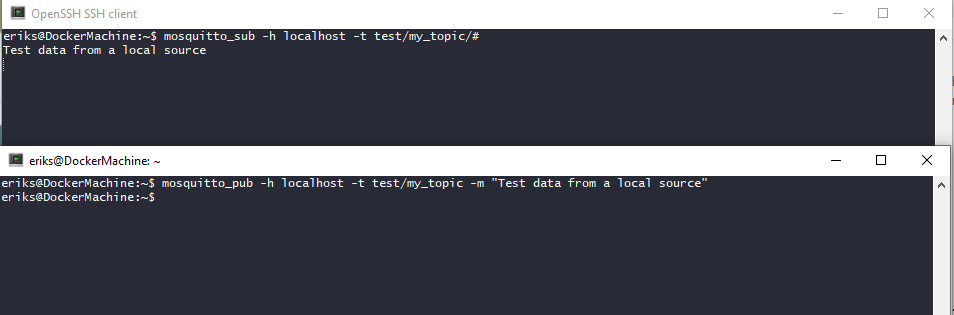
Test publish/subscribe locally.
Terminal 1:
mosquitto_sub -h localhost -t test/my_topic/#
Terminal 2:
mosquitto_pub -h localhost -t test/my_topic -m "Test data from a local source"
Expected result:
If your broker runs behind a firewall, allow inbound TCP traffic on the MQTT listener port (for example 1883).
2. Choose Device Connection Mode
Choose one of the following modes before continuing.
| Mode | Best for | Buffering when offline | Complexity |
|---|---|---|---|
| Direct-connect | Fast testing and simple setups | No | Low |
| Broker-bridge | Reliable operation in unstable networks | Yes | Medium |
Direct-Connect Mode
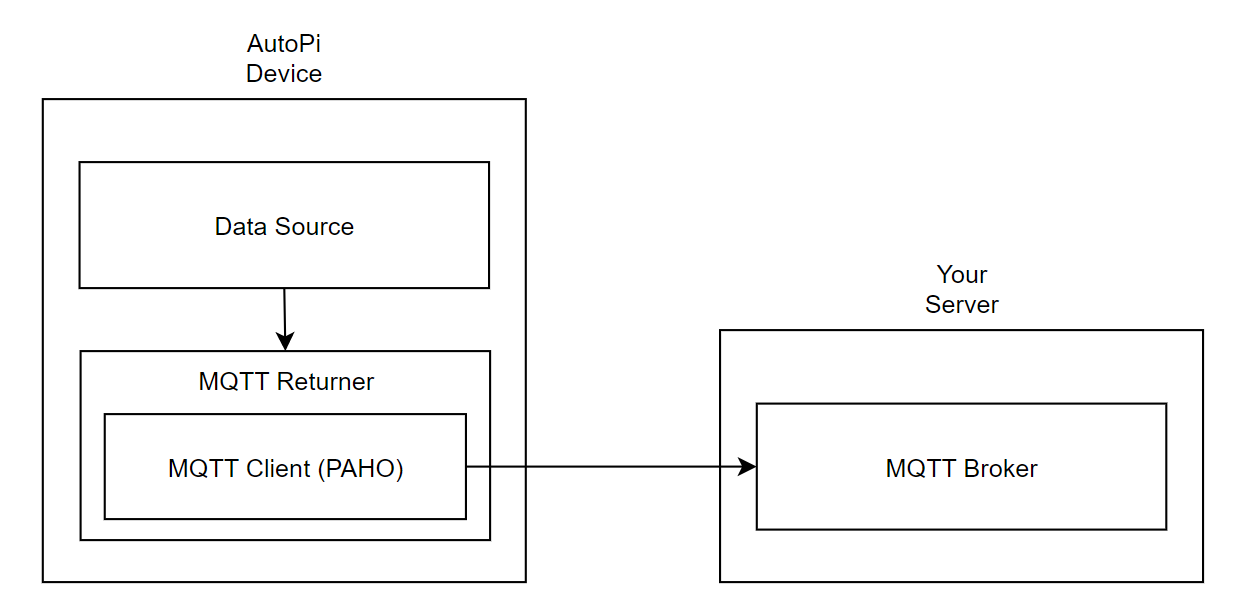
In AutoPi Cloud, go to Device > Advanced Settings > MQTT > Returner and set:
- Returner > Enabled: True
- Returner > host:
<host></host> - Returner > port:
<port></port>.
Direct-connect mode is often configured first without TLS for testing. Use authentication and TLS before production use.
Next, add an MQTT returner to at least one data source that produces frequent data (for example voltage or GPS). After saving and syncing, messages should start appearing on your broker.
This mode is the fastest to configure. If the device is offline, data generated during that period is not buffered locally.
Broker-Bridge Mode
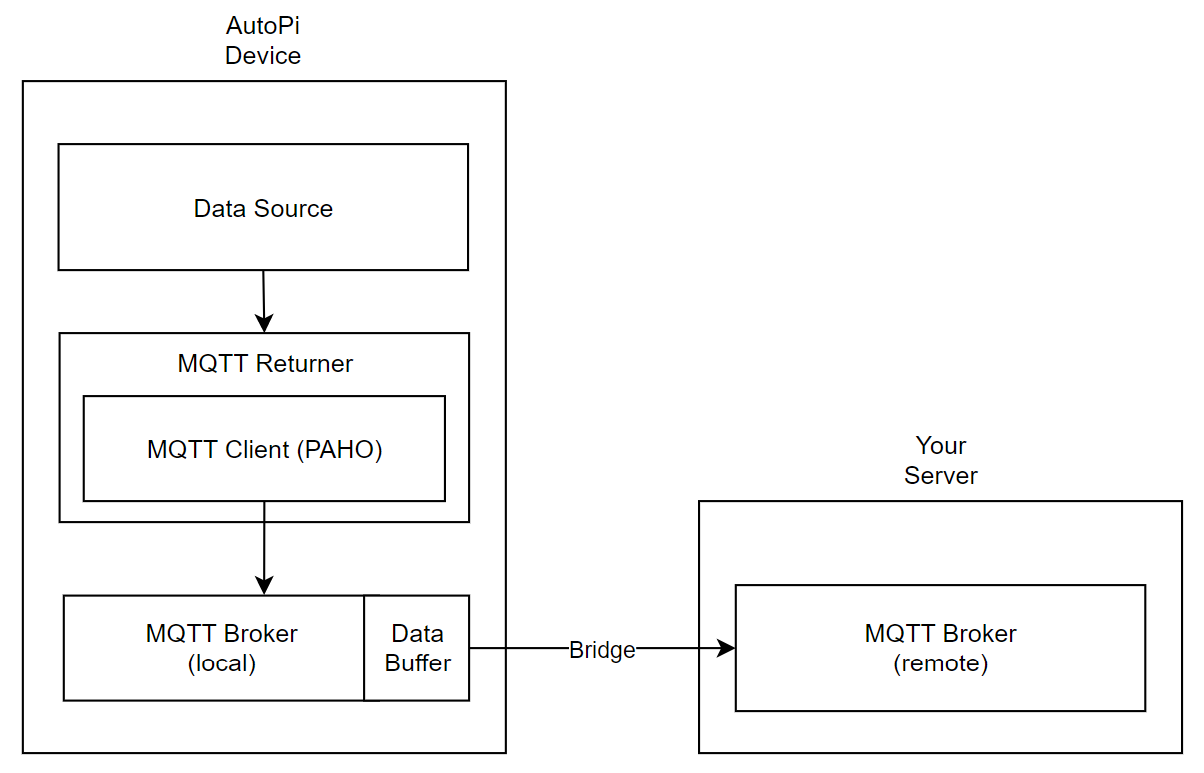
Important: settings under Broker > ... affect the local broker on the device, not the Returner client settings used in direct-connect mode.
Setup Broker-Bridge Mode
Set:
- In AutoPi Cloud, navigate to Device > Advanced Settings > MQTT.
- Broker > Install:
Mosquitto v1.x(or newer if available). - Bind > Address: specify the local bind address for the device broker.
- Bind > Port: specify the local port for the device broker.
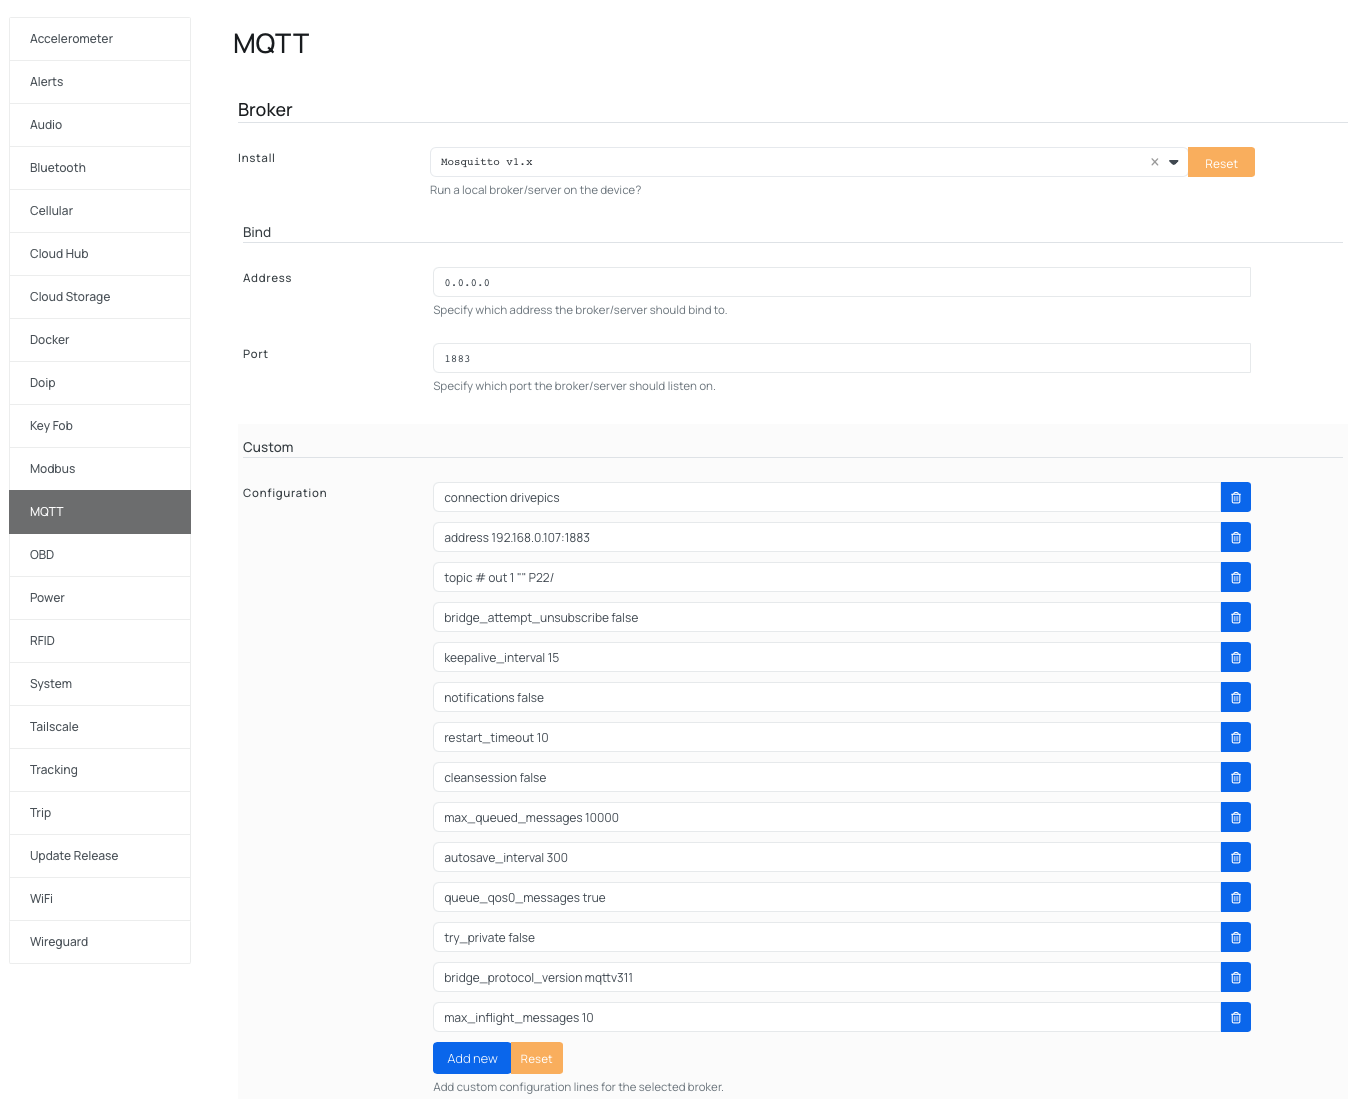
- Custom > Configuration:
* connection <connection_name></connection_name>
* address <host></host>:<port></port>
* topic # out 1 "" <topic_name></topic_name>/
* bridge_attempt_unsubscribe false
* keepalive_interval 15
* notifications false
* restart_timeout 10
* cleansession false
* max_queued_messages 10000
* autosave_interval 300
* queue_qos0_messages true
* try_private false
* bridge_protocol_version mqttv311
* max_inflight_messages 10
The custom bridge lines are written to
/etc/mosquitto/conf.d/custom.confon the device. For full parameter descriptions, see the Mosquitto configuration reference. - Returner > Enabled: True.
- Save.
- Sync the changes to the device.
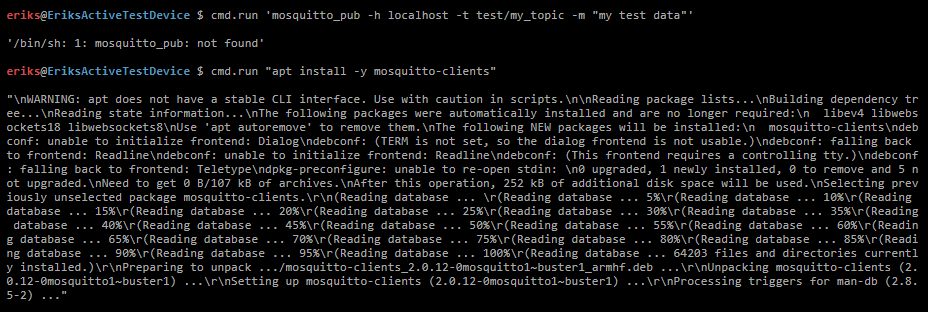
- (Validation) Run this test command in AutoPi Cloud terminal in order to double check if the connection has been made correctly:
cmd.run 'mosquitto_pub -h localhost -t test/my_topic -m "my test data"' - (Validation) If this appears on the remote subscriber, the bridge is working:

If mosquitto_pub is unavailable on the device, it can be installed from apt (it is not used outside of this test).
cmd.run "apt install -y mosquitto-clients"
Example of Broker-Bridge Mode on AutoPi Cloud
This is an example of broker-bridge mode:
The custom bridge lines are written to
/etc/mosquitto/conf.d/custom.confon the device. For full parameter descriptions, see the Mosquitto configuration reference.
3. Add MQTT Returners to Data Sources
This section covers adding MQTT returners to the three main data sources: loggers, services, and jobs.
| Data point | Source | MQTT topic |
|---|---|---|
| PID data | Logger | obd/<LOGGER_NAME> |
| CAN data | Service | obd/<LOGGER_NAME> |
| GPS location | Service | track/pos |
| Accelerometer readings | Service | acc/xyz |
| Voltage | Service | spm/bat |
| Events | Service | reactor |
| Device temperature | Job | rpi/temp |
Loggers
Use loggers when you want to publish periodic OBD-II PID values, such as engine and vehicle diagnostics.
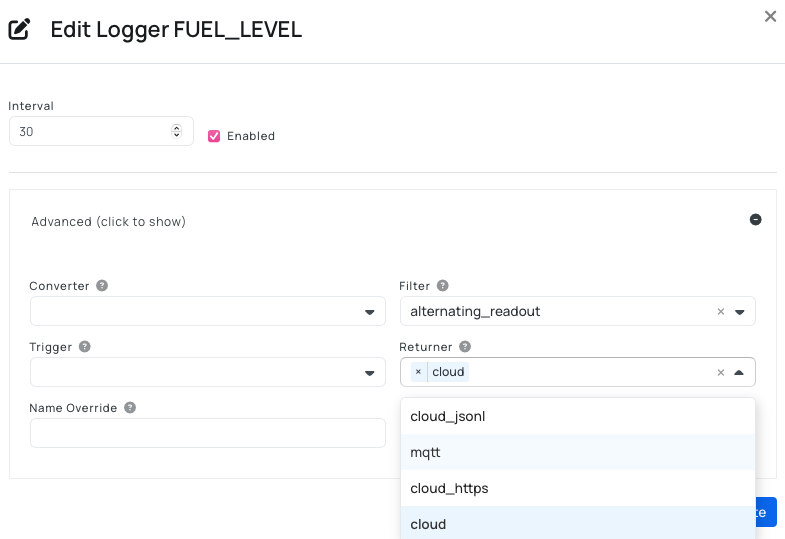
For each logger of type OBD-II PID:
- Navigate to Device > Loggers.
- Open the logger.
- Select Advanced.
- Set Returner to MQTT.
- Save.
Services
Use services when you want to publish live worker or reactor output, most commonly CAN, GPS, accelerometer, voltage, or event data. A service can serve as a data source in two ways: through workers and through reactors. Most commonly, you will use this for CAN data.
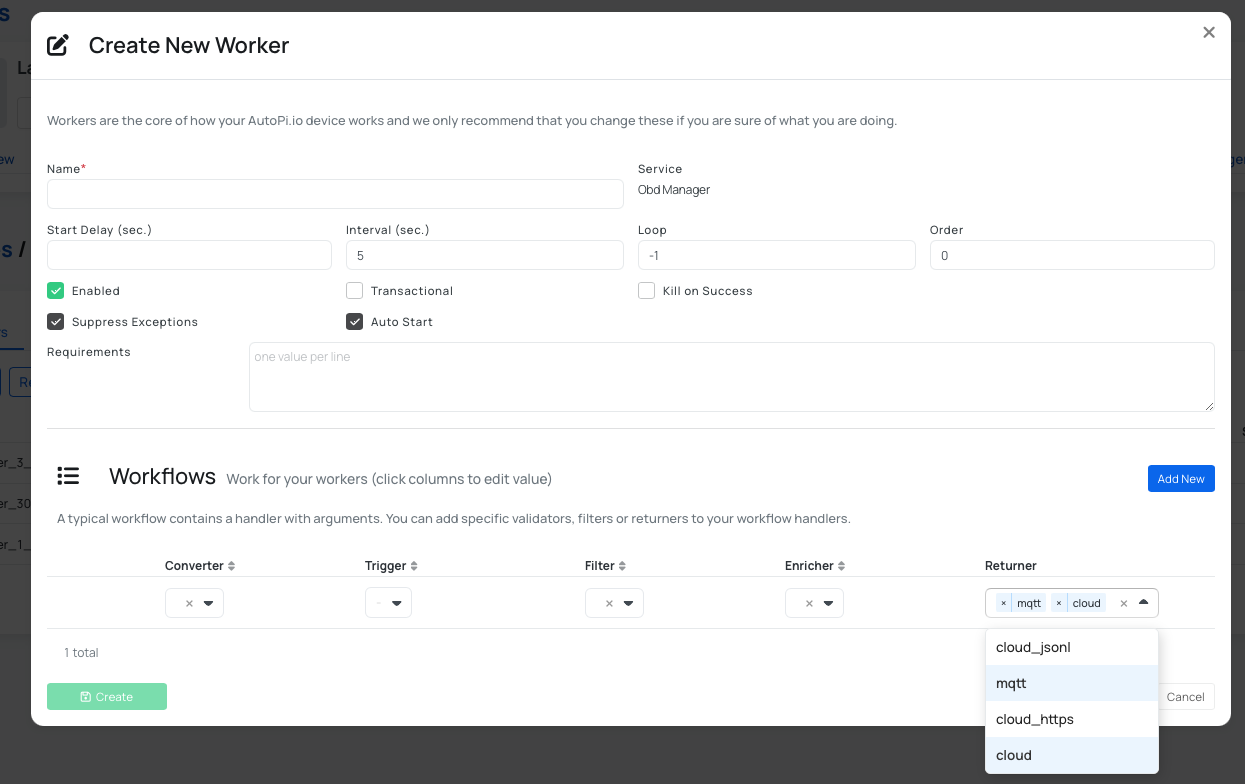
Follow these steps:
- Navigate to Device > Services.
- Select
obd_manager. - Create a new worker, or open an existing worker.
- Under workflows, find Returner and add
mqtt. - Save.
Other service data points:
| Data point | Source path |
|---|---|
| CAN data | obd_manager > Workers > can_logger |
| GPS location | gnss_manager > Workers > poll_logger |
| Accelerometer readings | acc_manager > Workers > xyz_logger |
| Voltage | spm_manager > Workers > _battery_checker |
| Events | event_reactor > Reactors > cache_events |
Jobs
Use jobs when you want to publish scheduled command output, such as periodic device health metrics.
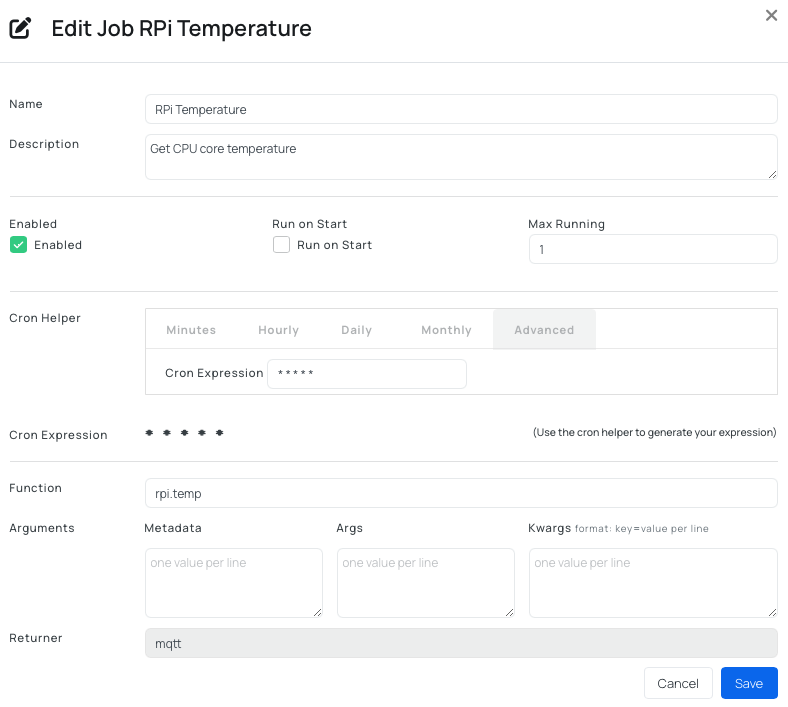
- Navigate to Device > Jobs.
- Open the job you want to update.
- Under Returner, set
mqtt.
Note: jobs support only one returner. A single job cannot send output to both MQTT and AutoPi Cloud at the same time.
4. Validate End-to-End Data Flow
After setup, subscribe on your server and confirm live messages:
mosquitto_sub -h <host> -t '#'
Example output:

Expected behavior:
- Incoming topics match configured data sources.
- In broker-bridge mode, queued messages continue after reconnect.
Production Hardening Checklist
Before moving to production:
- Disable anonymous access (
allow_anonymous false). - Create broker users/passwords and update device credentials.
- Restrict topic permissions with ACLs.
- Use TLS (
8883) and certificates where possible. - Restrict broker exposure with firewall rules and trusted IP ranges.
- Monitor broker disk usage and queue limits.
Troubleshooting
- Broker service does not start after sync (broker-bridge mode):
- Check status and logs on the device.
- Inspect
/var/log/mosquitto/mosquitto.logfor syntax errors in custom bridge configuration.
- No data on remote broker:
- Verify host, DNS resolution, port, and firewall path from device to broker.
- Confirm all MQTT settings were saved and synced.
- Verify that at least one logger, service, or job has Returner set to
mqtt.
- Data appears intermittently:
- Validate network stability and packet loss.
- Prefer broker-bridge mode for buffering during outages.
- Check queue settings such as
max_queued_messages.
- Messages appear locally but not remotely (broker-bridge mode):
- Confirm
addressin bridge configuration points to the remote broker. - Confirm the remote broker accepts incoming client connections from the device IP.
- Confirm
 Shop AutoPi devices
 Compare devices
 Contact sales
 Contact support