Introduction
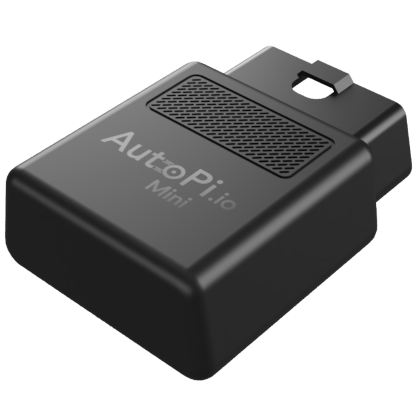
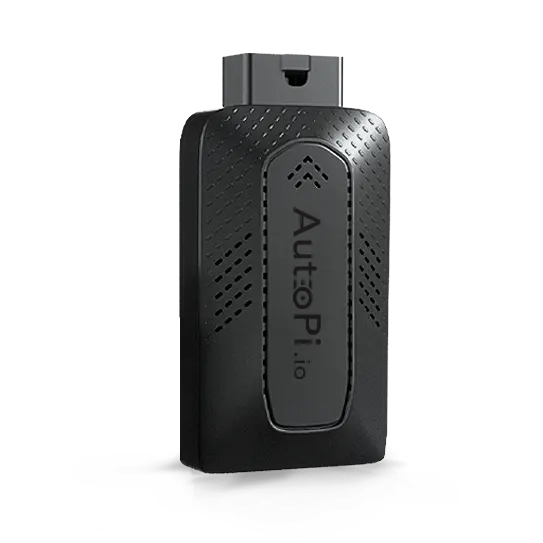
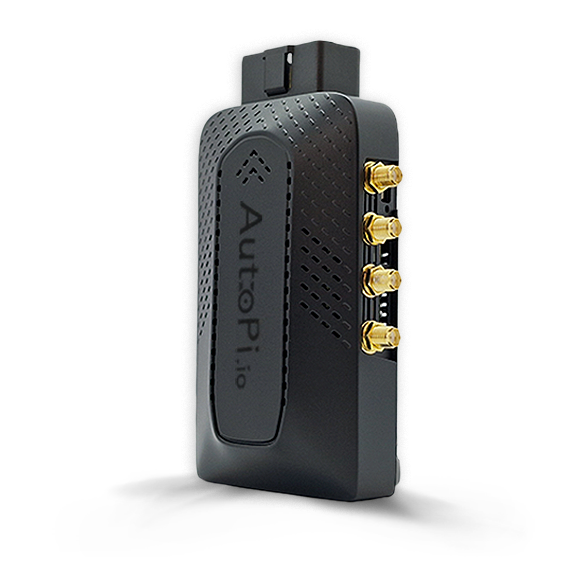
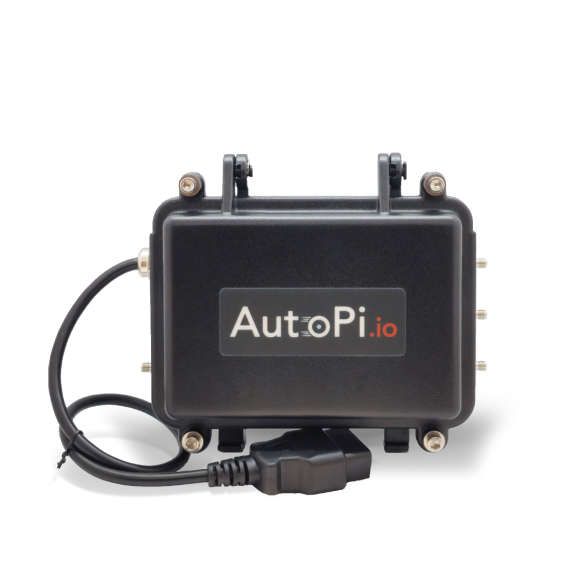
The Trips section provides comprehensive information about vehicle trips. Trips are automatically detected based on events sent from your device. By default, engine start and stop events trigger trip creation, but you can customize this behavior to match your specific needs. When the AutoPi system receives trip start and stop events, it processes them according to specific logic to determine when trips begin and end.
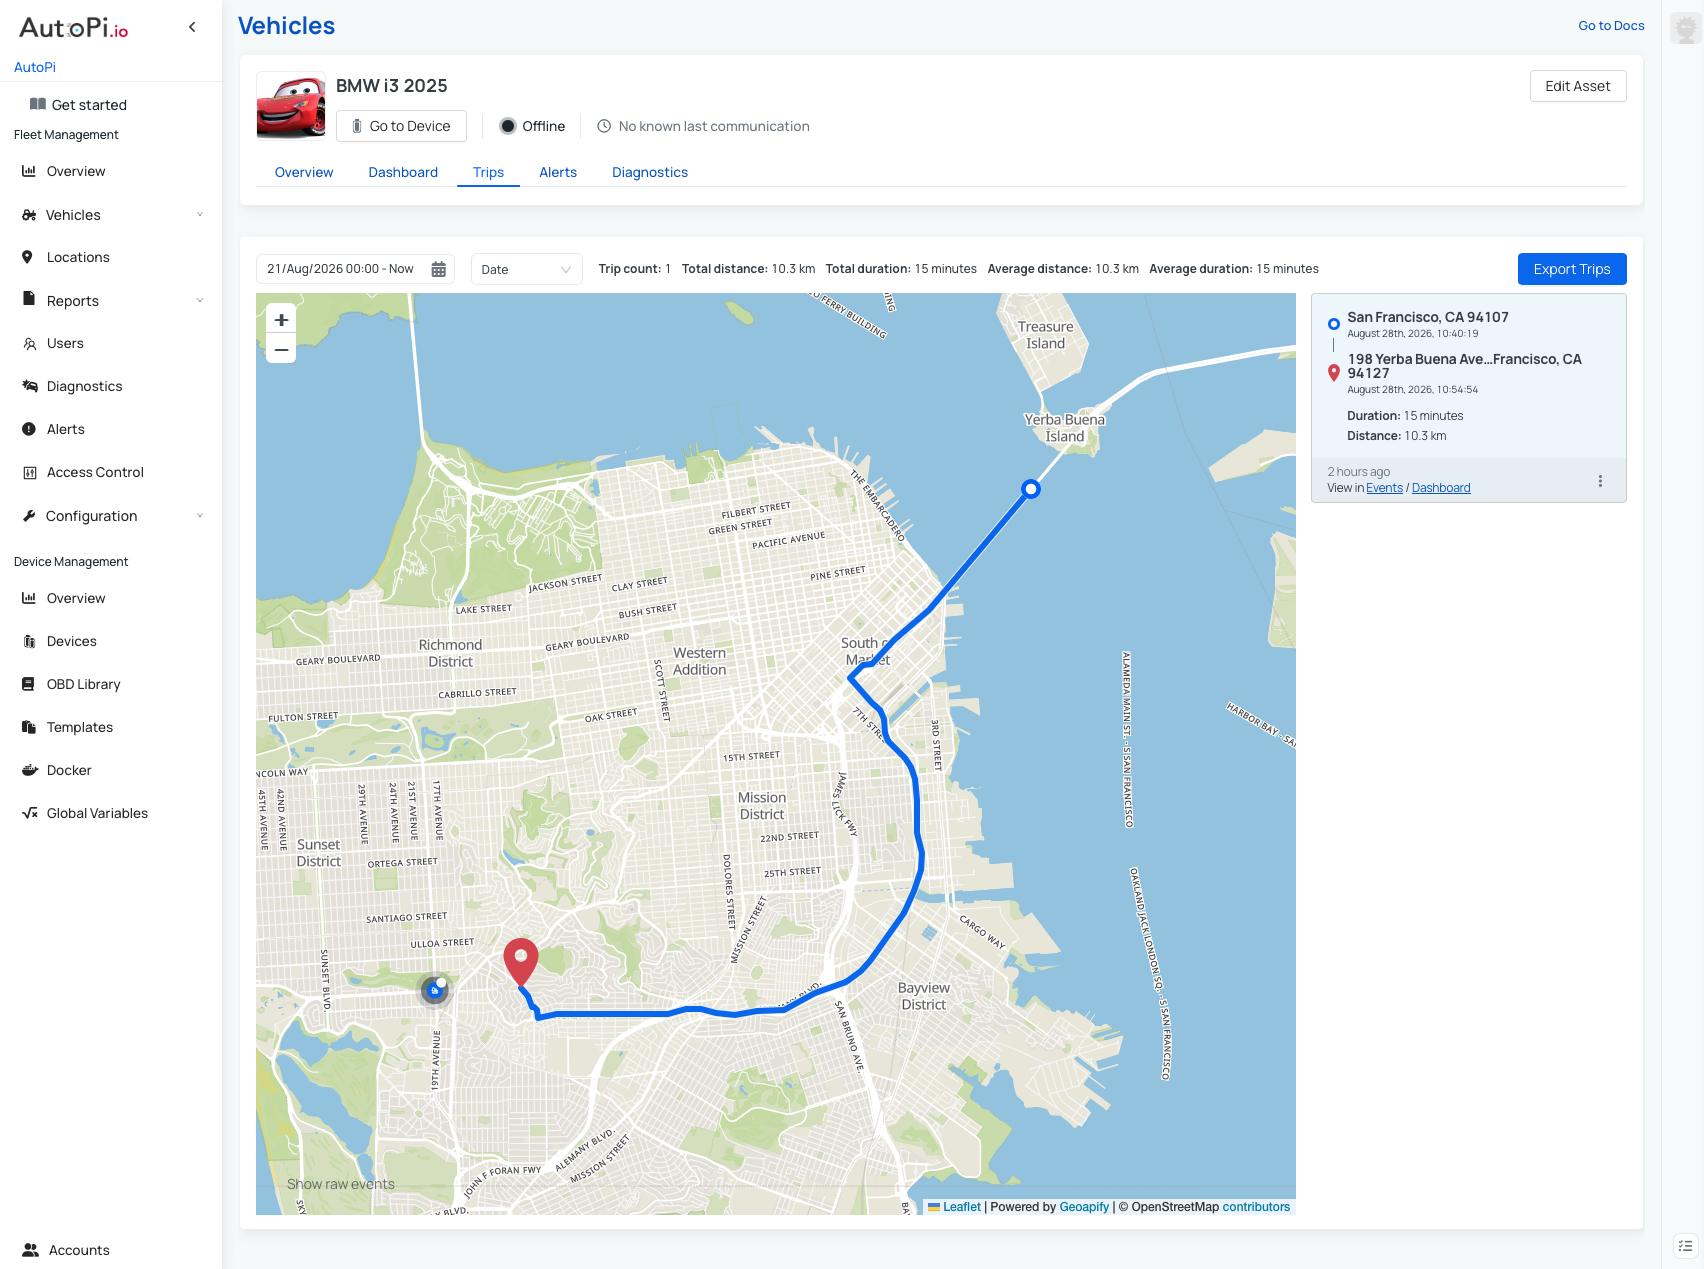
The Trips page displays the following information for each trip:
- Trip route displayed on a map.
- Starting and ending locations with addresses.
- Trip duration and Distance traveled.
- Events that occurred during the trip, such as engine status changes and position changes.
- Dashboard data including position, speed, battery level, and odometer reading.
You can also filter trips by date range, distance, or duration, and categorize trips as personal or business for better fleet management. Additionally, you can export trip data to CSV format for external analysis.
When troubleshooting trip-related issues, check the Events page on my.autopi.io to view all events logged from your device. This is often the best place to start when diagnosing why trips are being created or closed unexpectedly.
Configuring Trip Events
Trip events determine when the system should create and close trips. By default, the system uses engine events, but you can customize these to match your specific use case.
Understanding Trip Events
Trip events consist of two types:
- Start event: triggers trip creation. Example default for ICE vehicle is
vehicle/engine/running. - Stop event: triggers trip closure. Example default for ICE vehicle is
vehicle/engine/not_runningorvehicle/engine/stopped.
When your device sends these events, the AutoPi system automatically creates and closes trips accordingly. Read more about Events page here.
Typical Trip Lifecycle
A typical trip follows this sequence:
- Start event received → Trip is created.
- Trip data is collected.
- Stop event received → Trip is closed.
- If a new start event arrives within 10 minutes of the stop event → Trip is reopened.
- More trip data is collected.
- Stop event received → Trip is closed.
How to Configure Trip Events
- Navigate to Events Configuration: go to Device Management → Events in the AutoPi Cloud dashboard.
- View Available Events: browse the list of events sent by your device. The Events page displays all events logged from your device, including:
- Engine events (running, stopped, not running)
- Position events (moving, standstill)
- Custom events you've created
- Select Your Trip Start Event: choose the event that should signal the beginning of a trip. For most vehicles, this is
vehicle/engine/running. - Select Your Trip Stop Event: choose the event that should signal the end of a trip. For most vehicles, this is
vehicle/engine/stoppedorvehicle/engine/not_running. - Update Advanced Settings: navigate to Advanced Settings → Trip Configuration to apply your selected events.
- Configure Additional Settings: in the Advanced Settings, you can also adjust:
- Minimum trip interval: the minimum time (in minutes) between consecutive trips (default: 5 minutes)
- Other trip parameters depending on your device model.
Common Event Configurations
- ICE Vehicles (Internal Combustion Engine): sse the default
vehicle/engine/runningandvehicle/engine/stoppedevents. - Hybrid Vehicles: hybrid vehicles require special consideration since they can switch between electric and gas power. Use engine-based events (
vehicle/engine/runningandvehicle/engine/stopped) for trip detection, as this accurately captures when the vehicle is actively being driven. Alternatively, you can configure custom events based on power state transitions if your device supports them. - Electric Vehicles: you may need to configure custom events since electric vehicles don't have traditional engine on/off events. Consider using power cycle events or custom events that trigger when the vehicle transitions between idle and active states. See Setup power cycle for an electric vehicle for detailed guidance.
- J1939 Protocol: for heavy-duty vehicles using the J1939 protocol (commonly found in trucks and commercial vehicles), configure trip events based on J1939-specific parameters such as engine state, electronic control module (ECM) status, or vehicle speed signals. The available J1939 events depend on your device model and vehicle compatibility.
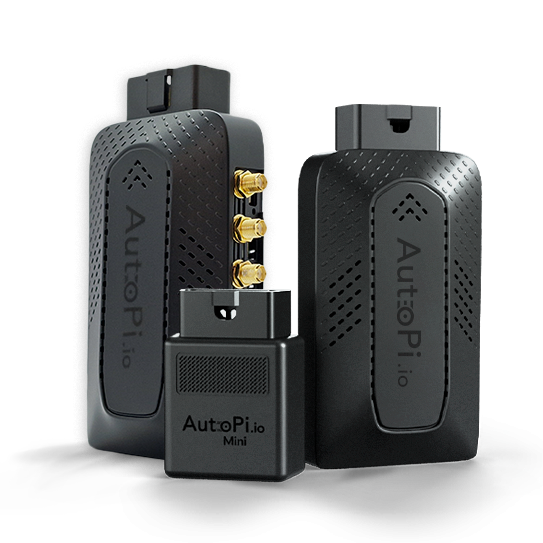
For AutoPi Mini and AutoPi CAN-FD Pro: the default trip events are trip/start and trip/stop instead of engine events.
Troubleshooting Trip Event Configuration
If trips are not being created or closed as expected:
- Check the Events page to verify that your selected events are being sent by your device.
- Confirm that the event names match exactly (they are case-sensitive).
- Review the trip generation logs in Events to identify any issues.
- Ensure the minimum trip interval is not preventing trip creation.
Advanced Settings for Trips
Beyond basic event configuration, you can fine-tune trip behavior using advanced settings. These options allow you to optimize trip creation and closure for your specific use case and vehicle type. To access all available trip settings navigate to Device Management → Device → Advanced Settings → Trip.
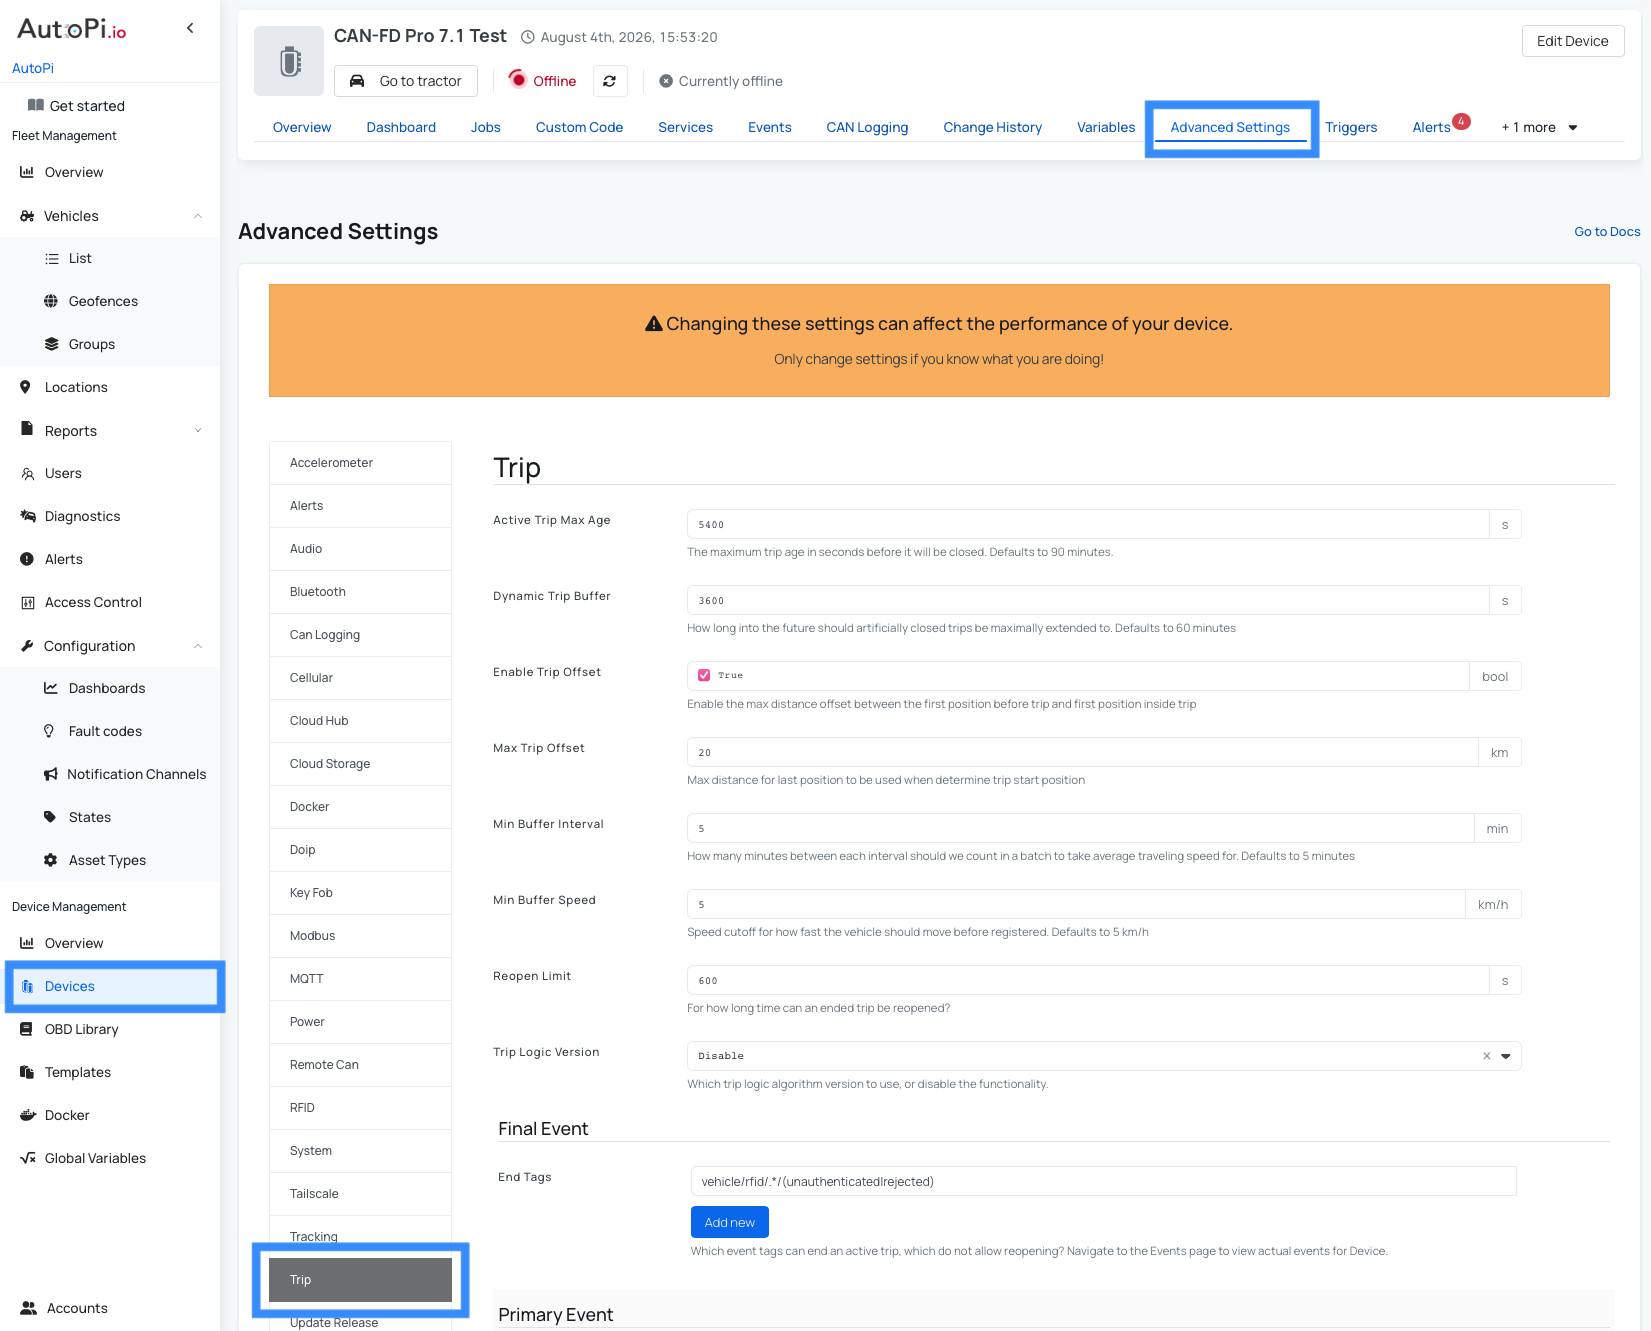
Here is an overview of all advanced settings:
- Active Trip Max Age: The maximum age (in seconds) for an active trip before it is automatically closed. Defaults to 90 minutes (5400 seconds). This setting prevents trips from remaining open indefinitely if the stop event is not received. For example, if a trip has been active for longer than the specified duration, it will be automatically closed.
- Dynamic Trip Buffer: Defines how long into the future artificially closed trips can be extended (in minutes). Defaults to 60 minutes. This setting controls how the system handles gaps between trip events, allowing consecutive trip events within the buffer window to be considered part of the same trip and preventing unnecessary trip fragmentation.
- Enable Trip Offset: When enabled, this setting applies a maximum distance offset (in kilometers or miles) between the first position before a trip starts and the first position inside the trip. This is useful for correcting GPS inaccuracies at trip boundaries. You can specify the max distance offset value to ensure accurate trip start position determination.
- Max Trip Offset: The maximum distance offset (in kilometers or miles) allowed for the last position used when determining the trip start position. This ensures that only positions within a reasonable distance are used to define where a trip began.
- Min Buffer Interval: The minimum time interval (in minutes) between each position reading that should be included in a batch for calculating average traveling speed. Defaults to 5 minutes. This setting helps smooth speed calculations by aggregating data over regular intervals.
- Min Buffer Speed: Speed cutoff threshold for vehicle movement registration (defaults to 5 km/h). Positions recorded at speeds below this threshold are not considered part of active trip movement, helping to filter out noise from stationary periods or slow idling.
- Reopen Limit: Specifies the maximum time window (in minutes) during which an ended trip can be reopened. If a new trip event occurs within this window after a trip has closed, the system can reopen the previous trip instead of creating a new one.
- Trip Logic Version: Specifies which trip generation algorithm to use. Choose from:
- Disable: Trip functionality is completely disabled
- Improved: Uses the latest and most advanced trip logic algorithm
- Legacy: Uses the older trip logic algorithm (original version)
- Final Event: The event that signals the definitive end of a trip. Used in complex trip logic scenarios.
- Primary Event: The main event that triggers trip start/stop. This is typically the engine running or engine stopped event.
- Secondary Event: An alternative or supplementary event used in conjunction with the primary event for trip detection.
See the whole overview of available settings and available fields Advanced Settings for Trip, where you can adjust event timing, trip closure behavior, and other parameters.
Tips for Configuring Advanced Settings
- Start with default settings and adjust gradually based on your trip data patterns.
- Monitor trip creation after making changes to ensure the new settings produce the desired results.
- Use the Events page to verify that your settings are working as expected.
- Consider your vehicle's typical usage patterns and GPS accuracy when adjusting offset and speed settings.
- For vehicles with unreliable GPS or frequent signal loss, increase the Dynamic Trip Buffer and Reopen Limit.
- Adjust Min Buffer Speed based on your vehicle's typical idle speed to avoid false trip detections.
- Use the Improved trip logic version for best results on modern vehicles.
Exporting Trip Data
The Trips page provides multiple options to export your trip data for analysis, reporting, or integration with external systems. Whether you need a quick export from the dashboard or programmatic access via the API, you can choose the method that best fits your needs.
Export via Cloud Dashboard
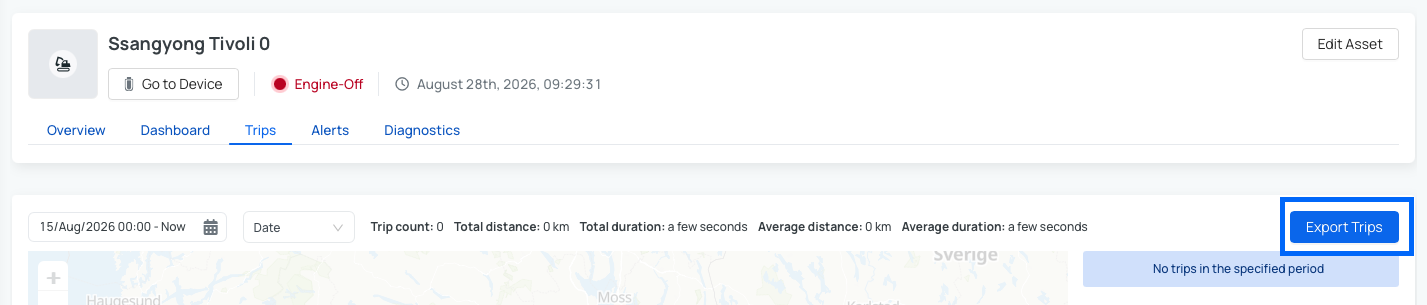
The simplest way to export trip data is directly from the Trips page:
- Select the trip/trips you want to export (based on filtering).
- Use the export function to download data in CSV format.
- This method is ideal for smaller exports or quick analysis.
Export via REST API
For more advanced use cases, you can use the AutoPi REST API to export trip data programmatically. This approach gives you access to raw data and allows for more flexible filtering and analysis.
Getting Started with the API
- Authenticate: Navigate to the API documentation portal and set up your authentication token. You can use multiple tokens for different access patterns and tools like Postman for manual requests.
- Retrieve trips: Use the Logbook trips list endpoint to fetch a list of all trips with their start and end times.
- Pull trip data: Use the following endpoints to retrieve detailed data for each trip:
For step-by-step API setup instructions, see Getting started with API.
There is no single API endpoint that retrieves all trip data at once because trip data can be very large. The AutoPi system is optimized for fast querying and filtering of large datasets, but downloading large amounts of data in a single request is not recommended.
For AutoPi TMU CM4 devices, you can set up automatic trip export. Business customers can also configure webhooks to notify external systems when exports are ready. Learn more in Automatic Exports.
 Shop AutoPi devices
 Compare devices
 Contact sales
 Contact support