Create Custom Services


Sometimes, the pre-defined services won't implement the functionality that you're looking to have in your AutoPi. It is possible to create custom services that run on the device alongside the rest of AutoPi's services. This guide will explore how to do that.
Creating a Custom Service
Make sure that your device is updated, as that will otherwise prevent you from syncing the modules.
-
Go to the Services section and click Create.
-
Fill out the fields, and click save.
-
The service along with a custom module has now been created.
-
Now you can navigate to the custom module and change the code. See examples below
-
Now sync the changes by clicking the sync button or restarting the device which automatically pulls the changes.
-
When asked if you want to restart the salt-minion process, you should click yes, as the service is not loaded until the process has been restarted. You can also restart the minion process by running the following commands:
# In web terminal
$ minionutil.restart

# In SSH terminal
$ systemctl restart salt-minion
PIP Requirements
You can add PIP requirements to custom code modules like so:
You must follow the default python requirements.txt convention to define your PIP requirements.
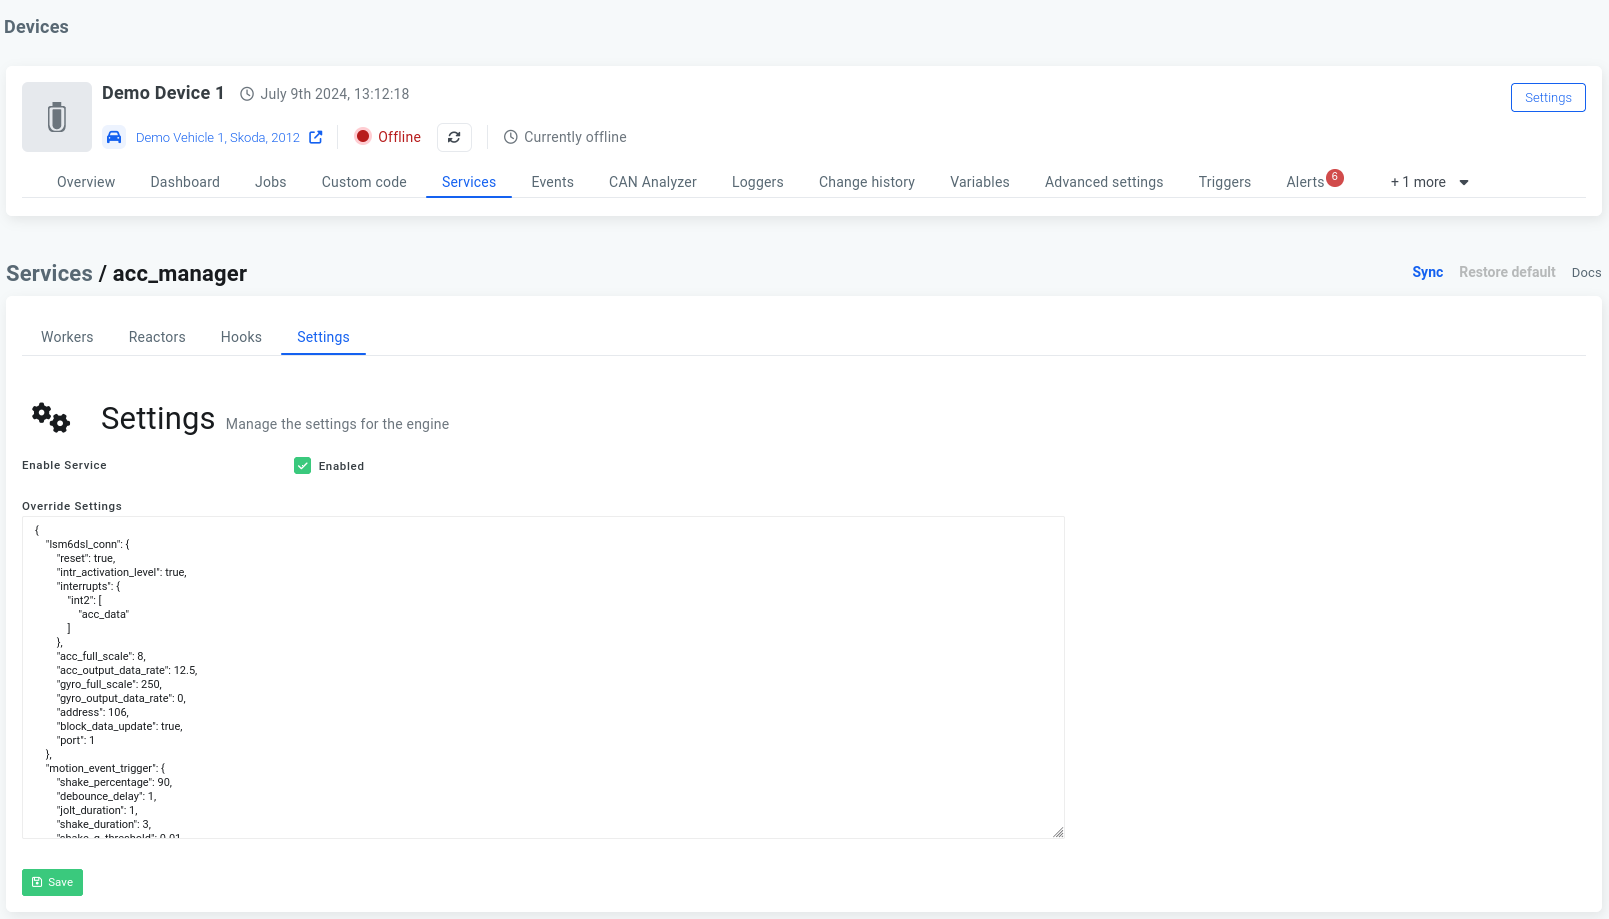
Pass Settings Into the Service.
To pass settings into the service, you should set the settings field to a valid JSON object.

Which can then be accessed inside the service like so:
some_setting = settings.get("some_setting", "default_value")
A Few Examples
Log Hello World Every 5 Seconds
Let's try creating a service that simply outputs "Hello World" to the log every 5 seconds.
import logging
import time

log = logging.getLogger(__name__)

def start(**settings):
    try:
        log.info("Starting SERVICE with settings: {:}".format(settings))

        while True:
            log.info('HELLO WORLD, anything new in the last 5 seconds?')
            time.sleep(5)

    except Exception:
        log.exception("Failed to start SERVICE")

        raise
    finally:
        log.info("Stopping SERVICE")

        # Stop everything, close connections etc.
And if you have info level debugging configured on your device, you should now see it logging
'HELLO WORLD' every 5 seconds.
The log level of the device can be changed from the advanced settings, under System > Logging level
Basic Service With Support for Configuring Workers From the Cloud Interface and Reporting of Failures Via Events.
import logging
import time

from common_util import factory_rendering
from messaging import EventDrivenMessageProcessor

log = logging.getLogger(__name__)

context = {
}

edmp = EventDrivenMessageProcessor("custom_service", context=context)

@factory_rendering
def start(**settings):
    try:
        log.info("Starting custom manager")

        context["settings"] = settings

        # Init the message processor
        edmp.init(__salt__, __opts__,
            hooks=settings.get("hooks", []),
            workers=settings.get("workers", []),
            reactors=settings.get("reactors", []))
        edmp.run()

        # Initialize stuff here

    except Exception as ex:
        log.exception("Failed to start custom manager")

        if settings.get("trigger_events", True):
            try:
                edmp.trigger_event({
                    "reason": str(ex),
                }, "system/service/{:}/failed".format(__name__.split(".")[-1]))
            except:
                log.exception("Unable to trigger service failed event")

        restart_delay = settings.get("restart_delay", 1)
        if restart_delay:
            log.info("Enforcing restart delay of {:} second(s)...".format(restart_delay))
            time.sleep(restart_delay)

        raise

    finally:
        log.info("Stopping custom manager")
        # Clean up
Listen to MQTT Topics
This service will subscribe to all topics and log the messages. Remember to add the following PIP requirements to the module:
paho-mqtt==1.5.0
Code:
import logging
import paho.mqtt.client as mqtt

log = logging.getLogger(__name__)

connect_results = {
    0: "Connection accepted",
    1: "The Server does not support the level of the MQTT protocol requested by the Client",
    2: "The Client identifier is correct UTF-8 but not allowed by the Server",
    3: "The Network Connection has been made but the MQTT service is unavailable",
    4: "The data in the user name or password is malformed",
    5: "The Client is not authorized to connect",
}

def on_message(mqttc, obj, msg):
    log.info(msg.topic + " " + str(msg.qos) + " " + str(msg.payload))

def on_subscribe(mqttc, obj, mid, granted_qos):
    log.info("Subscribed: " + str(mid) + " " + str(granted_qos))

def on_log(mqttc, obj, level, string):
    log.info(string)

def on_connect(mqttc, obj, flags, rc):
    result = "{:}: {:}".format(rc, connect_results.get(rc, "Unknown result code"))
    if rc == 0:
        log.info(result)
    else:
        raise Exception(result)

    try:
        mqttc.subscribe("#", qos) # Subscribes to all topics.
    except Exception as ex:
        log.exception("Exception occurred when setting up registers")

# glocal settings
qos = 0

def start(**settings):
    global qos

    usetls = True
    tlsVersion = None # will use most recent version
    cacerts = None

    port = 8883
    host = ""
    username = "username"
    password = "password"

    debug = False
    keepalive = 60

    # Setup
    mqttc = mqtt.Client(None, clean_session=True)
    if usetls:
        mqttc.tls_set(ca_certs=cacerts, certfile=None, keyfile=None, cert_reqs=ssl.CERT_REQUIRED, tls_version=tlsVersion)
    mqttc.username_pw_set(username, password)

    mqttc.on_message = on_message
    mqttc.on_connect = on_connect
    mqttc.on_subscribe = on_subscribe

    if debug:
        mqttc.on_log = on_log

    try:
        log.info("Starting MQTT engine")

        log.info("Connecting to {:} port: {:}".format(host, port))
        mqttc.connect(host, port, keepalive)
        mqttc.loop_forever(retry_first_connection=True)

    except Exception:
        log.exception("Failed to start MQTT engine")

        raise
    finally:
        log.info("Stopping MQTT engine")
        mqttc.disconnect()
Further inspiration on how to write custom services (or engines as they are also called):
 Buy AutoPi device
 Compare all AutoPi devices