Device Install Procedure
This guide is applicable to the following device / devices:


Mini
TMU CM4
CAN-FD Pro
CAN-FD Pro +IP67 casing
This guide provides clear instructions on how to connect your AutoPi device to a vehicle. While most users will pair their device with a single vehicle, the AutoPi system also supports switching between multiple vehicles. If you plan to move the device between different vehicles, ensure that the device synced the changes once plugged into the new vehicle to avoid any data loss.
Connecting Your AutoPi Device to a Vehicle
Follow the steps below to connect your AutoPi device to either a new or existing vehicle.
Step-by-Step Instructions
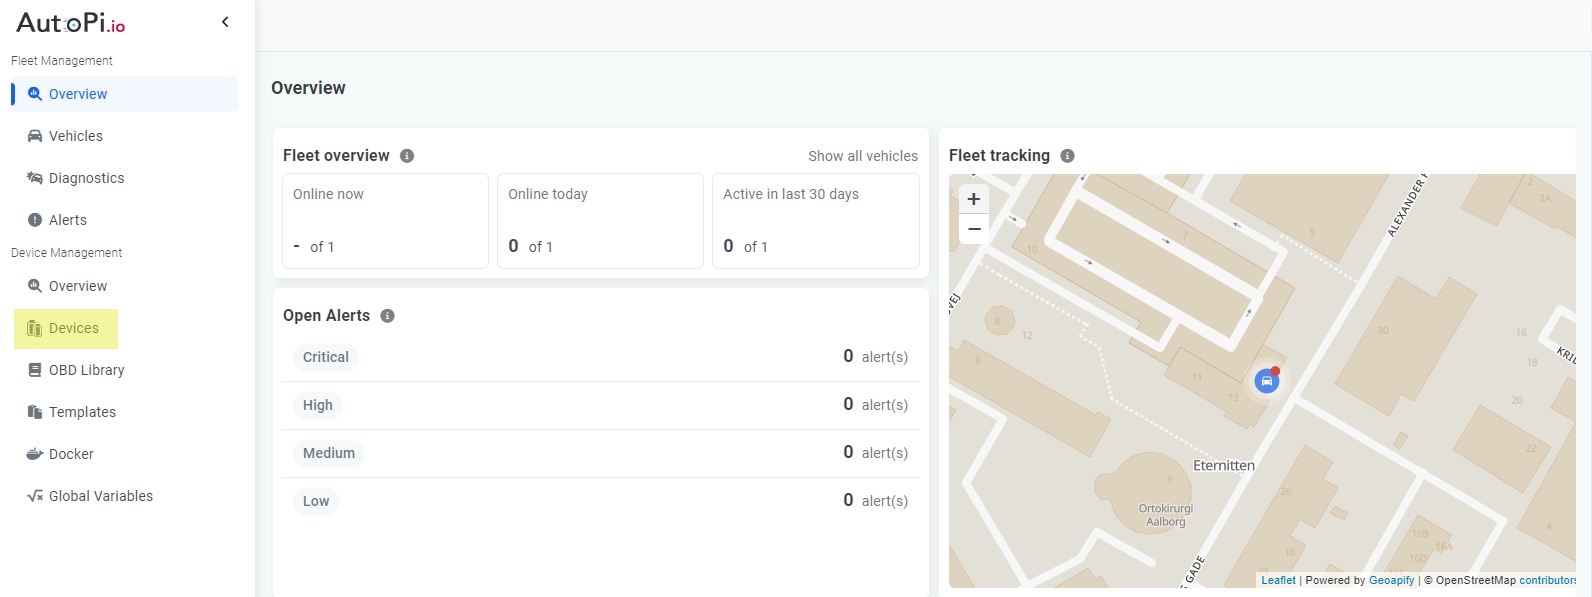
- Log in to the AutoPi Cloud Platform using your account credentials.
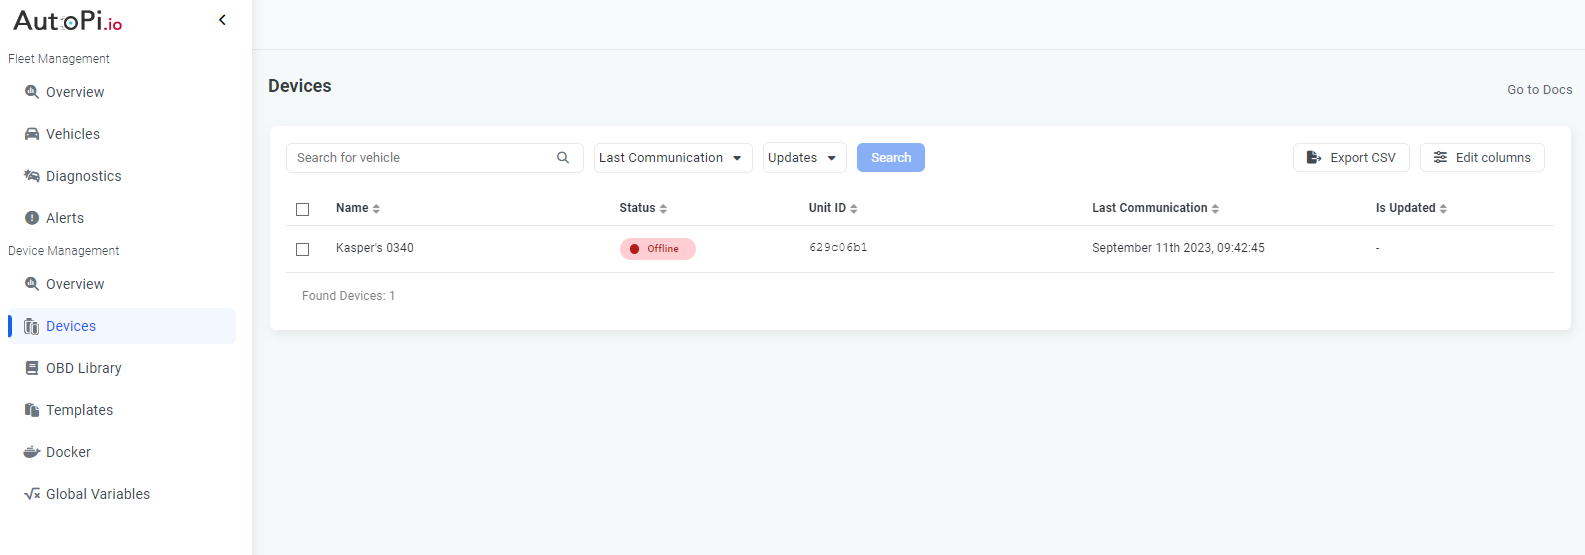
- From the main dashboard, go to the Devices tab.
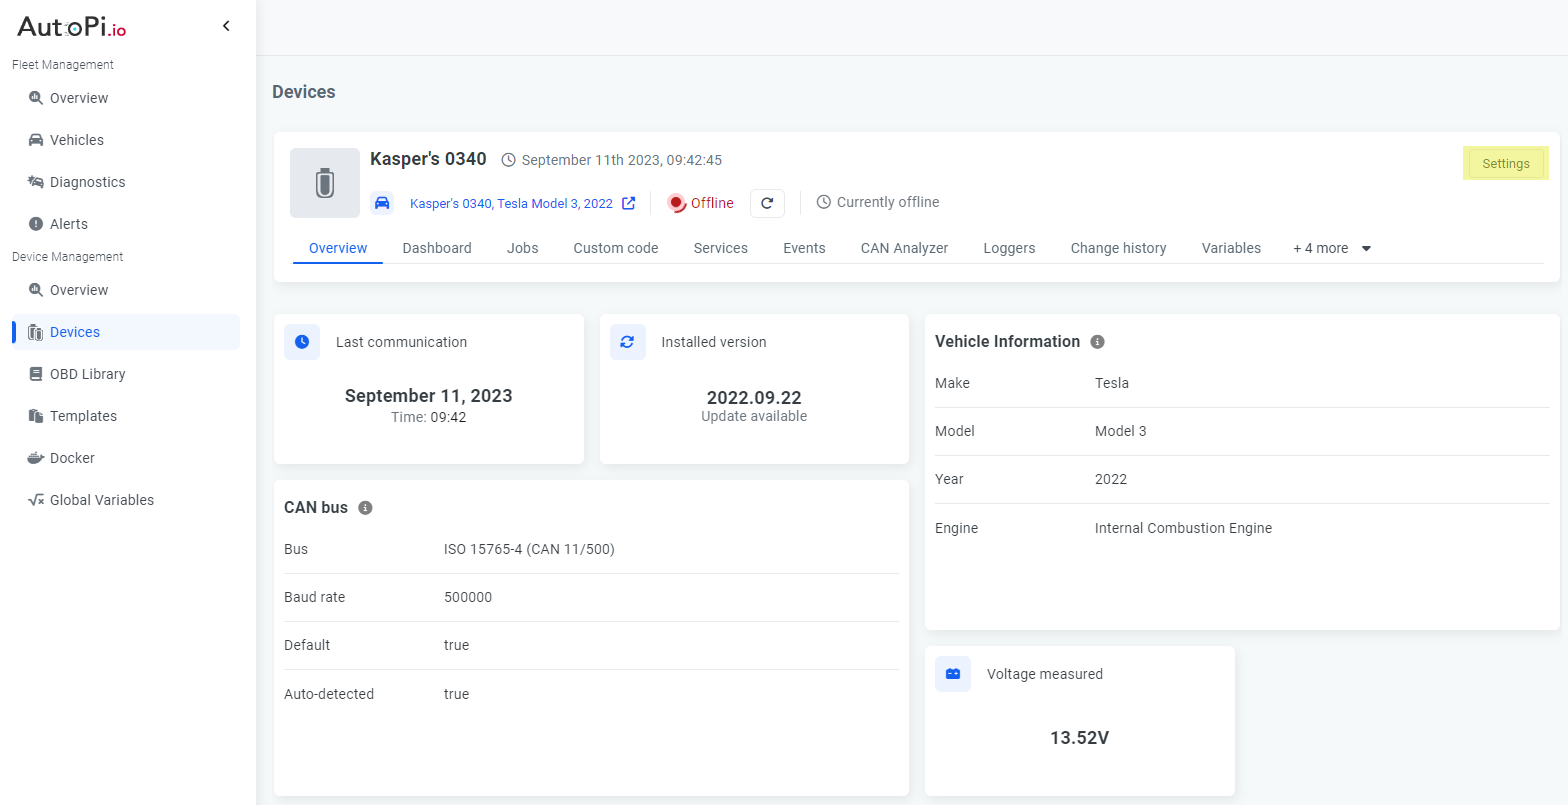
- Select the device you want to configure.
- Click the Settings button in the upper-right corner.
Option A: Pair with a New Vehicle
If you haven't created a vehicle yet, follow these steps:
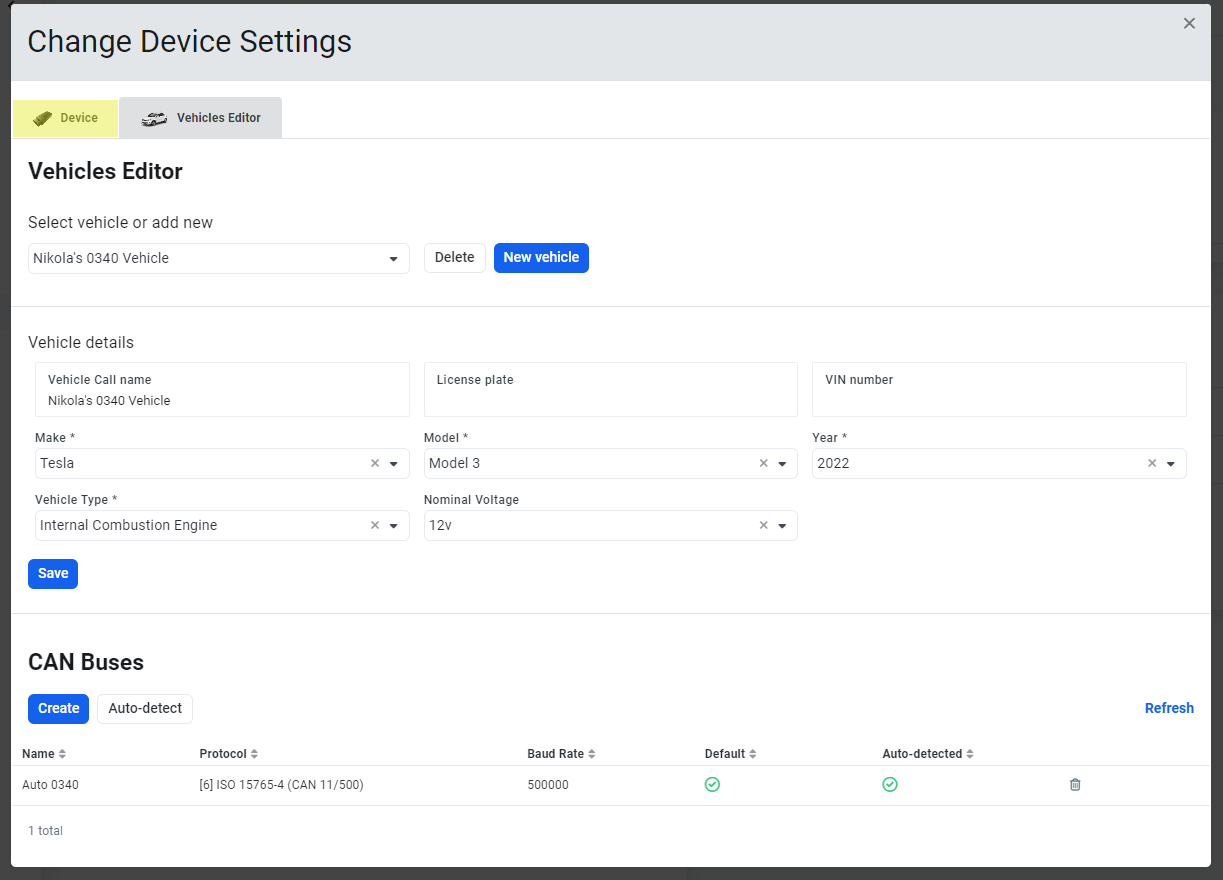
- In the settings pop-up, go to the Vehicles Editor tab.
- Click the New Vehicle button.
- Fill in the required vehicle details, such as:
- Make
- Model
- Year
- Vehicle type
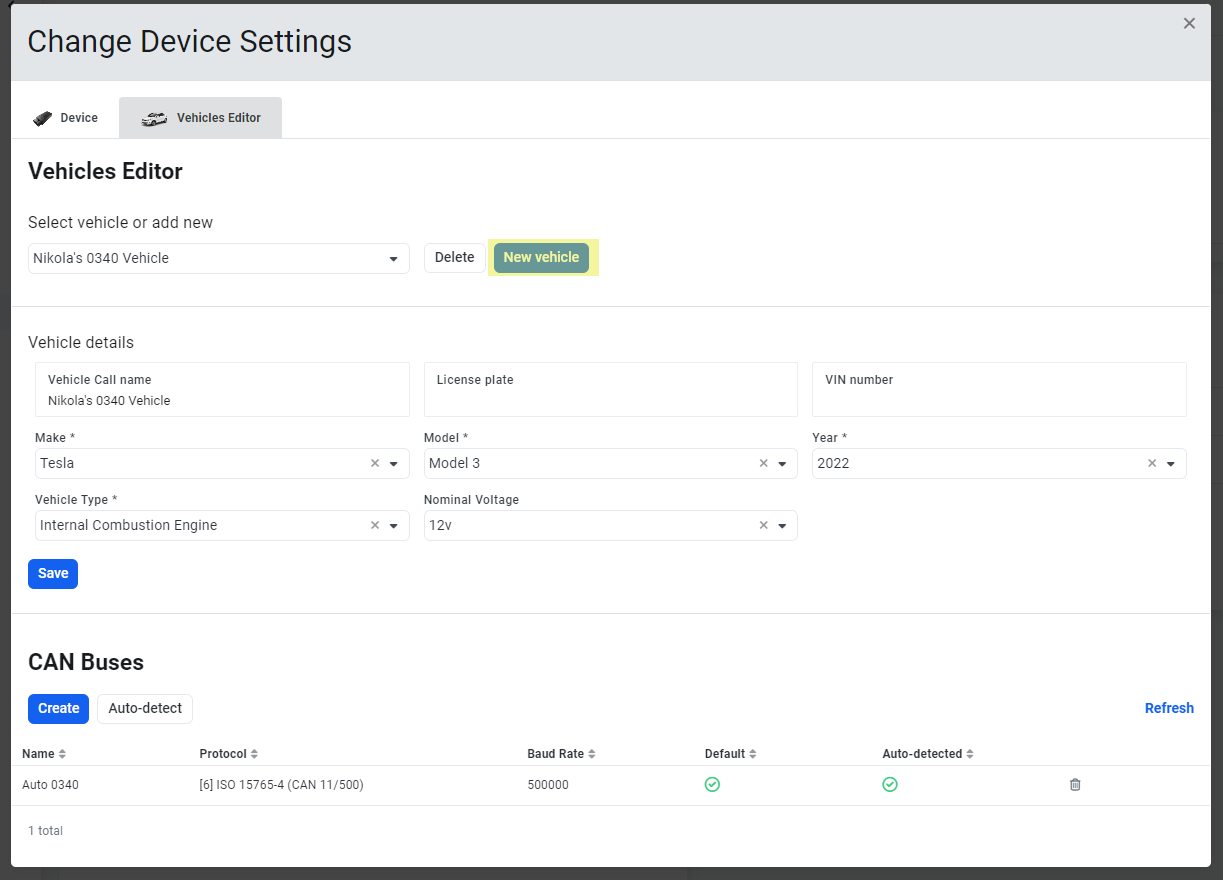
- (Optional) Set up CAN bus settings if applicable.
- Click Save to store the changes. Your AutoPi device is now paired with the new vehicle.
Option B: Connect to an Existing Vehicle
If a vehicle is already set up, follow these steps:
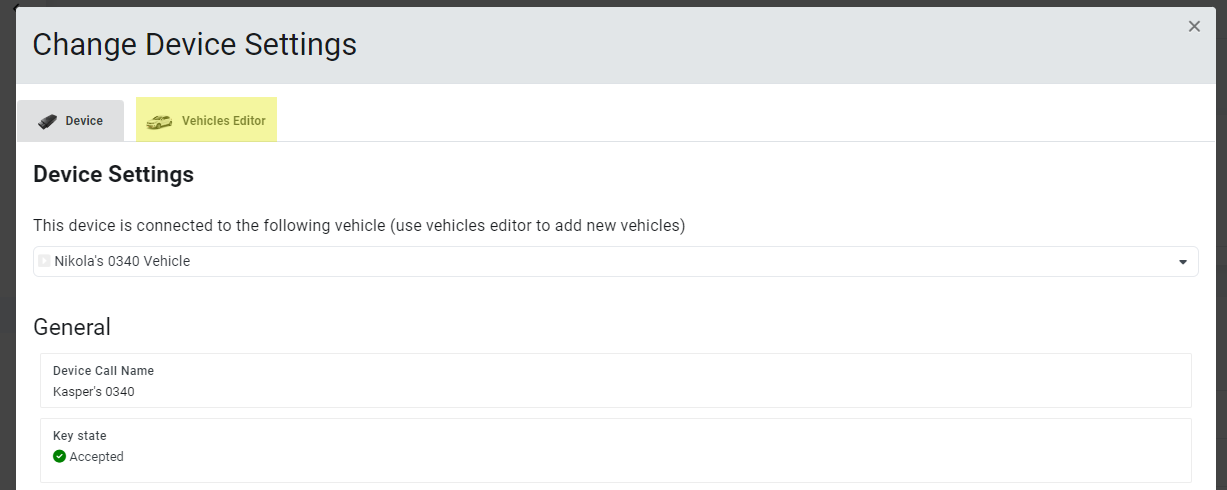
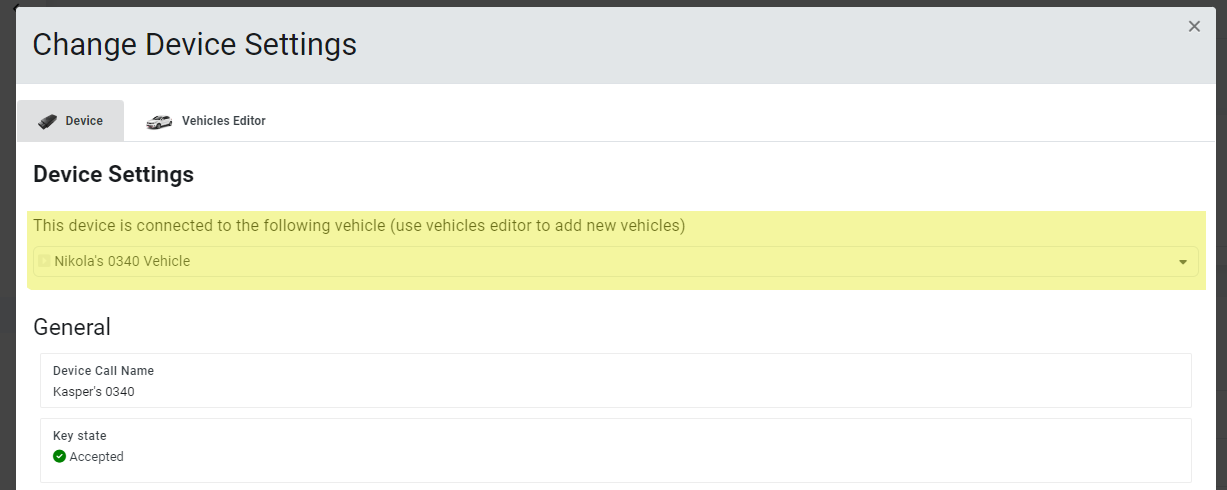
- In the settings pop-up, go to the Device tab.
- At the top of the device settings, there is a dropdown menu showing the currently connected vehicle.
- Click the dropdown to view a list of all existing vehicles. Select the one you want and click Save.
Final Step
Your AutoPi device is now successfully paired with a vehicle and ready for use!
 Buy AutoPi device
 Compare all AutoPi devices
 Contact our sales team