How to connect to Tailscale on your Autopi device

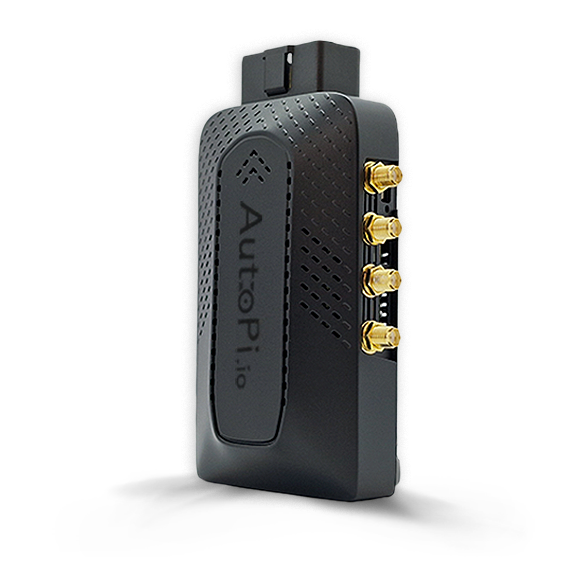
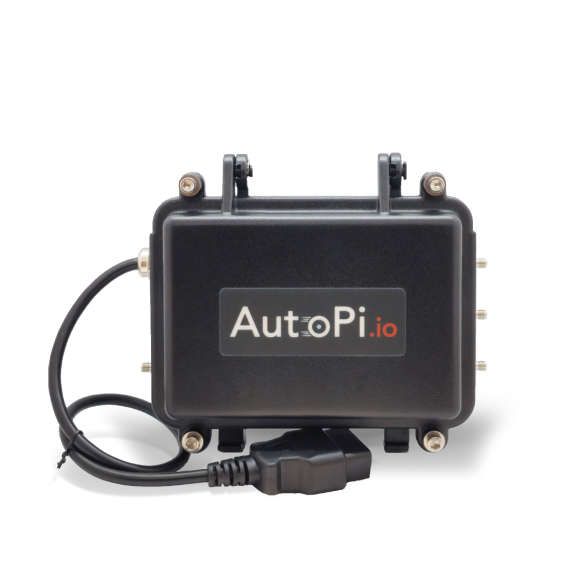
Tailscale enables secure, software-defined networking that connects users, services, and devices over a private network. Your AutoPi device comes with Tailscale pre-installed but inactive, giving you full control over when to enable it. This guide walks you through setting up Tailscale to establish secure remote access to your AutoPi device.
For a visual walkthrough, check out this Tailscale quickstart video guide.
1. Enable Tailscale on Your Device
Before connecting to Tailscale, you must first enable it on your AutoPi device:
-
Navigate to Devices on AutoPi Cloud.
-
Click the device you want to configure.
-
Go to Advanced Settings > Tailscale.
-
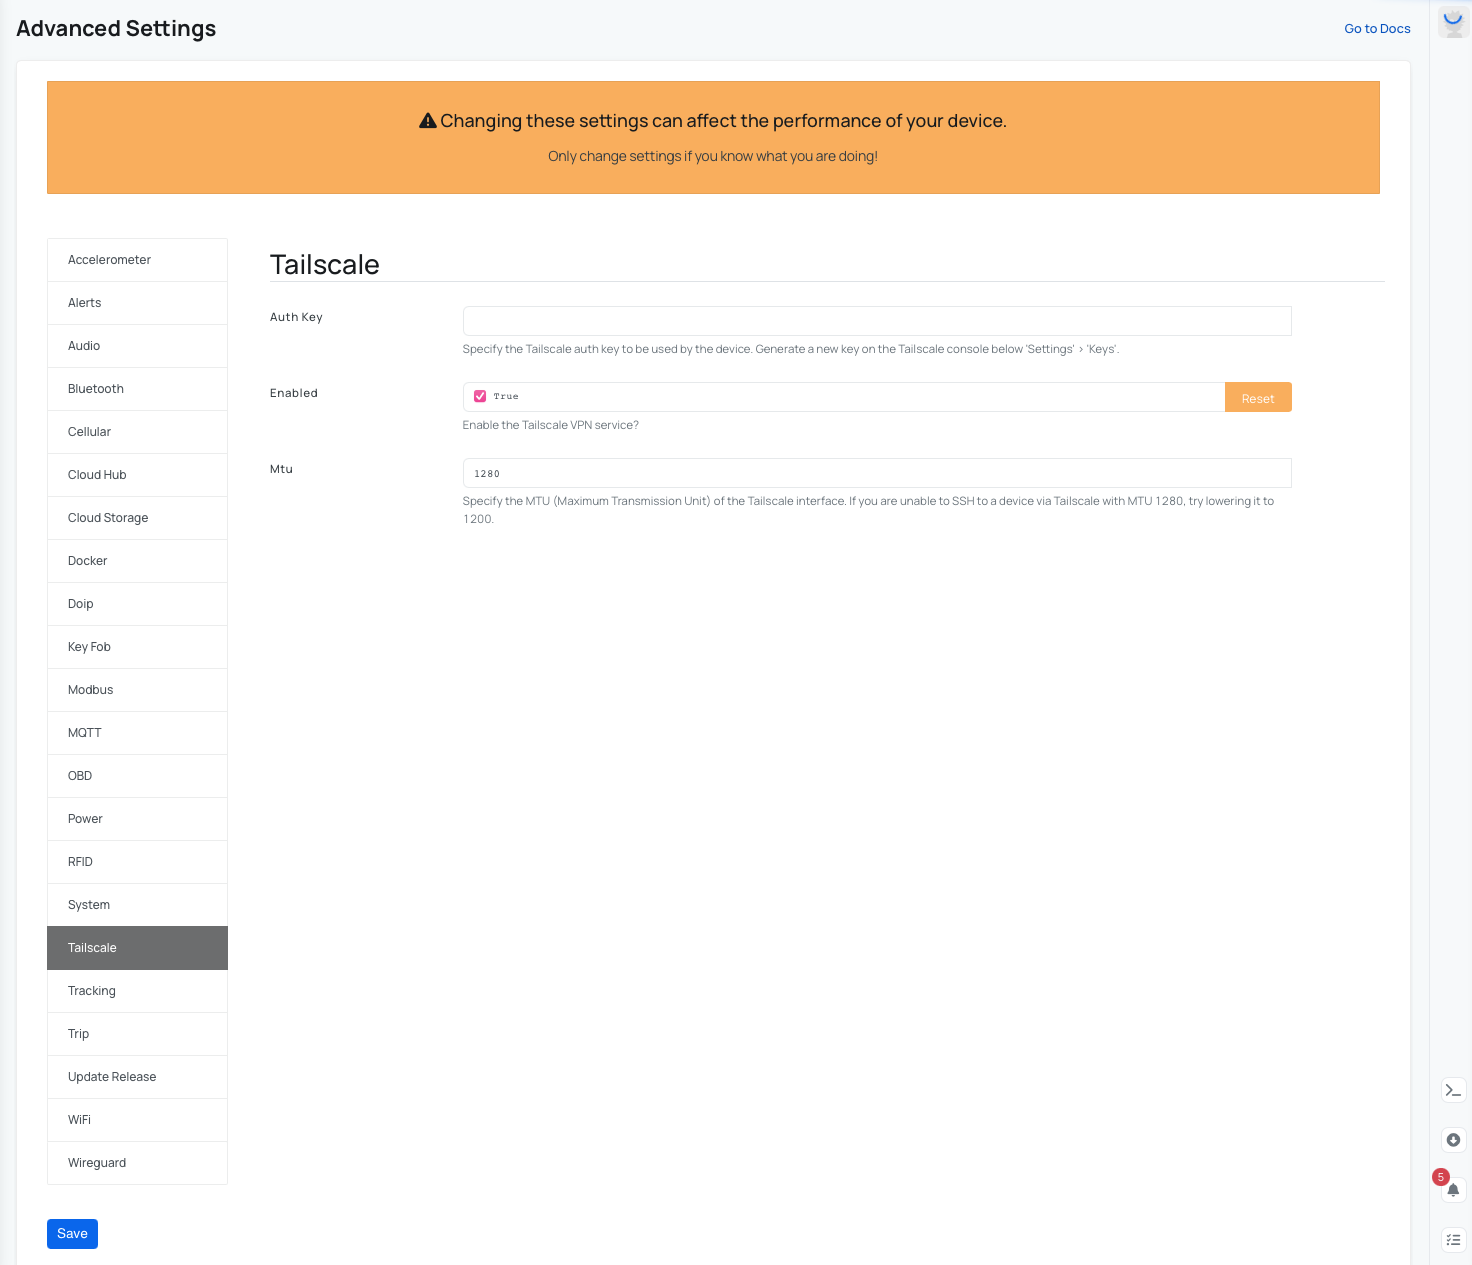
Check if Tailscale is already enabled. If enabled, it will look like this:
-
If not enabled, click to enable it. Your device will create a pending sync that needs to be applied:

-
Click the sync button to apply the change to your device.
2. Create a Tailnet
Visit Tailscale.com and select Get Started. Alternatively, download and install the Tailscale client on your computer, then sign up.
3. Open Tailscale on Your Computer
There are several ways to access Tailscale:
- Windows/macOS/Linux: Open the Tailscale app from the system tray or menu bar.
- Android/iOS: Open the Tailscale app from your app drawer.
- CLI (Linux/macOS/Windows): Open a terminal and run:
tailscale up
4. Log In to Tailscale
Complete the authentication process on your computer:
- If not already logged in, the app will prompt you to authenticate.
- Click Log In, and a browser window will open.
- Choose your authentication method (Google, Microsoft, GitHub, or custom SSO).
- After logging in, approve the request to connect your device to the network.
5. Generate and Configure Auth Key
Generate an authentication key for your AutoPi device:
- Generate an auth key at Tailscale Settings.
- Use one of the following options to configure the key on your device:
Option 1: Via AutoPi Cloud Settings
- Navigate to Devices on AutoPi Cloud.
- Click your device.
- Go to Advanced Settings > Tailscale.
- Paste the auth key and verify Tailscale is enabled.
Option 2: Via Terminal Command
Run the following command in the device terminal:
cmd.run 'tailscale up --authkey=tskey-KEYKEY-KEYKEYKEYKEY'
Replace the example auth key with your actual key generated in the previous step.
6. Confirm Connection
Verify that your device is connected:
- Your device should appear in the Tailscale admin panel.
- In the Tailscale app, you should see Connected with an assigned Tailscale IP (e.g., 100.x.x.x).
- If using CLI, check your connection status:
tailscale status
7. Test Your Connection
Verify everything is working correctly:
- Check your Tailscale admin panel to confirm both your computer and device are listed.
- You can now SSH from your computer to your device for full remote access.
8. Optional: Configure Exit Node
To route all traffic through another device on your network:
- Open the Tailscale app.
- Click Use Exit Node and select a device.
- Alternatively, on CLI, run:
tailscale up --exit-node=100.x.x.x
9. Disconnect When Needed
To disconnect from Tailscale:
- In the Tailscale app, click Disconnect.
- Alternatively, on CLI, run:
tailscale down
Manage Tailscale Service
To prevent excessive data usage, you can permanently disable Tailscale:
Disable and stop service:
cmd.run 'systemctl disable tailscaled'
cmd.run 'systemctl stop tailscaled'
Re-enable and start service:
cmd.run 'systemctl enable tailscaled'
cmd.run 'systemctl start tailscaled'
You're all set! Your AutoPi device is now connected to Tailscale, providing you with secure remote access to your device from anywhere.
 Buy AutoPi device
 Compare all AutoPi devices
 Contact our sales team
 Contact our support team