Amazon Web Services (AWS) S3 Bucket Creation


This guide will walk you through on how to create an Amazon Web Services (AWS) S3 bucket. If you want your data from AutoPi CAN-FD Pro device to be uploaded to Amazon S3 bucket, you will need to create a AWS account and S3 bucket and configure the settings for Output handlers in AutoPi cloud.
Quick Start Summary:
- Create an Amazon Web Services account.
- Create an S3 Bucket.
- Create users and assign permissions.
- Create Access key and secret key to access the S3 bucket (make sure to save it).
- Fill in Access Key ID, Access Secret Key and Destination Path under CAN Logger on AutoPi cloud.
What is AWS S3?
Amazon S3 (Simple Storage Service) is a cloud-based storage service offered by Amazon Web Services (AWS). An S3 bucket is essentially a container where you can store and organize files (called "objects") such as logs, images, videos, backups, and more. Each bucket can hold an unlimited number of files and is accessible over the internet, making it ideal for securely storing and retrieving data from anywhere.
If you need help, this guide can also be helpful: Getting started with AWS.
AWS Bucket Creation
Follow the steps below to create AWS S3 bucket.
Step 1: Create an Amazon Web Services (AWS) account
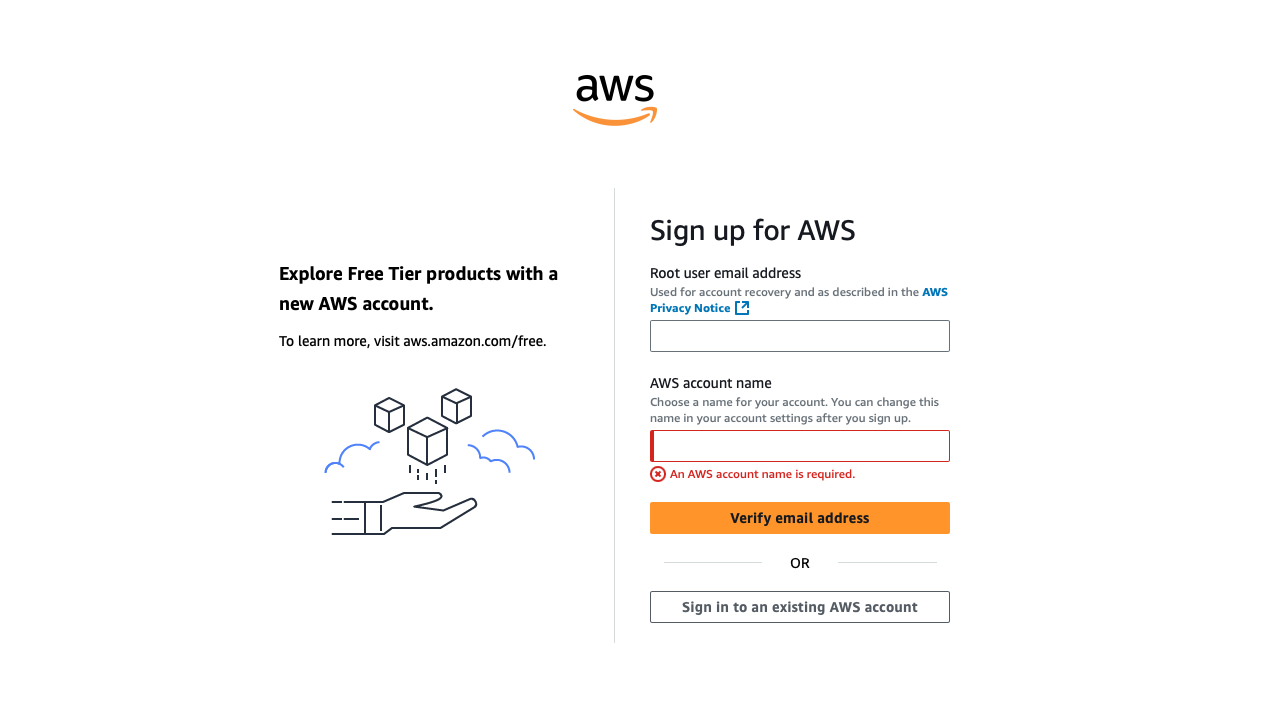
- Open this link to access: Amazon's AWS portal.
- Sign up: fill out your email address and AWS account name and click on "Verify email address".
- Verification code is included in the auto-generated email and send to the email address you provided;
- To complete the sign up process you need to follow the instructions provided in the email and finish up 5 steps: choose your password, fill in your contact information, fill in your billing information, confirm your identity and lastly select a support plan.
Once the sign up process is finalized the "root user" is created as an account owner on AWS. Make sure this a correct user as it will allow the user to access all AWS services and resources in the account.
Step 2: Create a Bucket
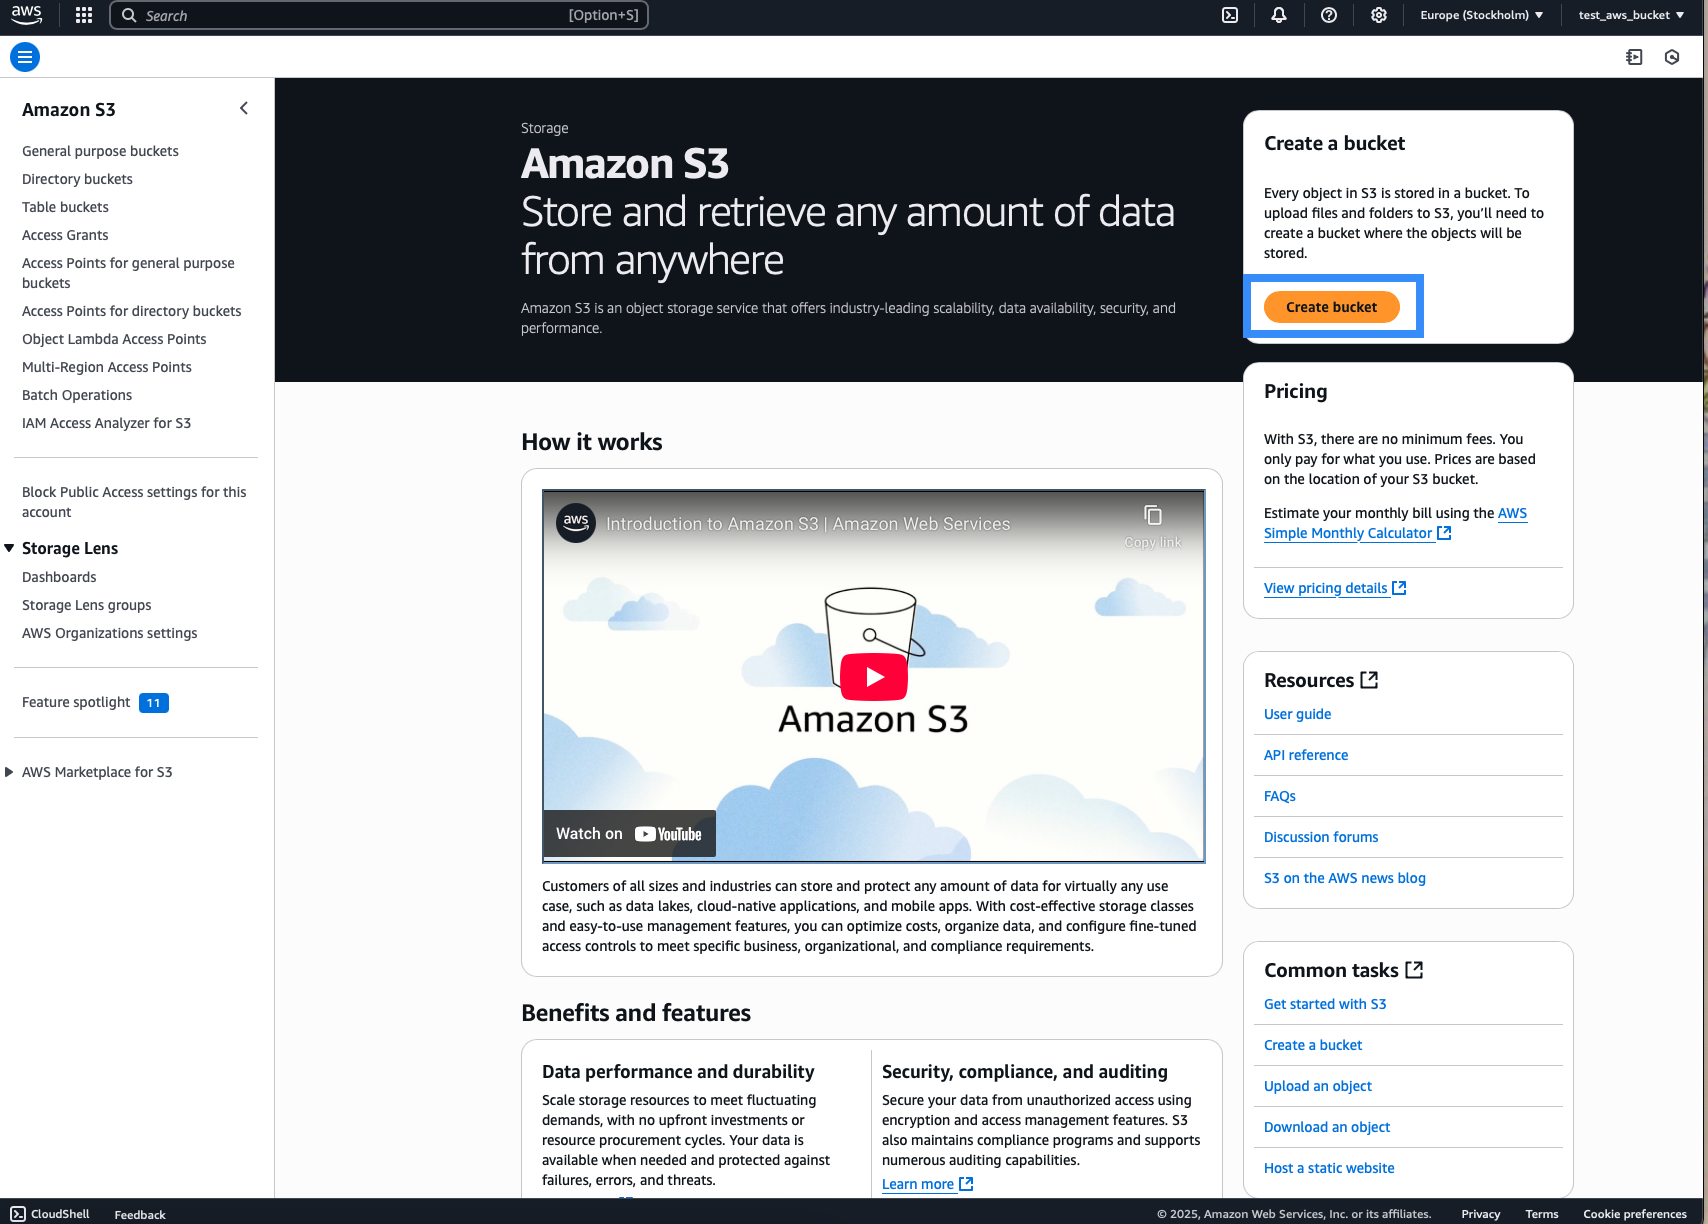
- Sign in to your AWS account.
- Open S3 console by navigating to "Services" and choosing "Storage".
- Click on "Create bucket" in the upper right corner.
- Fill in all required fields: Bucket name and AWS Region (if not already set).
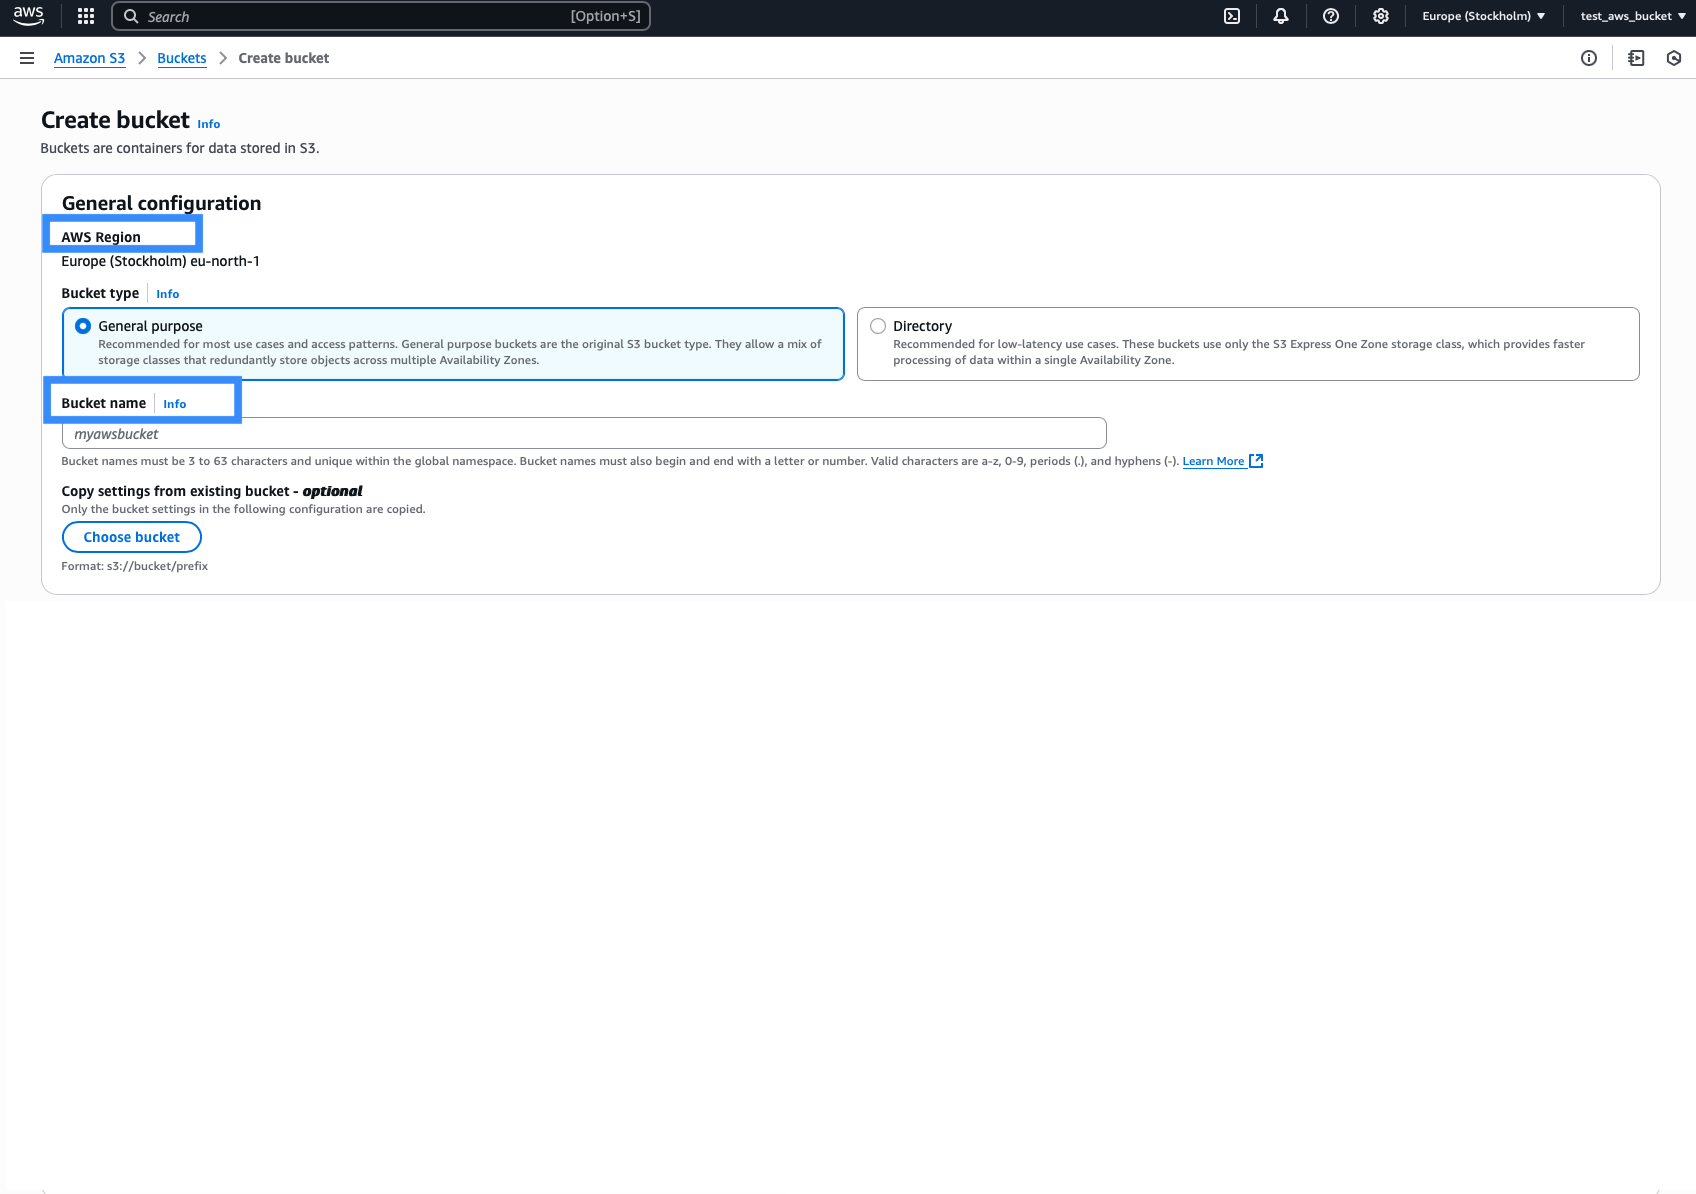
- Optionally copy settings from existing bucket.
- Click on "Create bucket" at the bottom of the page.

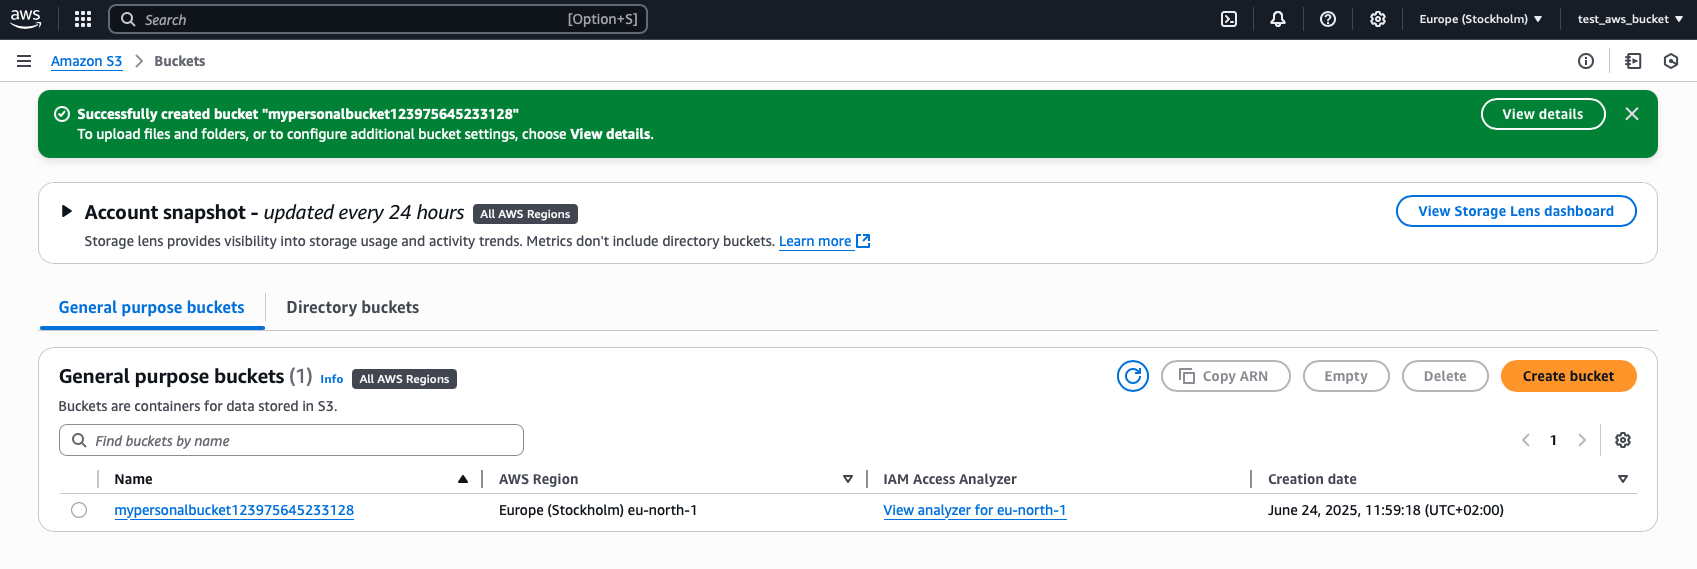
- Once created, the bucket can be seen in the buckets list.
Enter a globally unique bucket name following AWS naming conventions. You can read more here: General purpose bucket naming rules.
(Optional) Upload a Test File: Open your new bucket and click "Upload" to add a file or folder to verify the bucket is working correctly.
Access Key and Secret Key Creation
In order to allow your AutoPi CAN-FD Pro device to send data to your S3 bucket you need to generate and store IAM (Identity and Access Management) credentials.
Step 1: Create Users with Correct Permissions
- Sign in to an existing AWS account by clicling here.
- Open IAM console by navigating to Services > All services > IAM.
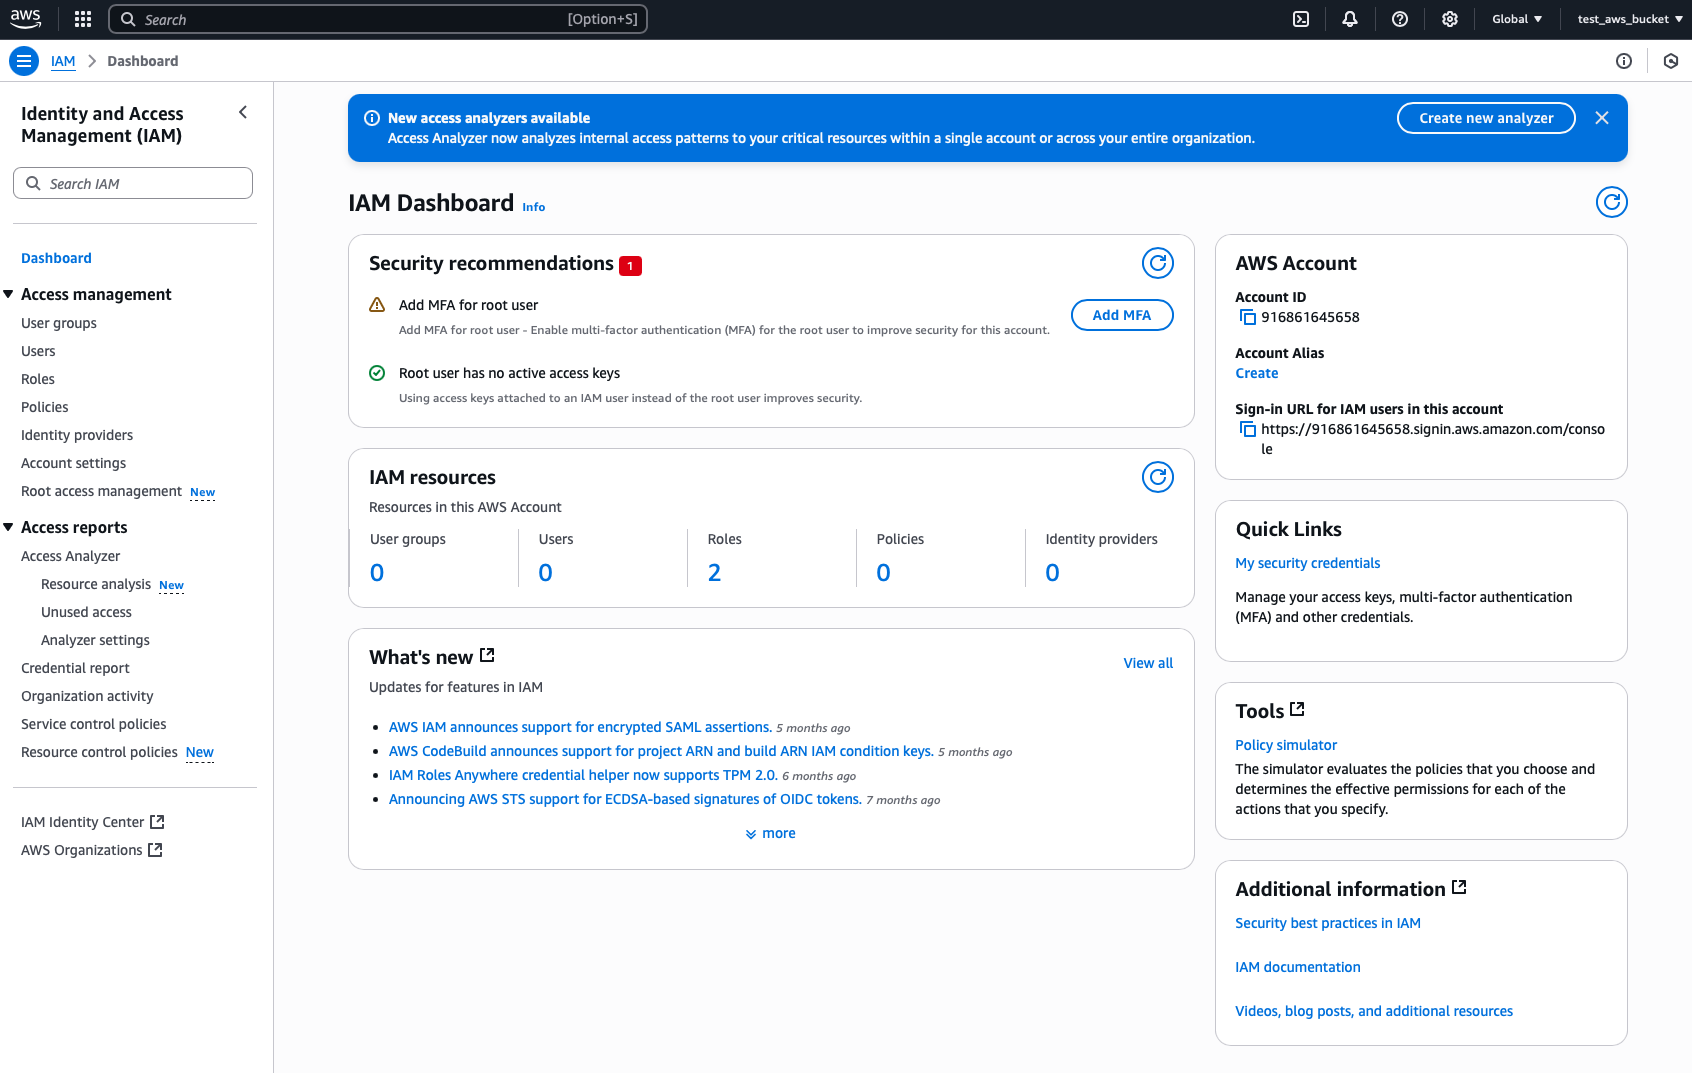
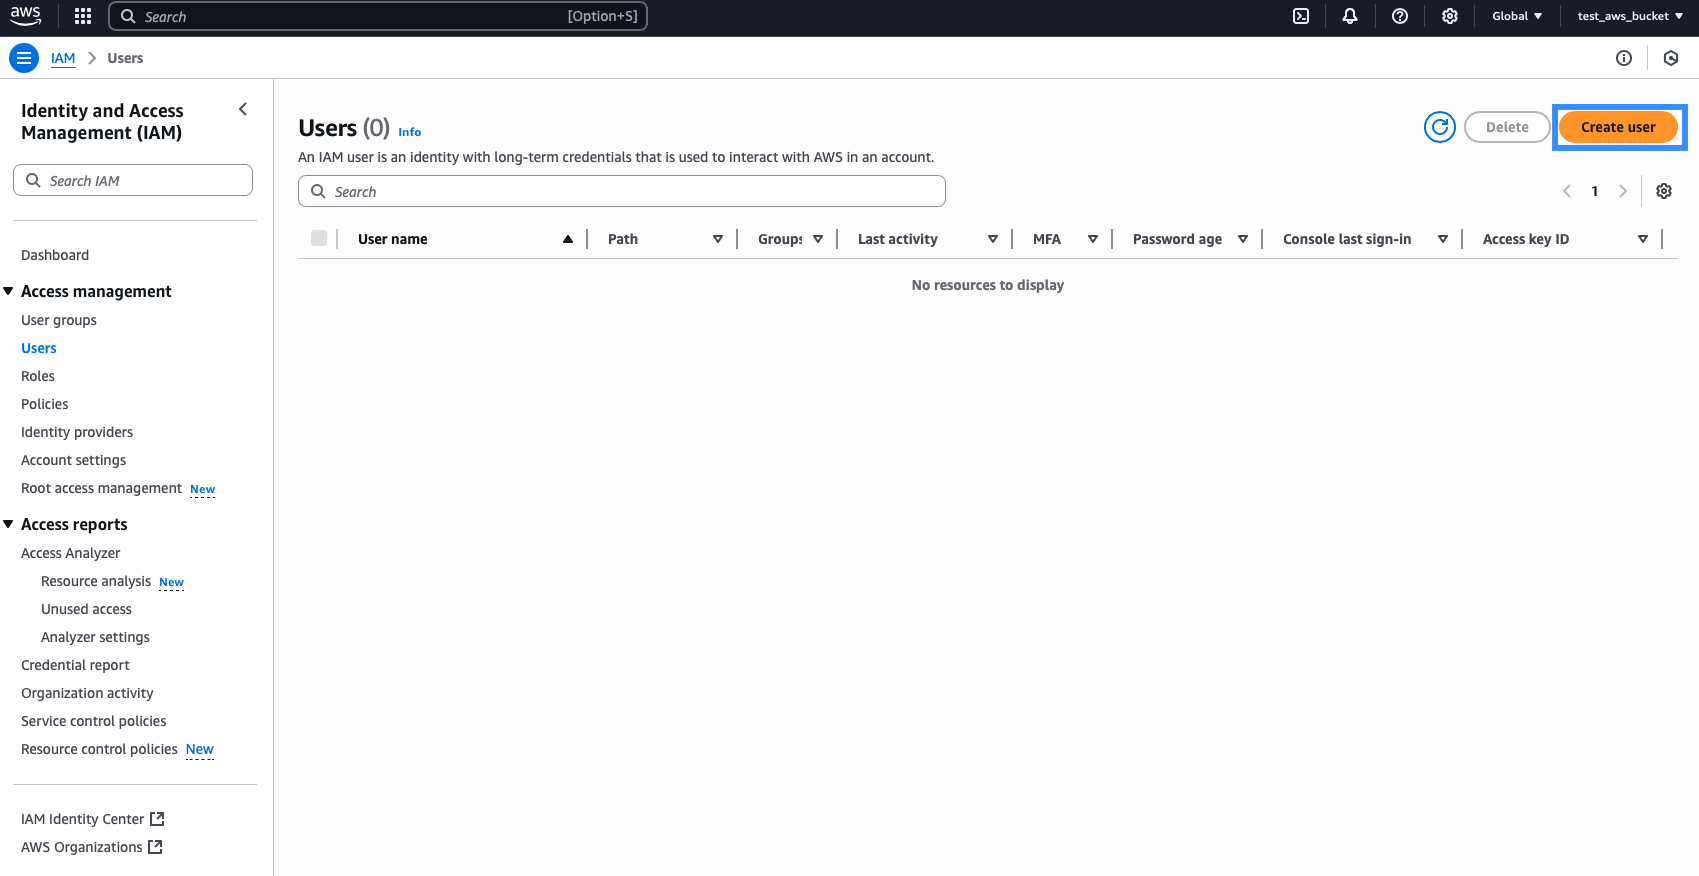
- Under "Access management" click on "Users".
- Either select an existing IAM user or create a new one.
- (Optional) To create a new user:
-
Click "Create user".
-
Assign a meaningful user name.
-
Click "Next".
-
Assign permissions:
- Option A: Add the user to an already existing group with S3 access or create a new group; or copy permissions.
- Option B: Attach policies directly.
-
Click "Next".
-
Click "Create user".
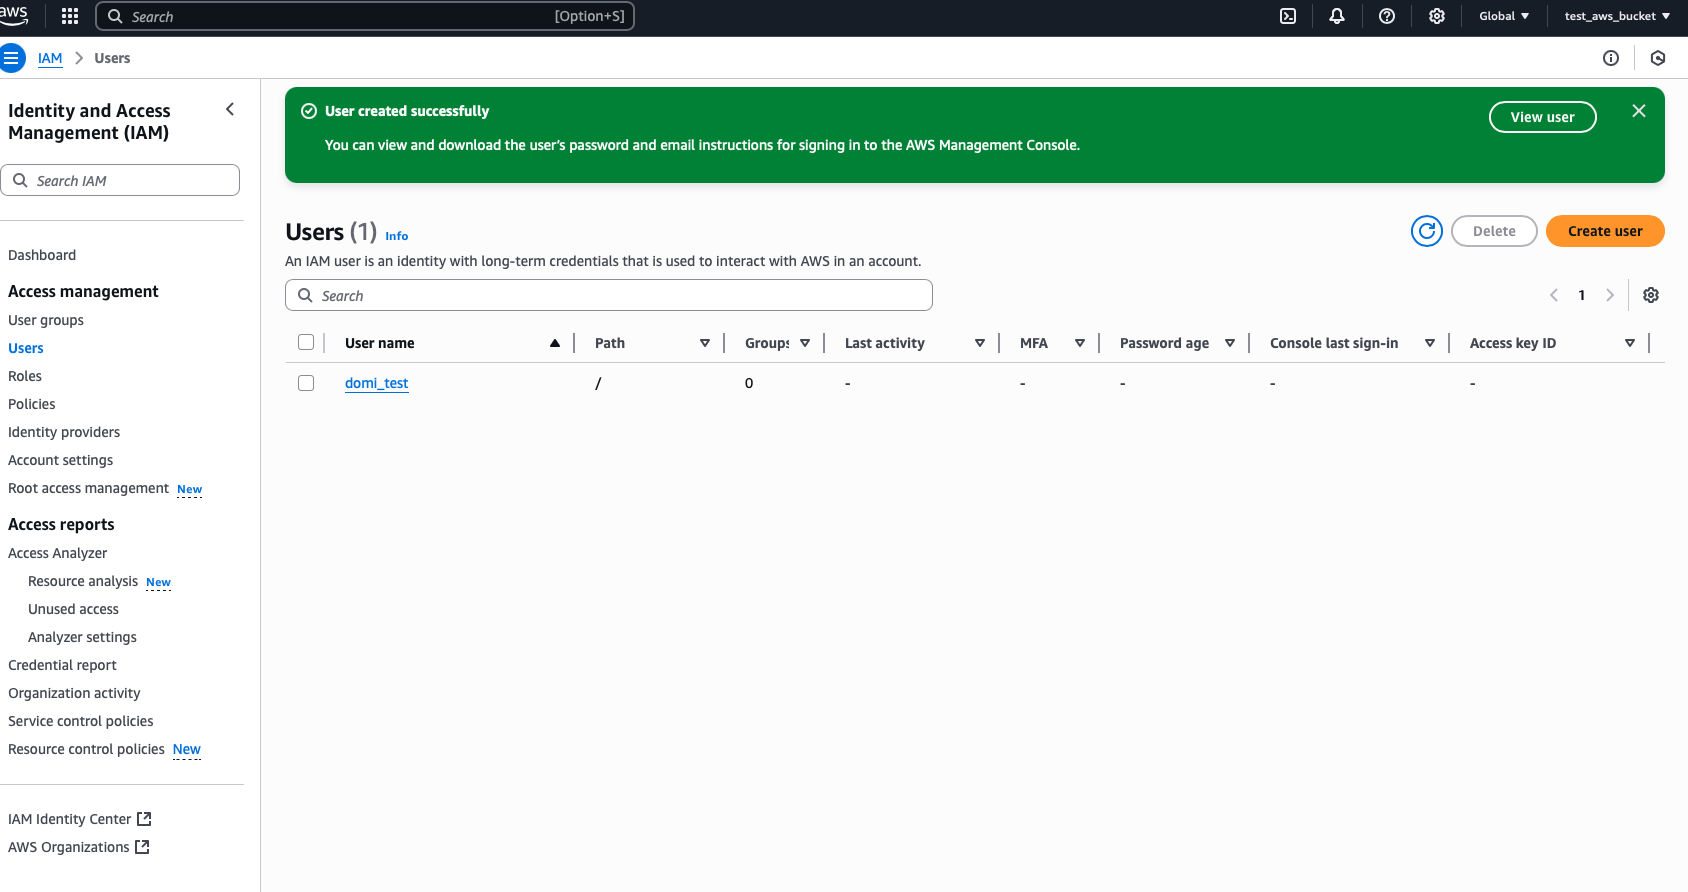
-
Your user was succesfully created and is now shown in the users list.
-
Step 2: Create Access Key
- Navigate to Users list and click on the user you want to create access keys for. The new window will open:
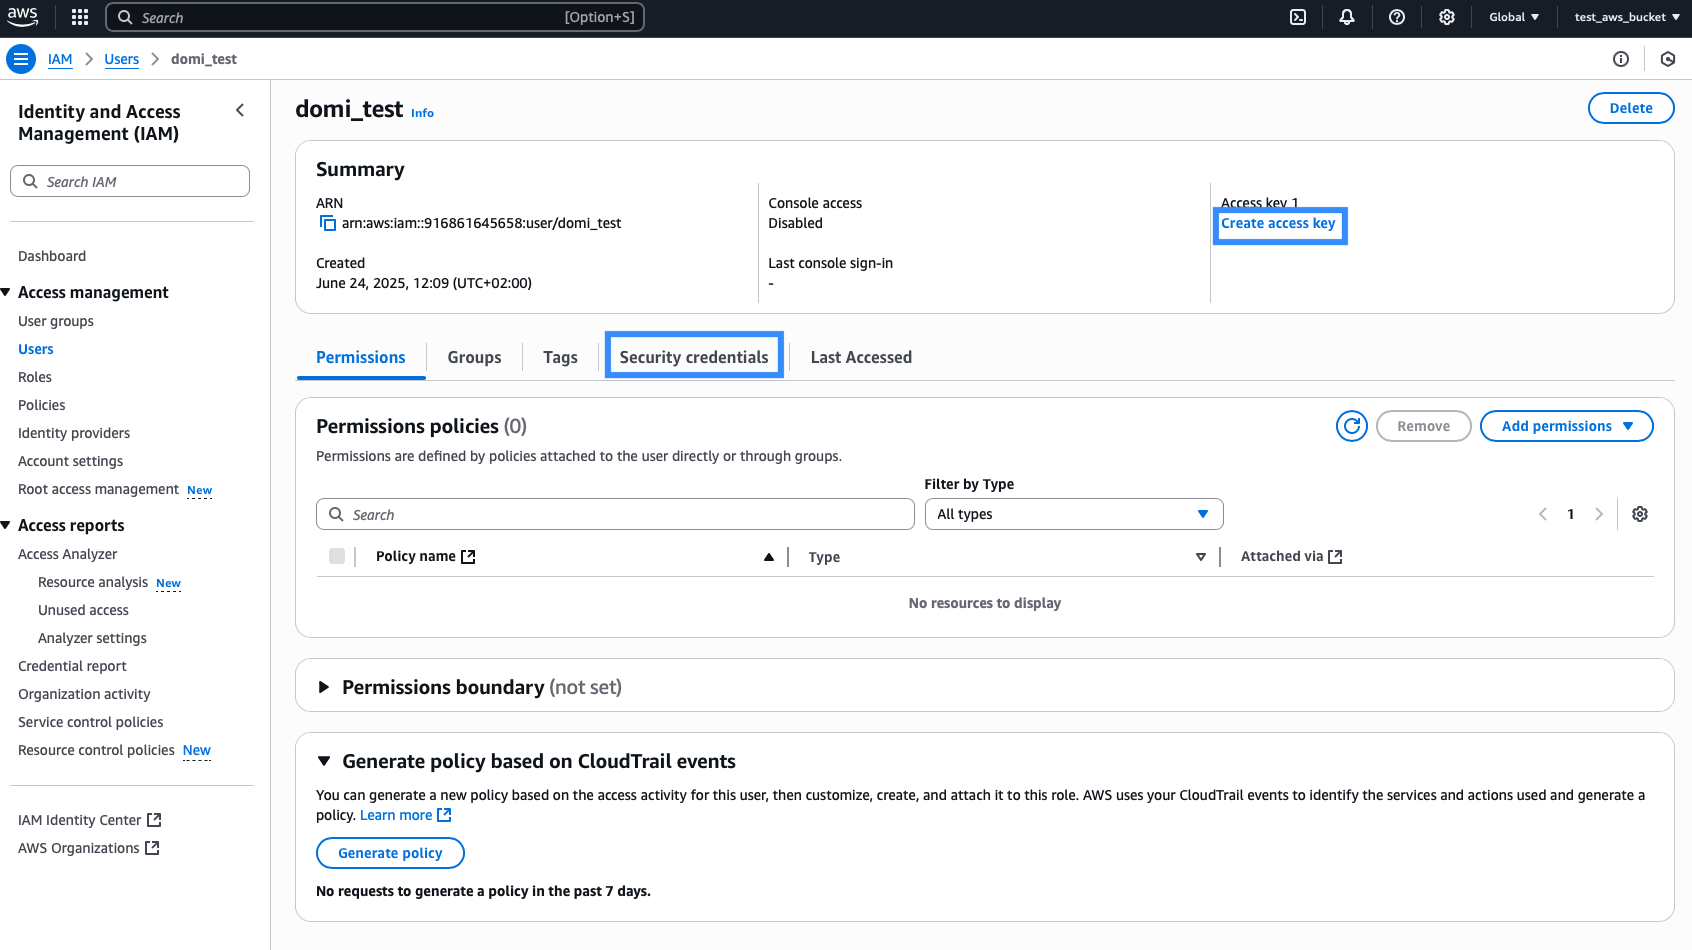
- Navigate to Security credentials and click Create access key:
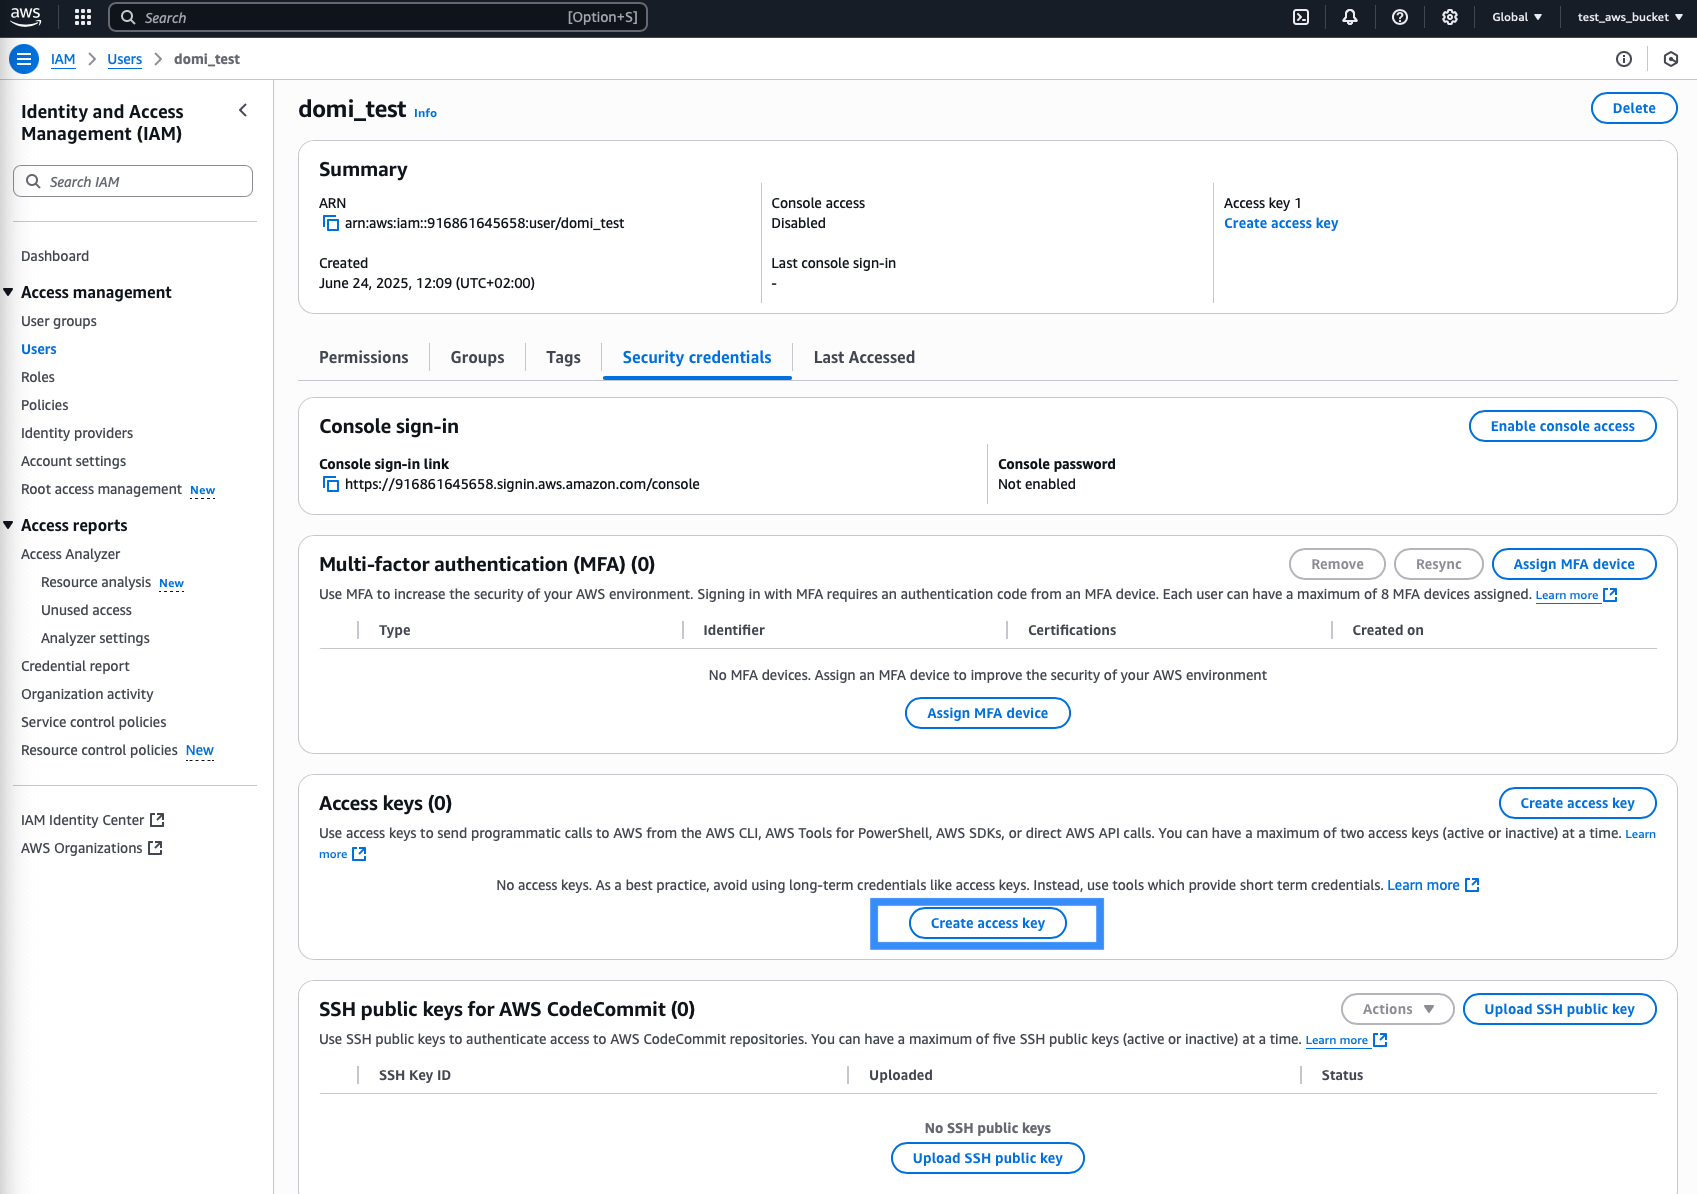
- "Access key best practises & alternatives" page is open, select "Other" at the bottom of the page.
- (Optional) Specify the description tag.
- Click on "Create access key".
- Your Access and Secure Access keys are generated.
- Copy your Access Key ID and Secret Access Key.
Once the access key and the secret access keys are generated, copy and paste them to a secure location, as you can view the Secret access key only once.
Uploading Data to AWS S3 Bucket from AutoPi CAN-FD Pro
The AutoPi CAN-FD Pro device supports two types of data logging:
- Raw data – captures everything exactly as received.
- Decoded data – data is processed and translated before storing.
By default, all data is logged and stored locally on the device. However, you can easily configure the device to upload your logged data directly to an AWS S3 bucket (both Raw data and Decoded data). Here’s how to do it:
- On your Pro device, go to: CAN Logging → Loggers.
- Create a new logger or edit an existing one.
- Navigate to Step 4: Outputs. This is where you define where the logged data should be sent. You can also read more here: Output handler configuration explained.
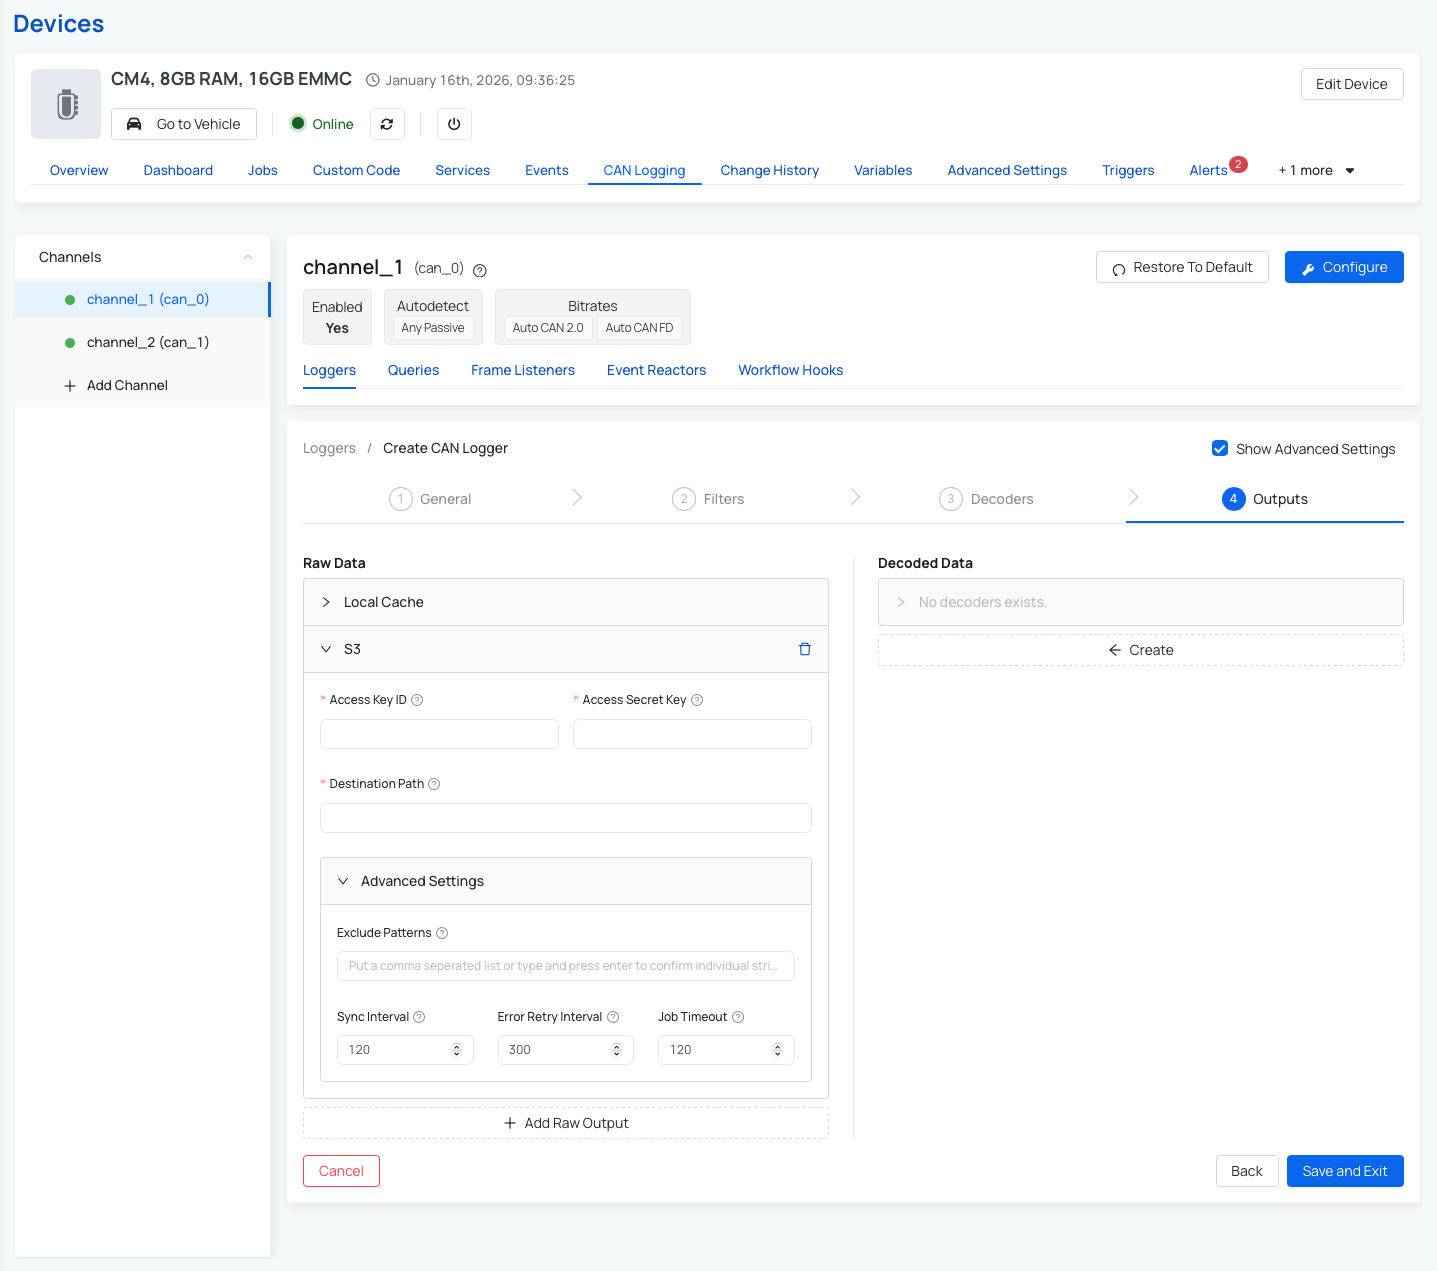
- To upload to AWS S3, fill in the following fields:
- Access Key ID – your AWS access key.
- Secret Access Key – your AWS secret key.
- Destination Path – the URL of your S3 bucket (e.g., s3://your-bucket-name/folder)
- (Optional) Configure Advanced Settings:
- Exclude Patterns – to filter out specific data
- Sync Interval – how often the device syncs data
- Error Retry Interval – wait time before retrying a failed upload
- Job Timeout – how long to wait before canceling a sync job
- Save your settings.
Once saved, your device will begin uploading data to the specified S3 bucket based on the configuration you've chosen.
You can read more about advanced settings for S3 upload process here: Advanced settings for Output Handler
 Buy AutoPi device
 Compare all AutoPi devices
 Contact our sales team