DoIP HAT Installation
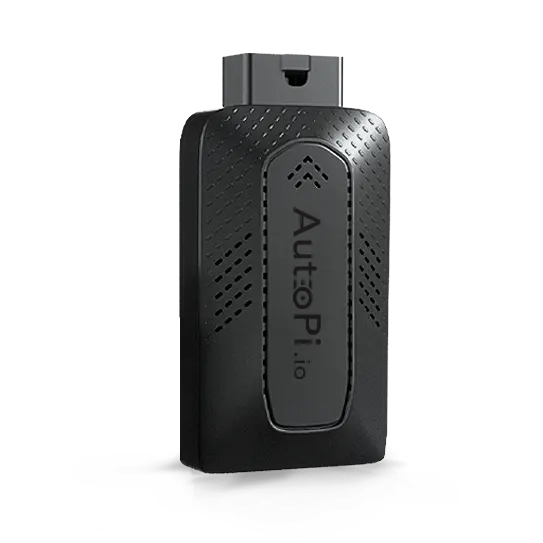
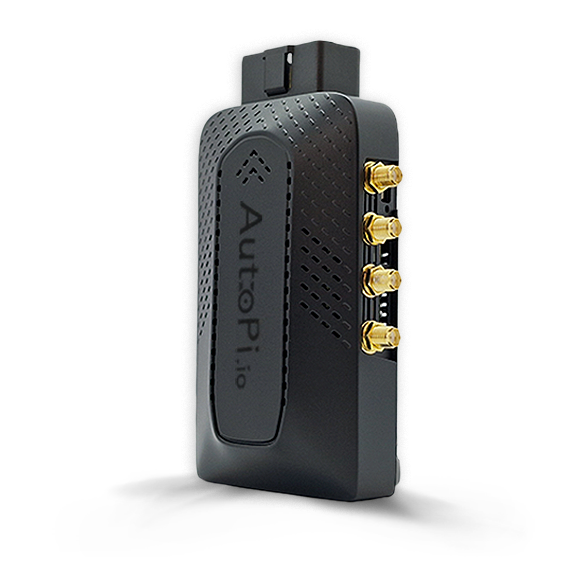
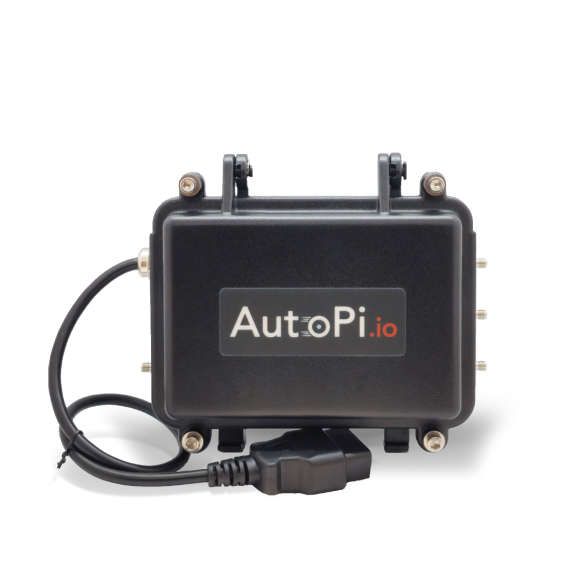
The DoIP solution described in this guide is only supported on AutoPi TMU CM4–based devices and newer revisions.
- DoIP can be ordered pre-installed from AutoPi. If your device was delivered with DoIP pre-installed, no hardware installation is required.
- When the DoIP HAT is installed, the Ethernet interface on the AutoPi is internally routed to the vehicle.
Do not connect anything to the Ethernet port after installation. - Never install a DoIP-enabled device in a vehicle that does not support DoIP (Ethernet diagnostics).
Using Ethernet-based diagnostics on a CAN-only vehicle may interfere with vehicle communication and operation.
Introduction
This guide provides step-by-step instructions for installing the AutoPi DoIP HAT on an AutoPi TMU CM4 device.
The DoIP HAT enables Diagnostics over IP (DoIP), a protocol that transports diagnostic and programming communication with vehicle ECUs over Ethernet instead of CAN. This is commonly used for:
- UDS diagnostics over Ethernet.
- ECU flashing and programming.
- High-bandwidth diagnostic workflows.
- OEM and engineering tools that require DoIP.
For instructions on configuring DoIP after installation, refer to:
Setting up DoIP on AutoPi
What is DoIP?
DoIP (Diagnostic over Internet Protocol, ISO 13400) is an automotive diagnostic protocol that transports diagnostic messages over IP-based networks, typically Ethernet.
DoIP provides several advantages over traditional CAN-based diagnostics:
- Higher bandwidth for faster data transfer.
- Reduced flashing and programming times.
- Direct compatibility with modern OEM diagnostic tools.
- ECU access without CAN network limitations.
Prerequisites
Before starting, ensure you have the following:
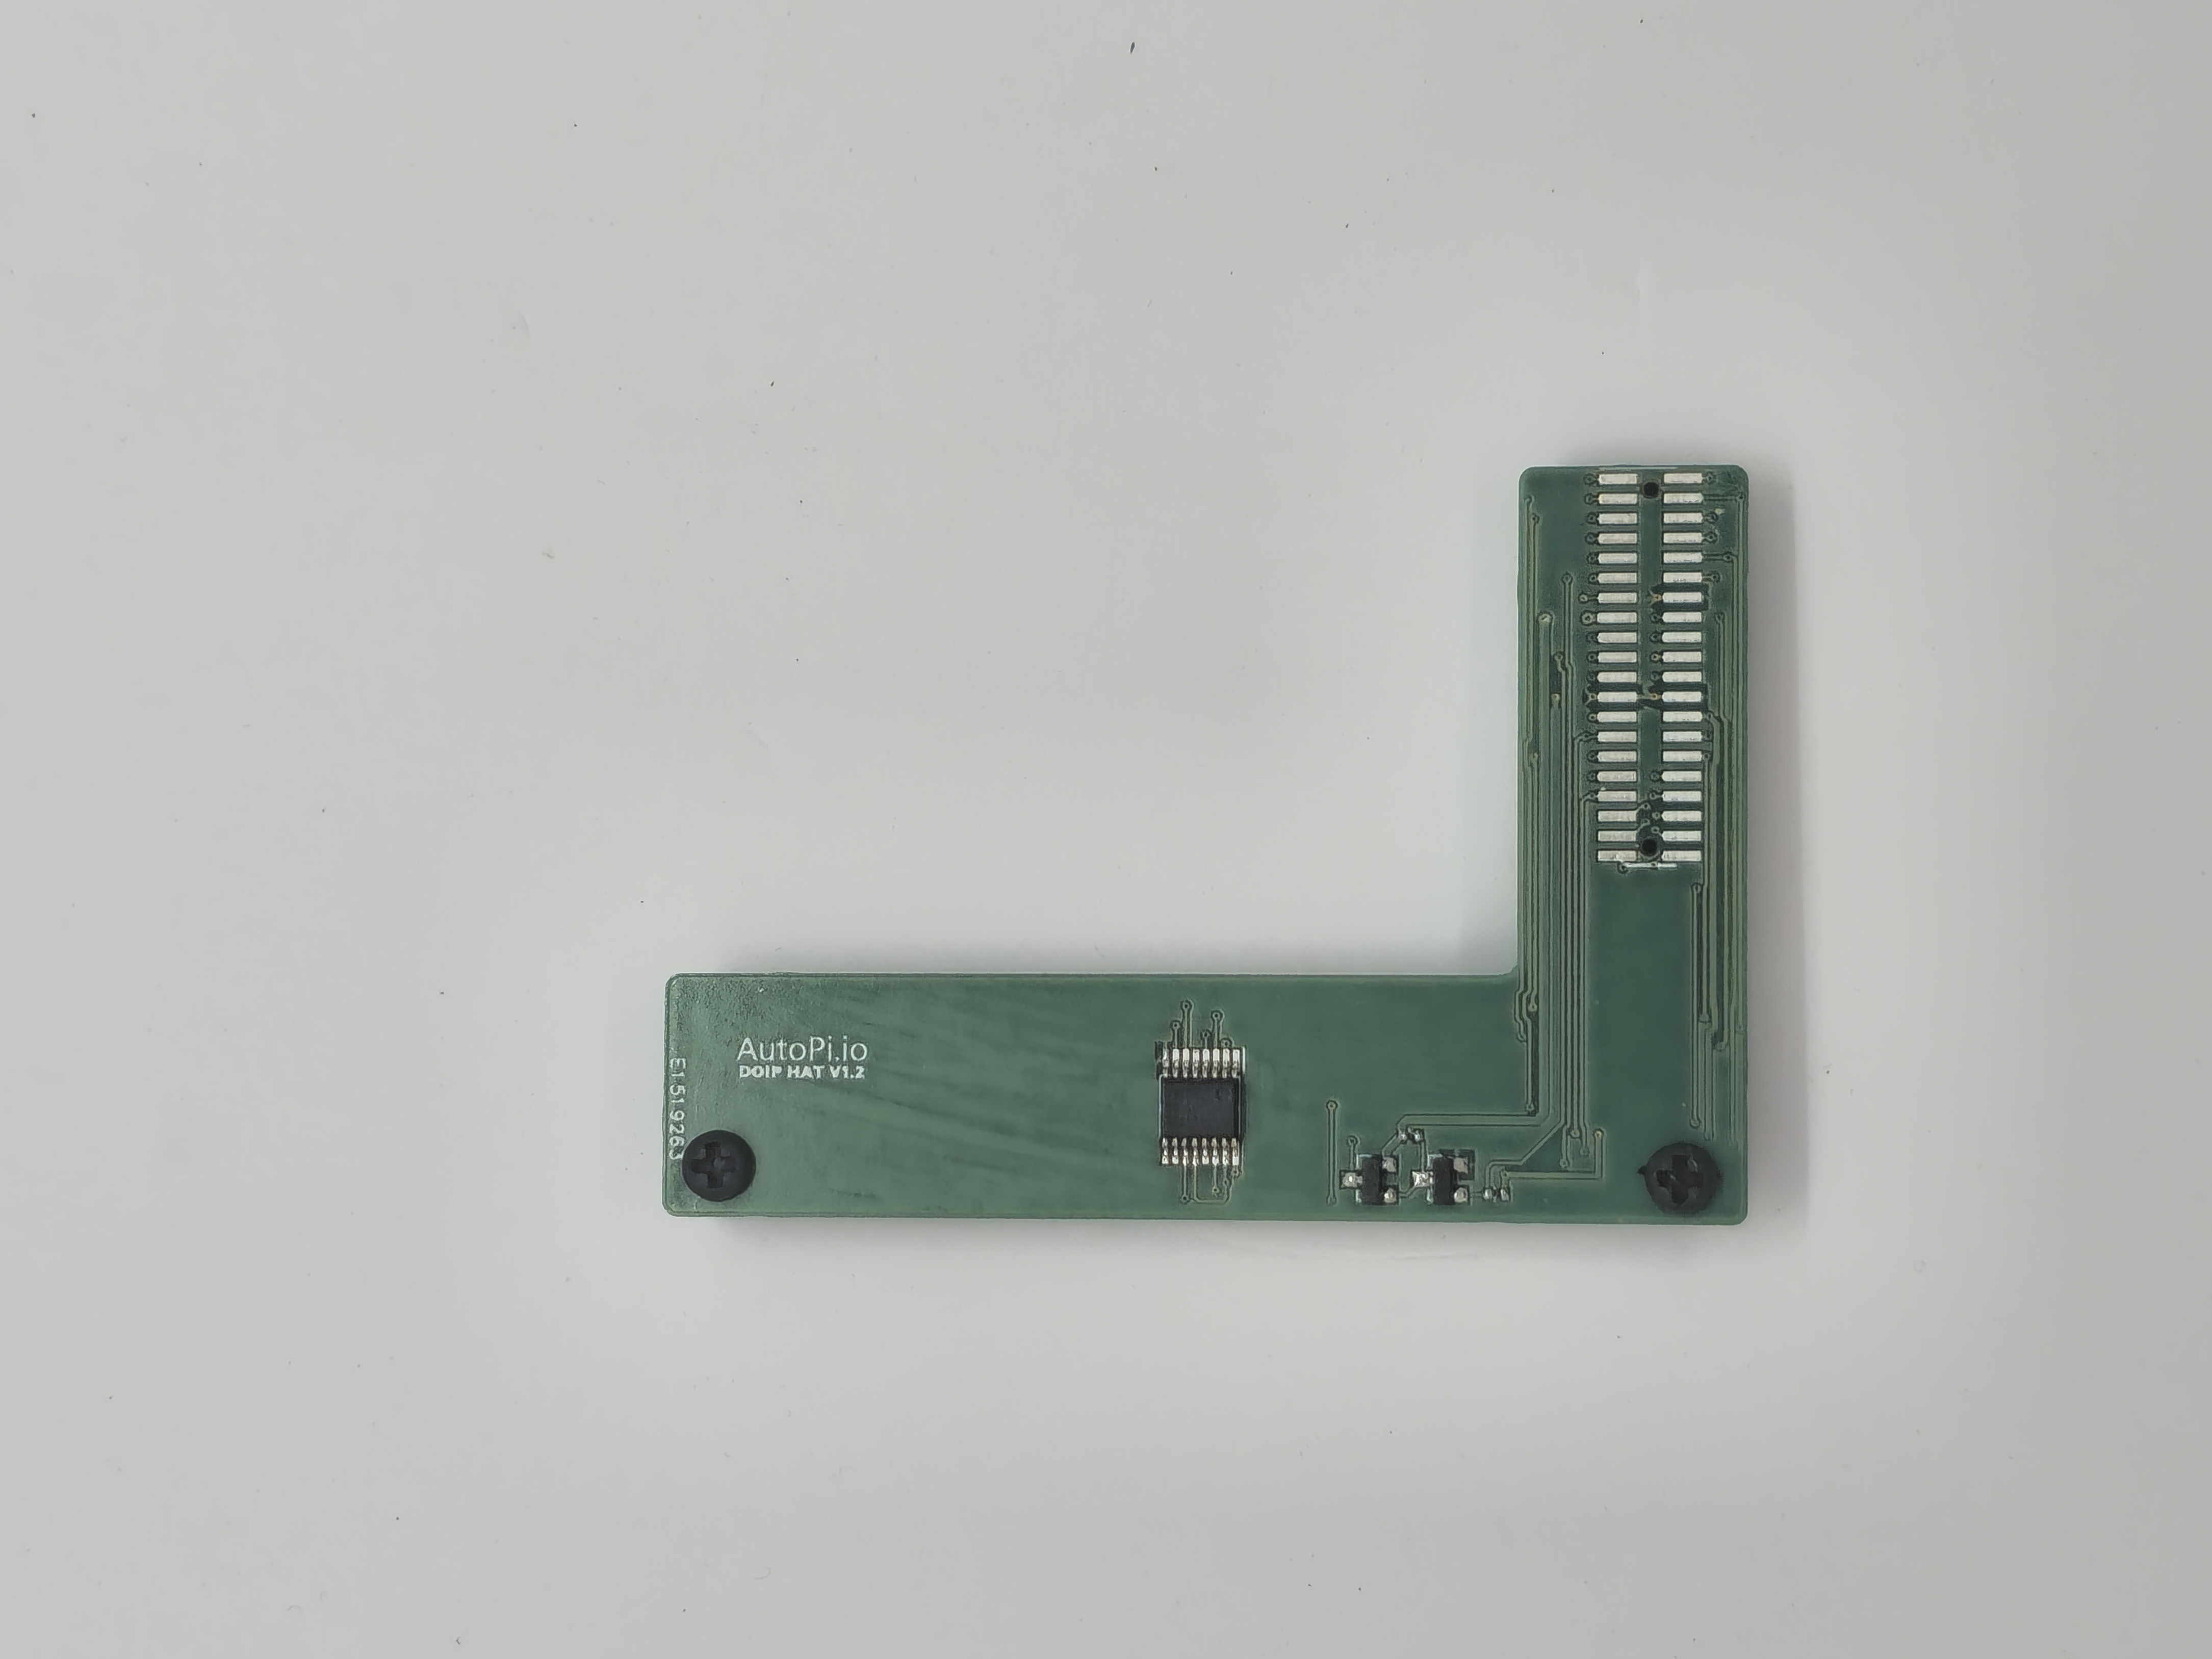
- 1 × AutoPi DoIP HAT PCB
- 3 × Plastic screws
- 2 × 6.5 mm plastic spacers
- AutoPi TMU CM4 device
- Clean, static-safe workspace
The DoIP HAT is available for purchase through the AutoPi Shop: DoIP HAT for AutoPi TMU CM4.
Alternatively, you can order AutoPi devices with the DoIP HAT pre-installed from the factory.
Installation Steps
Step 1 – Open the AutoPi enclosure
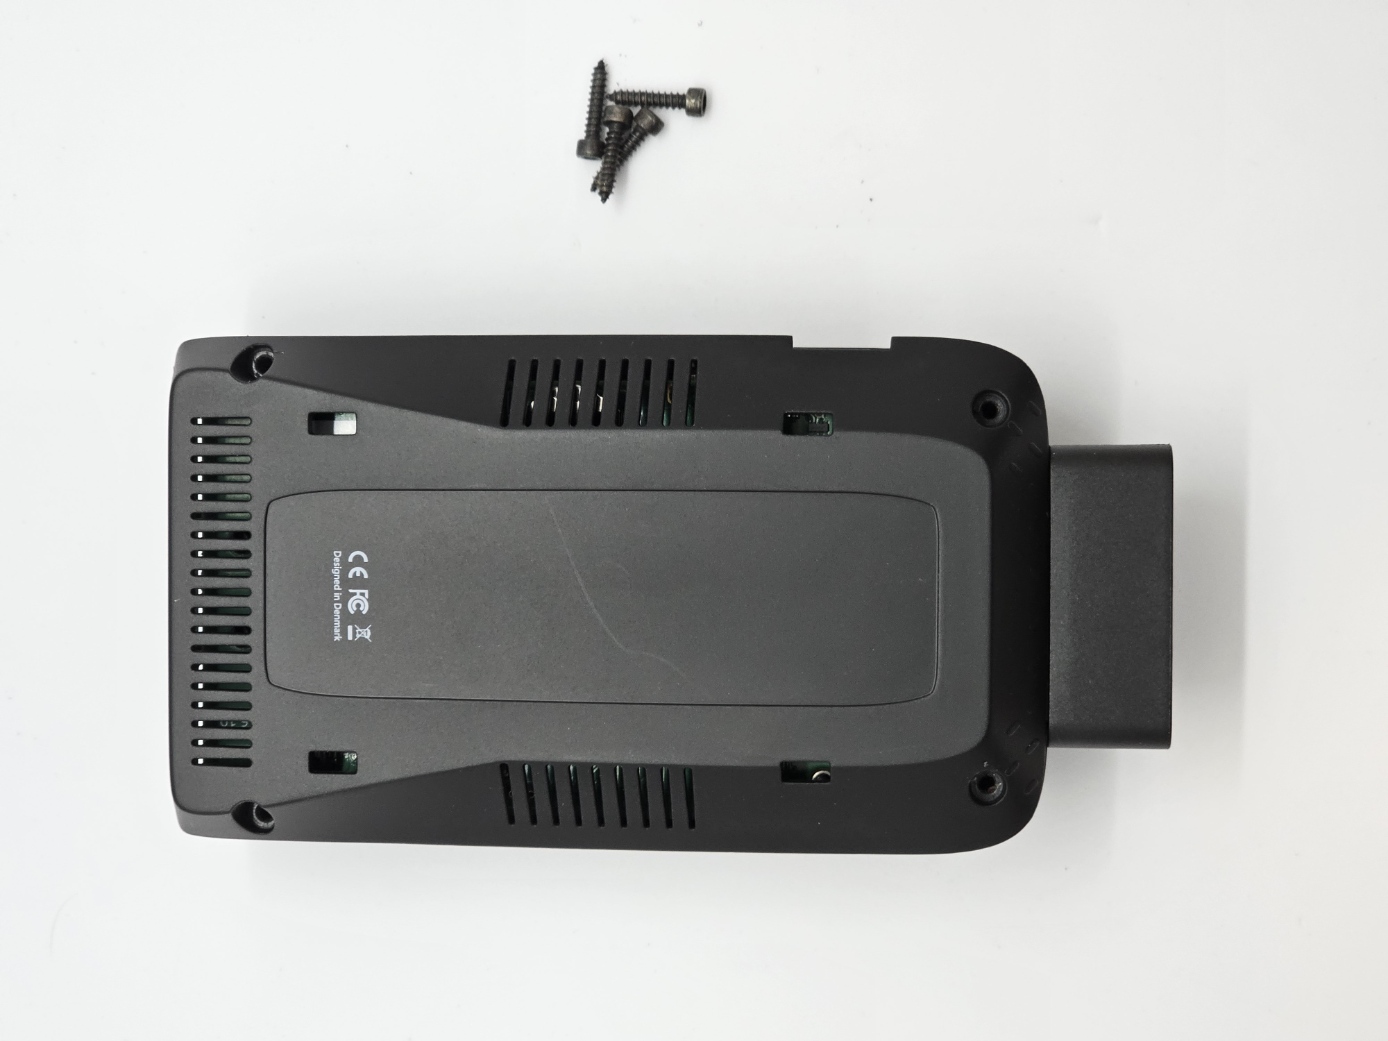
Position the AutoPi device upside down and remove the four screws from the bottom of the enclosure.
Gently lift off the top cover to access the internal PCB.
Step 2 – Prepare the DoIP HAT
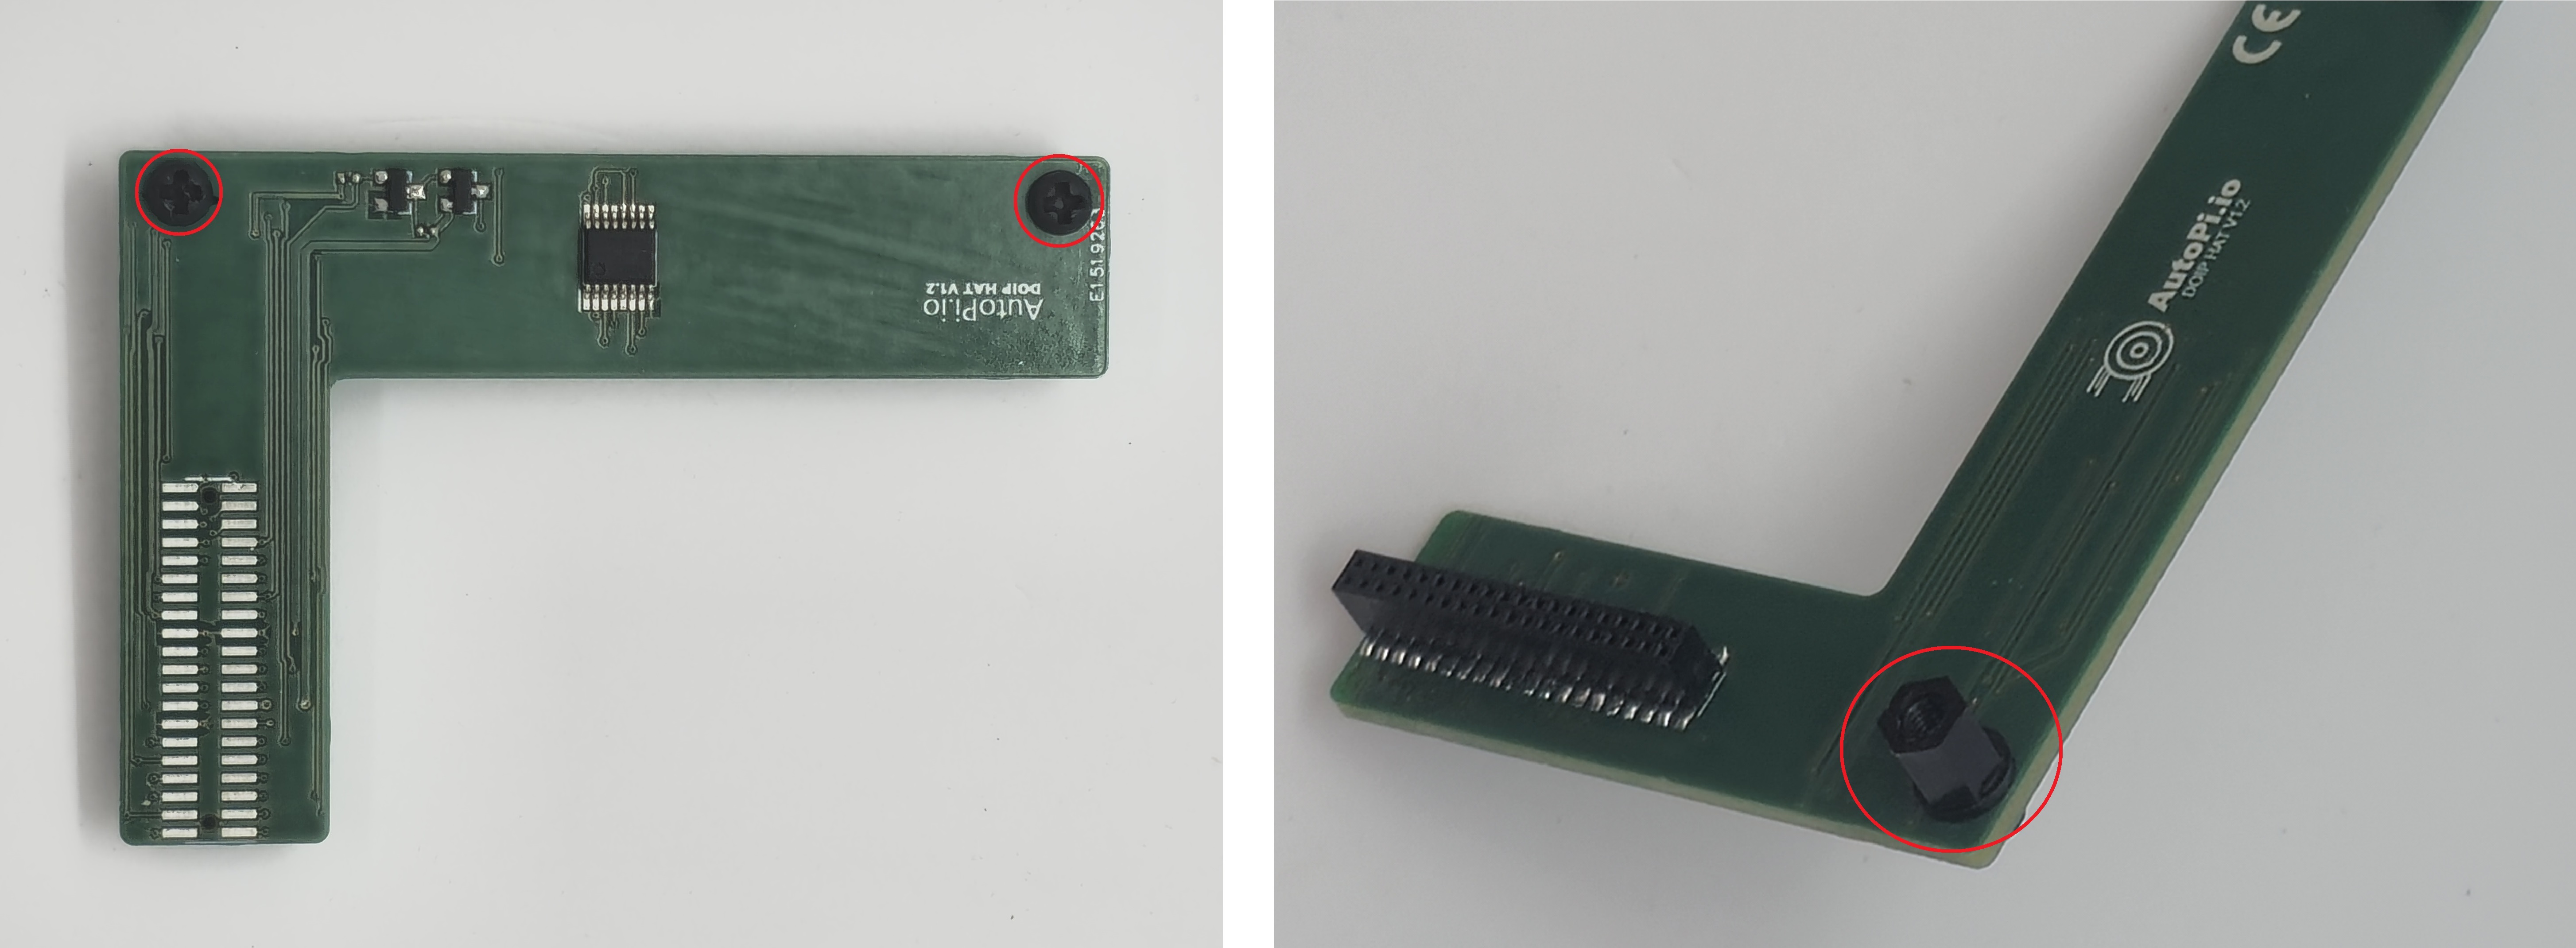
Secure the two 6.5 mm plastic spacers to the DoIP HAT PCB using the provided plastic screws.
Verify that the spacers are securely mounted and properly aligned with the mounting holes.
Step 3 – Mount the DoIP HAT
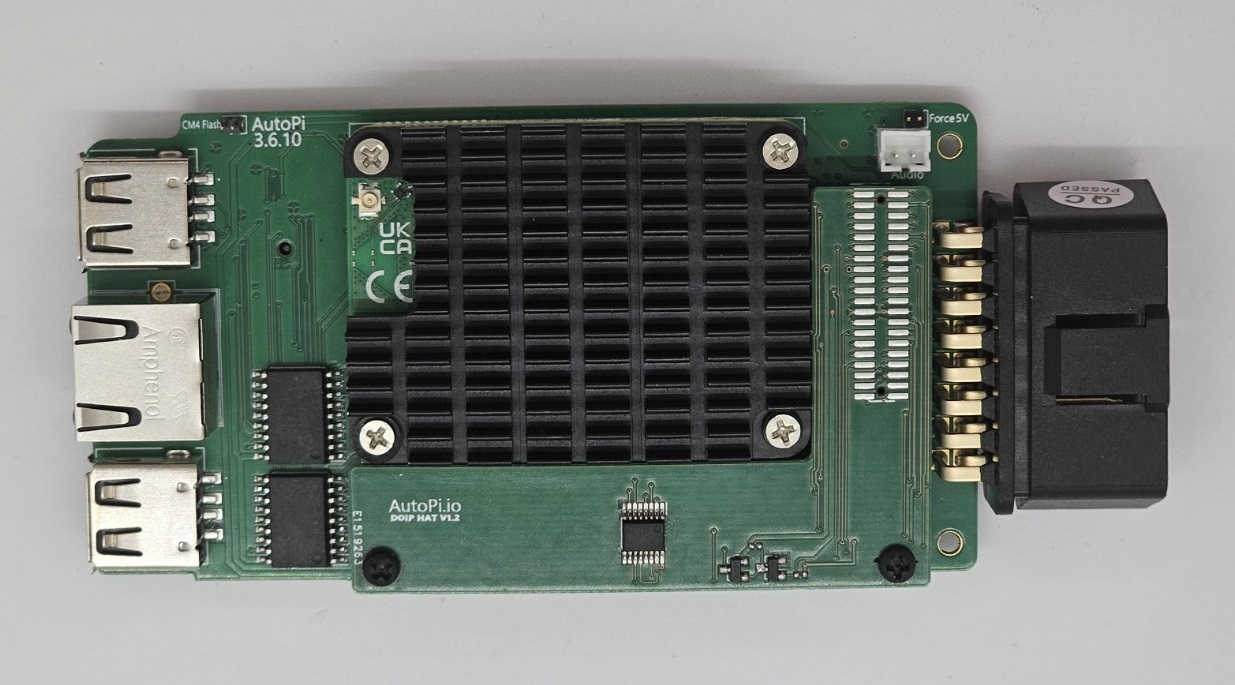
Align the DoIP HAT with the 40-pin GPIO header on the AutoPi main board, ensuring proper orientation.
Press the HAT vertically downward until the connector is fully seated.
Confirm:
- The HAT sits level and flush.
- The GPIO connector is fully engaged.
- No pins are bent or misaligned.
Step 4 – Reassemble the enclosure
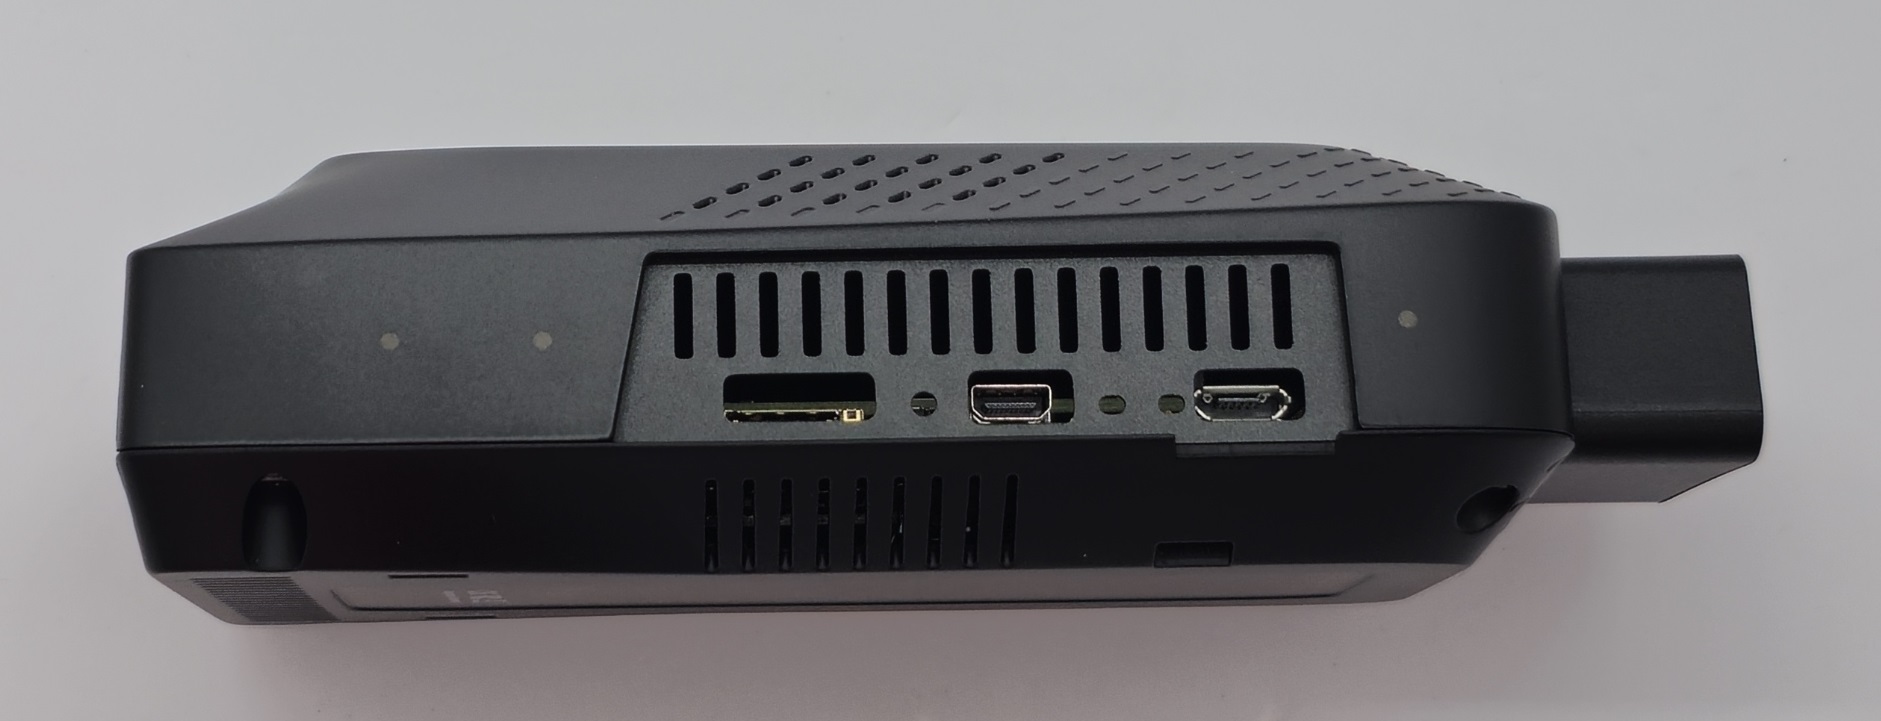
Reassemble the device using the DoIP-compatible side shield.
The side shield provides the proper cutout and internal routing for the Ethernet interface used by DoIP.
Ensure:
- No cables are trapped or pinched.
- The HAT remains secure and seated.
- All enclosure screws are tightened uniformly.
Final Checks
After completing the installation:
- The external Ethernet port is reserved for DoIP and internal vehicle communication.
- Do not connect external Ethernet devices to the port.
- Install the device only in vehicles that support DoIP functionality.
- Proceed with software configuration before attempting any diagnostic operations.
Next Steps
Hardware installation is complete.
Proceed to the software configuration guide to:
- Enable DoIP services on the device.
- Configure network parameters.
- Verify ECU discovery and bidirectional communication.
For full overview oh setting up DoIP, read this guide: Setting up DoIP on AutoPi.
For available DoIP commands and operations: DoIP Commands Reference.
Troubleshooting
If the device fails to detect DoIP ECUs following installation:
- Verify the HAT is completely seated on the GPIO header.
- Confirm that the vehicle supports DoIP functionality.
- Ensure no external Ethernet devices are connected.
- Validate that the appropriate AutoPi OS version is installed.
The AutoPi DoIP HAT installation is complete.
 Shop AutoPi devices
 Compare devices
 Contact sales
 Contact support