Replacing the CM4

Please read the whole guide in order to have a good understanding of how all the components fit together.
You need to be careful not to tear or damange some of the cables when handling the casing of the device.
Prerequesites for this guide:
- An AutoPi TMU CM4 device
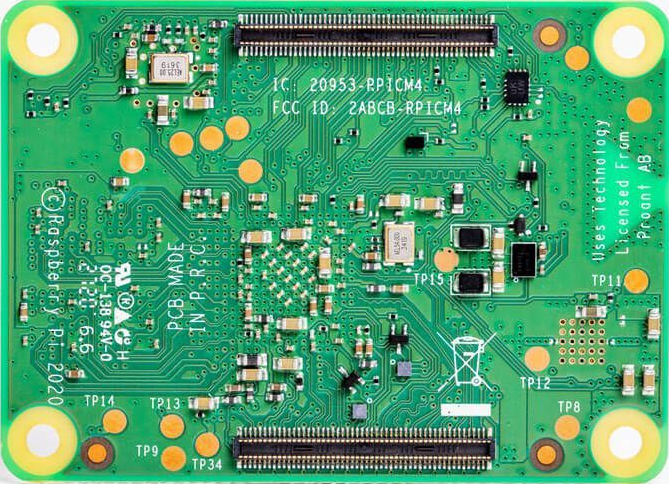
- New Raspberry Pi CM4
- You can buy the new CM4 from: https://www.raspberrypi.com/products/compute-module-4/?variant=raspberry-pi-cm4001000
Step-by-Step Guide
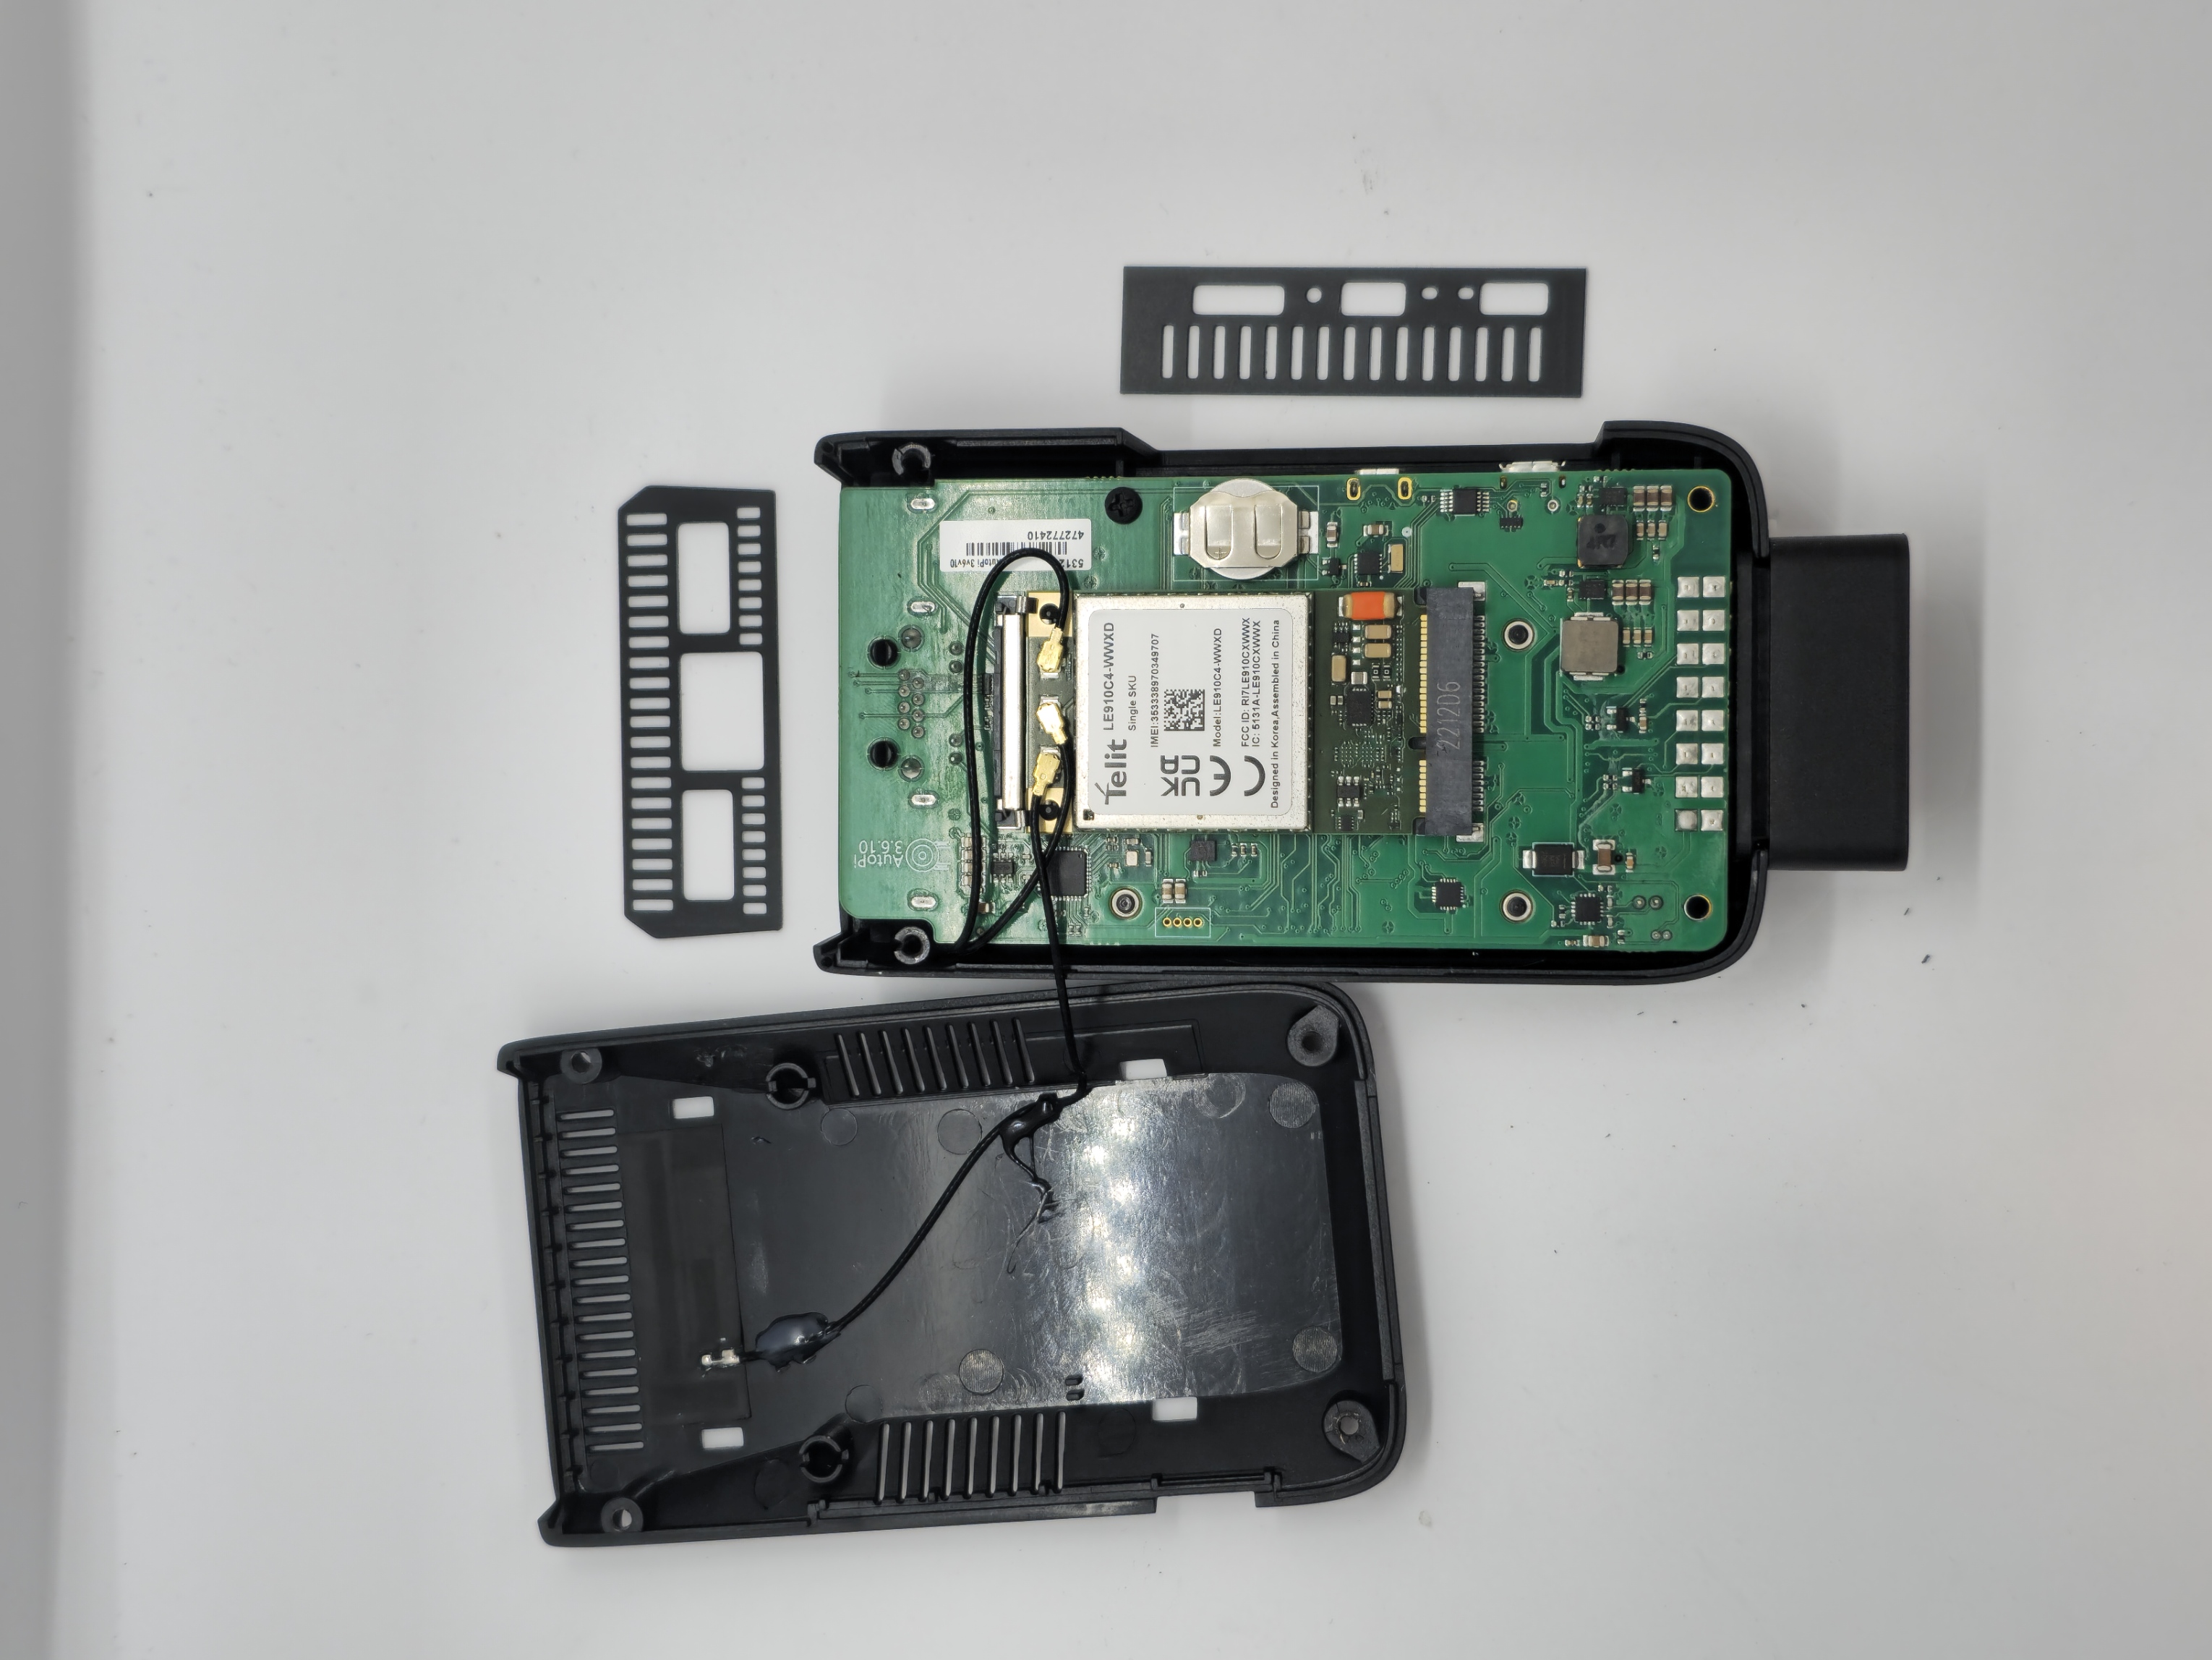
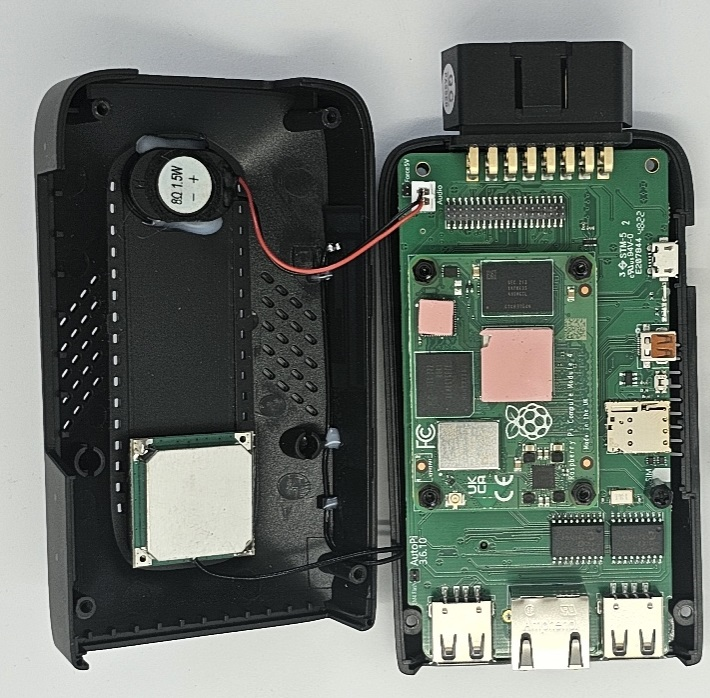
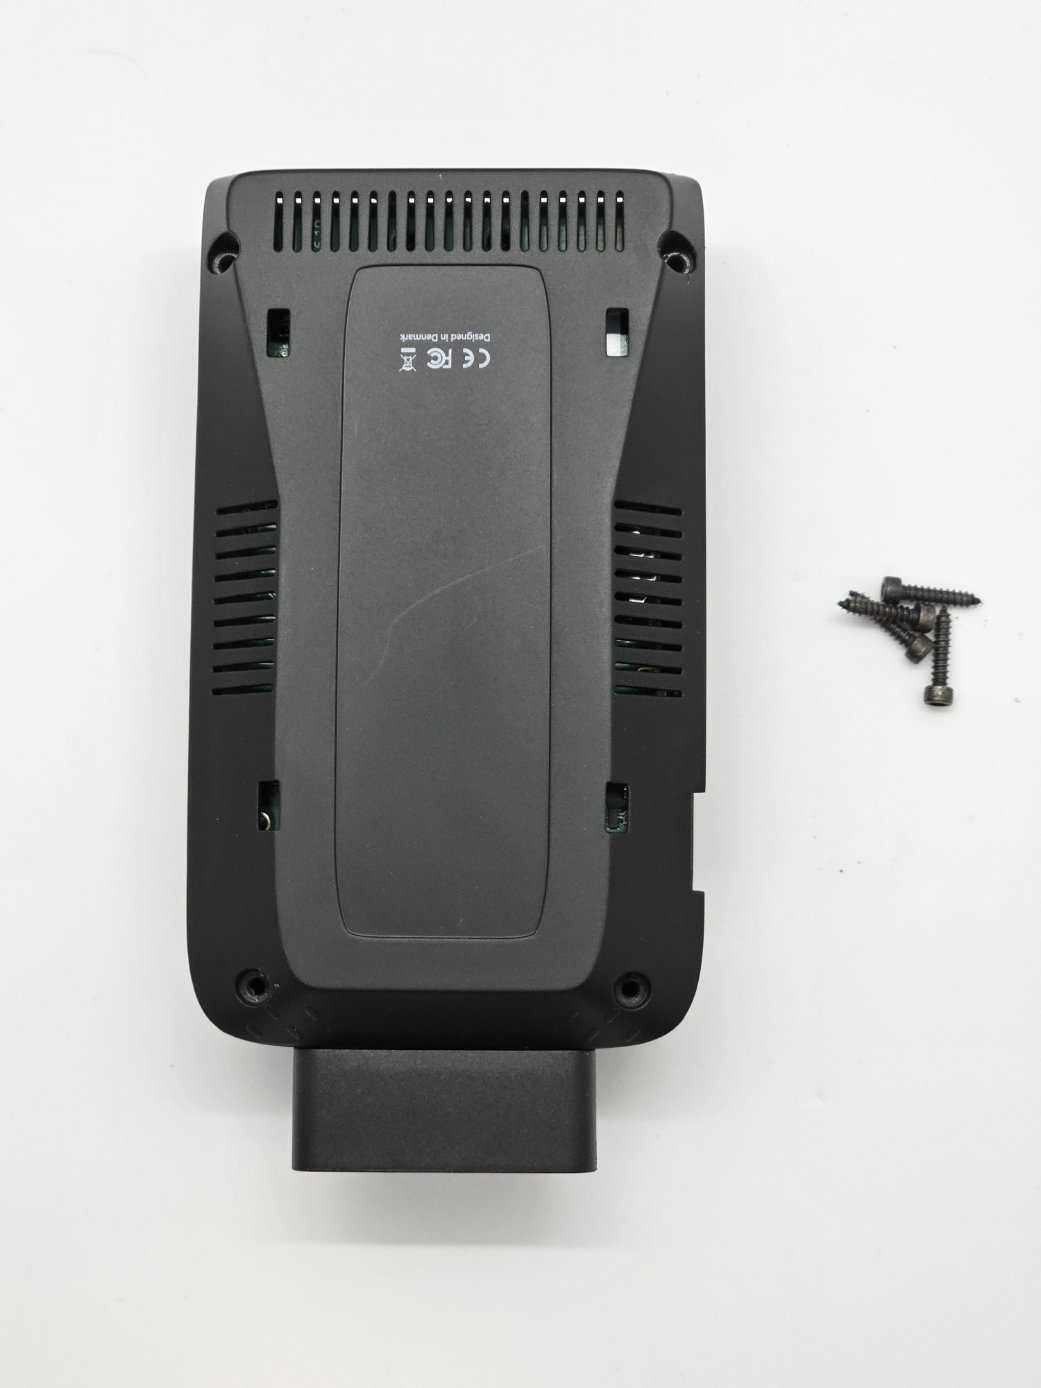
Step 1: Take your AutoPi and flip it so you can face the bottom of the device. Unscrew the bottom cover of the device and remove the shields.
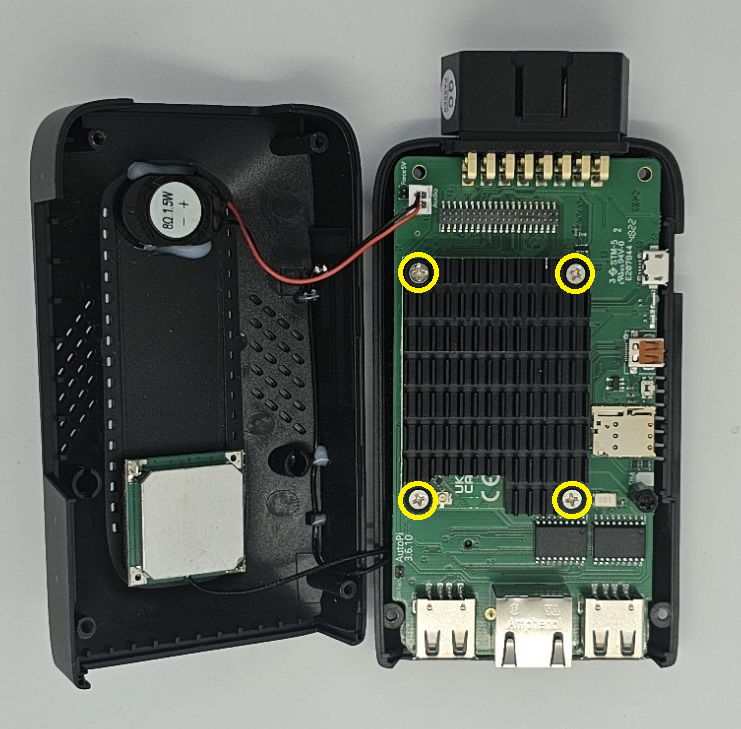
Step 2: Using a PH2 screwdriver, carefully remove the four screws that are securing the heatsink to the CM4, as indicated in the image below.
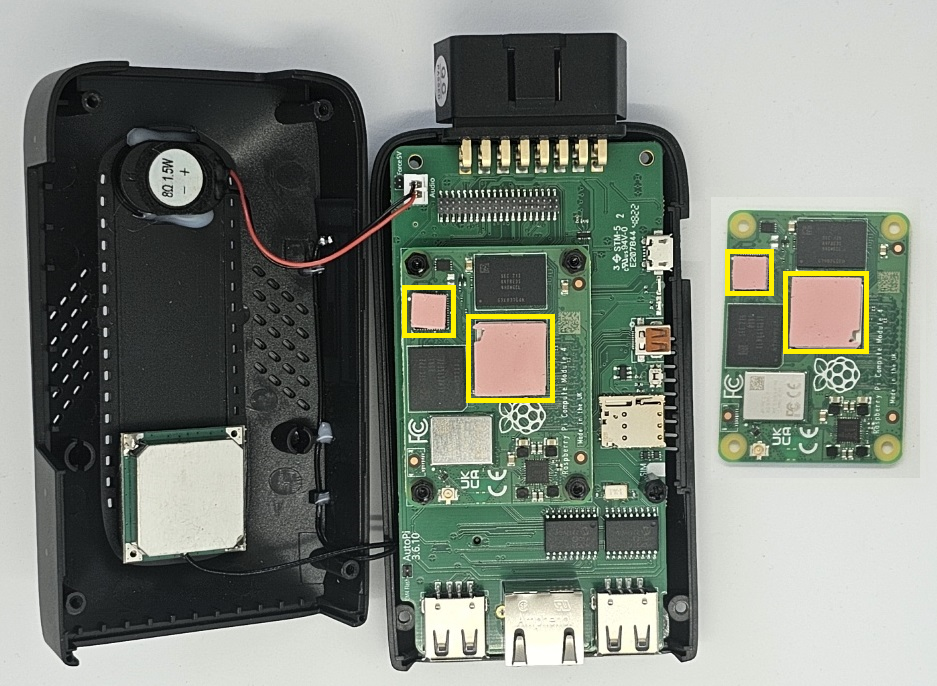
Step 3: Transfer the heat transfer pads from the original Raspberry Pi to the new Raspberry Pi CM4.
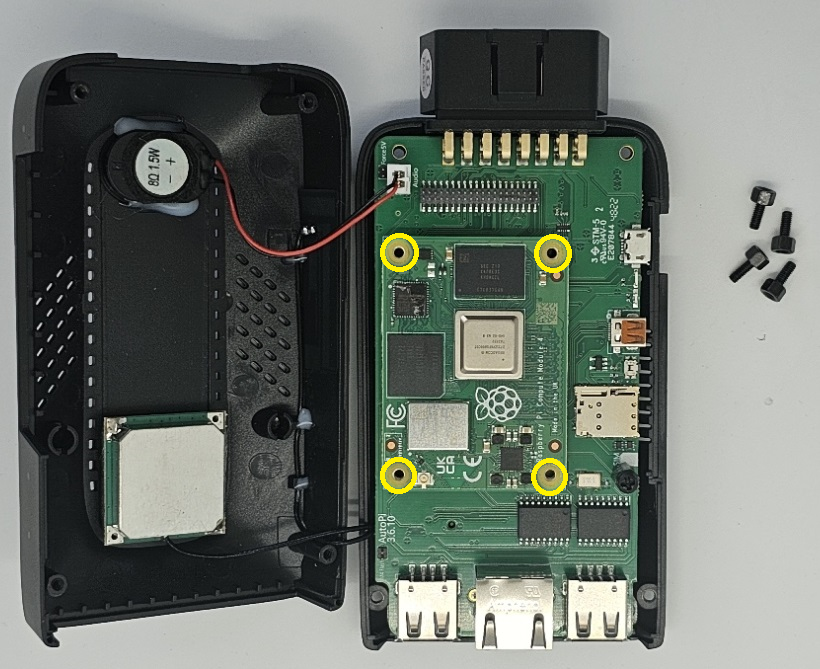
Step 4: Using a 5mm screwdriver, loosen and remove the four screws that are securing the CM4 to the AutoPi board, as shown in the picture below.
Step 5: Gently disconnect the CM4 from the AutoPi board, ensuring to handle both components with care to avoid any damage.
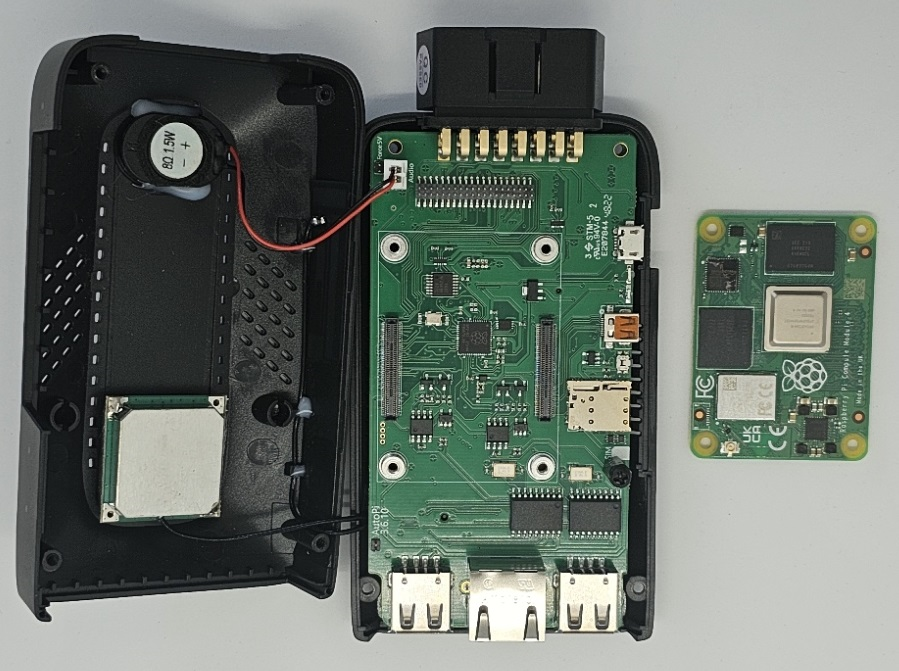
Please take note of the orientation of the CM4 while detaching it from the AutoPi board. The two connectors on the CM4 doesn't have a symmetrical position in relation to the edge, so be mindful of aligning them correctly to ensure a proper connection.
Step 6: After verifying the correct orientation, proceed with the installation of the new CM4. Ensure that the CM4 connectors are securely pushed in until fully seated.
Step 7: Reattach the 4 hexagonal screws that secure the CM4 to the AutoPi board, ensuring a firm and secure connection.
Step 8:
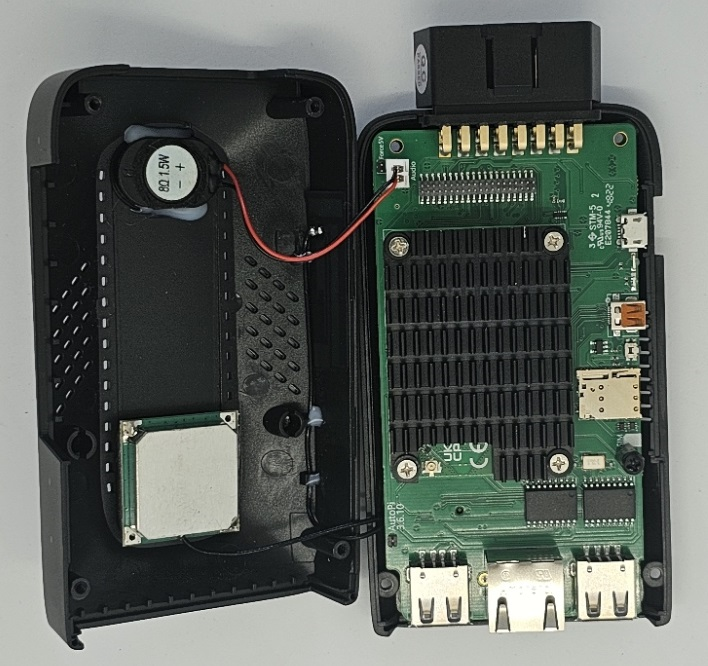
Securely reattach the heatsink to the CM4 using the 4 screws and plastic washers provided. Ensure that each screw is tightened firmly for optimal heat dissipation.
When reattaching the heatsink, ensure that you align the cut in the heatsink with the SMA connector of the CM4.
Step 8:
Carefully position the shield over the designated holes and insert it securely. Once the shields are in place, position the bottom case over the board, ensuring that all the components fit properly. Press down gently to ensure a snug fit between the bottom case and the board.
Using the 4 black hex screws provided, securely fasten the bottom case to the board. Tighten the screws firmly, but be careful not to overtighten and risk damaging the components.
Step 8:
To flash or reflash your AutoPi CM4 device, it is recommended to refer to the official manual provided with the device. The manual will contain specific instructions tailored to your AutoPi CM4 model, ensuring the proper and safe execution of the flashing process. Please consult the manual for detailed step-by-step guidance on how to flash or reflash your AutoPi CM4 device.
You have now successfully replaced your Raspberry Pi CM4 in your AutoPi TMU CM4 device.
 Buy AutoPi device
 Compare all AutoPi devices
 Contact our sales team