Installing external antennas
This is a step-by-step guide on how to install external 4G and GPS antennas on your AutoPi.
This guide will require a medium level of DIY abilities/skills, and it will involve drilling into the plastic casing of the AutoPi TMU.
Step 1: First, you will have to make sure that you have access to the following:
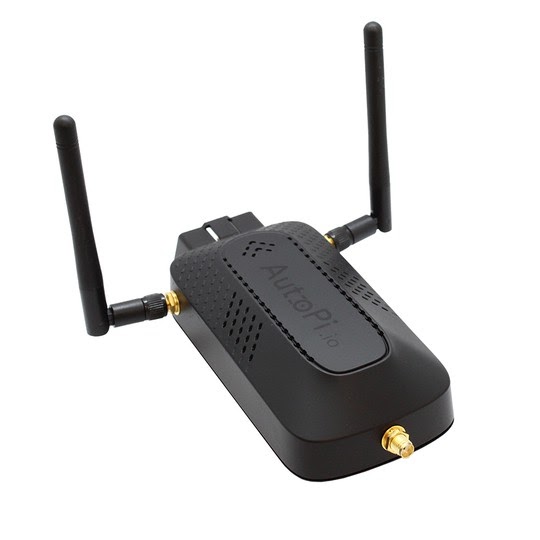
- The External Antenna Kit (you can purchase one here)
- AutoPi TMU 3rd Gen
- A drill
Step 2: Disassemble the device by opening the four screws located on the backside.

Step 3: Turn the device around and lift the top part while being careful not to damage the antenna cable.
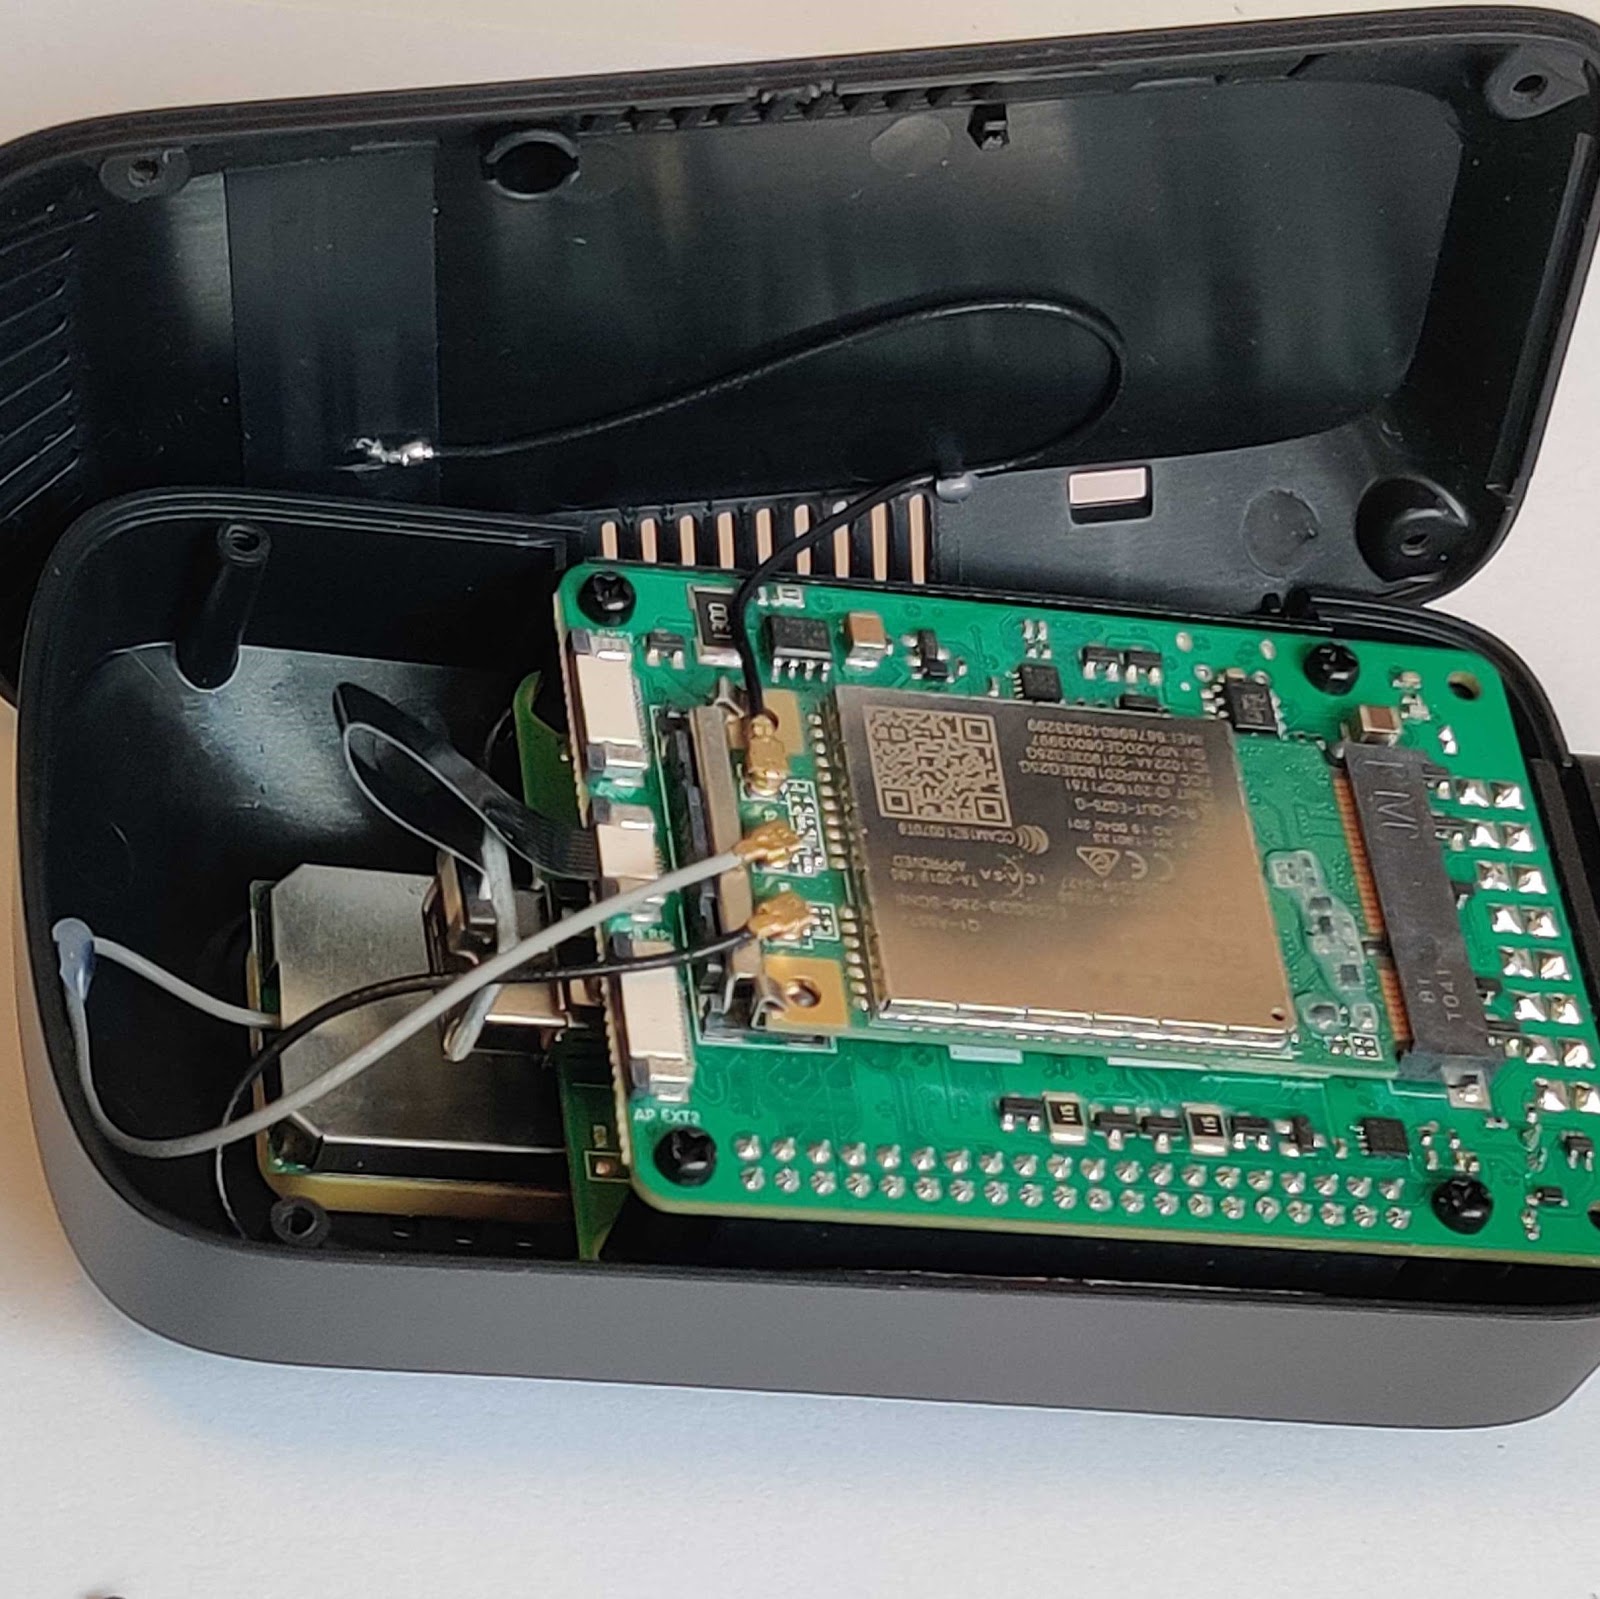
Step 4: Remove the black antenna cable by pulling straight up, while being careful not to damage the modem.
Step 5: Hold the OBD connector and lift the device slowly out of the enclosure.
caution
Be careful as the speaker and the battery are connected still to the device and the enclosure.
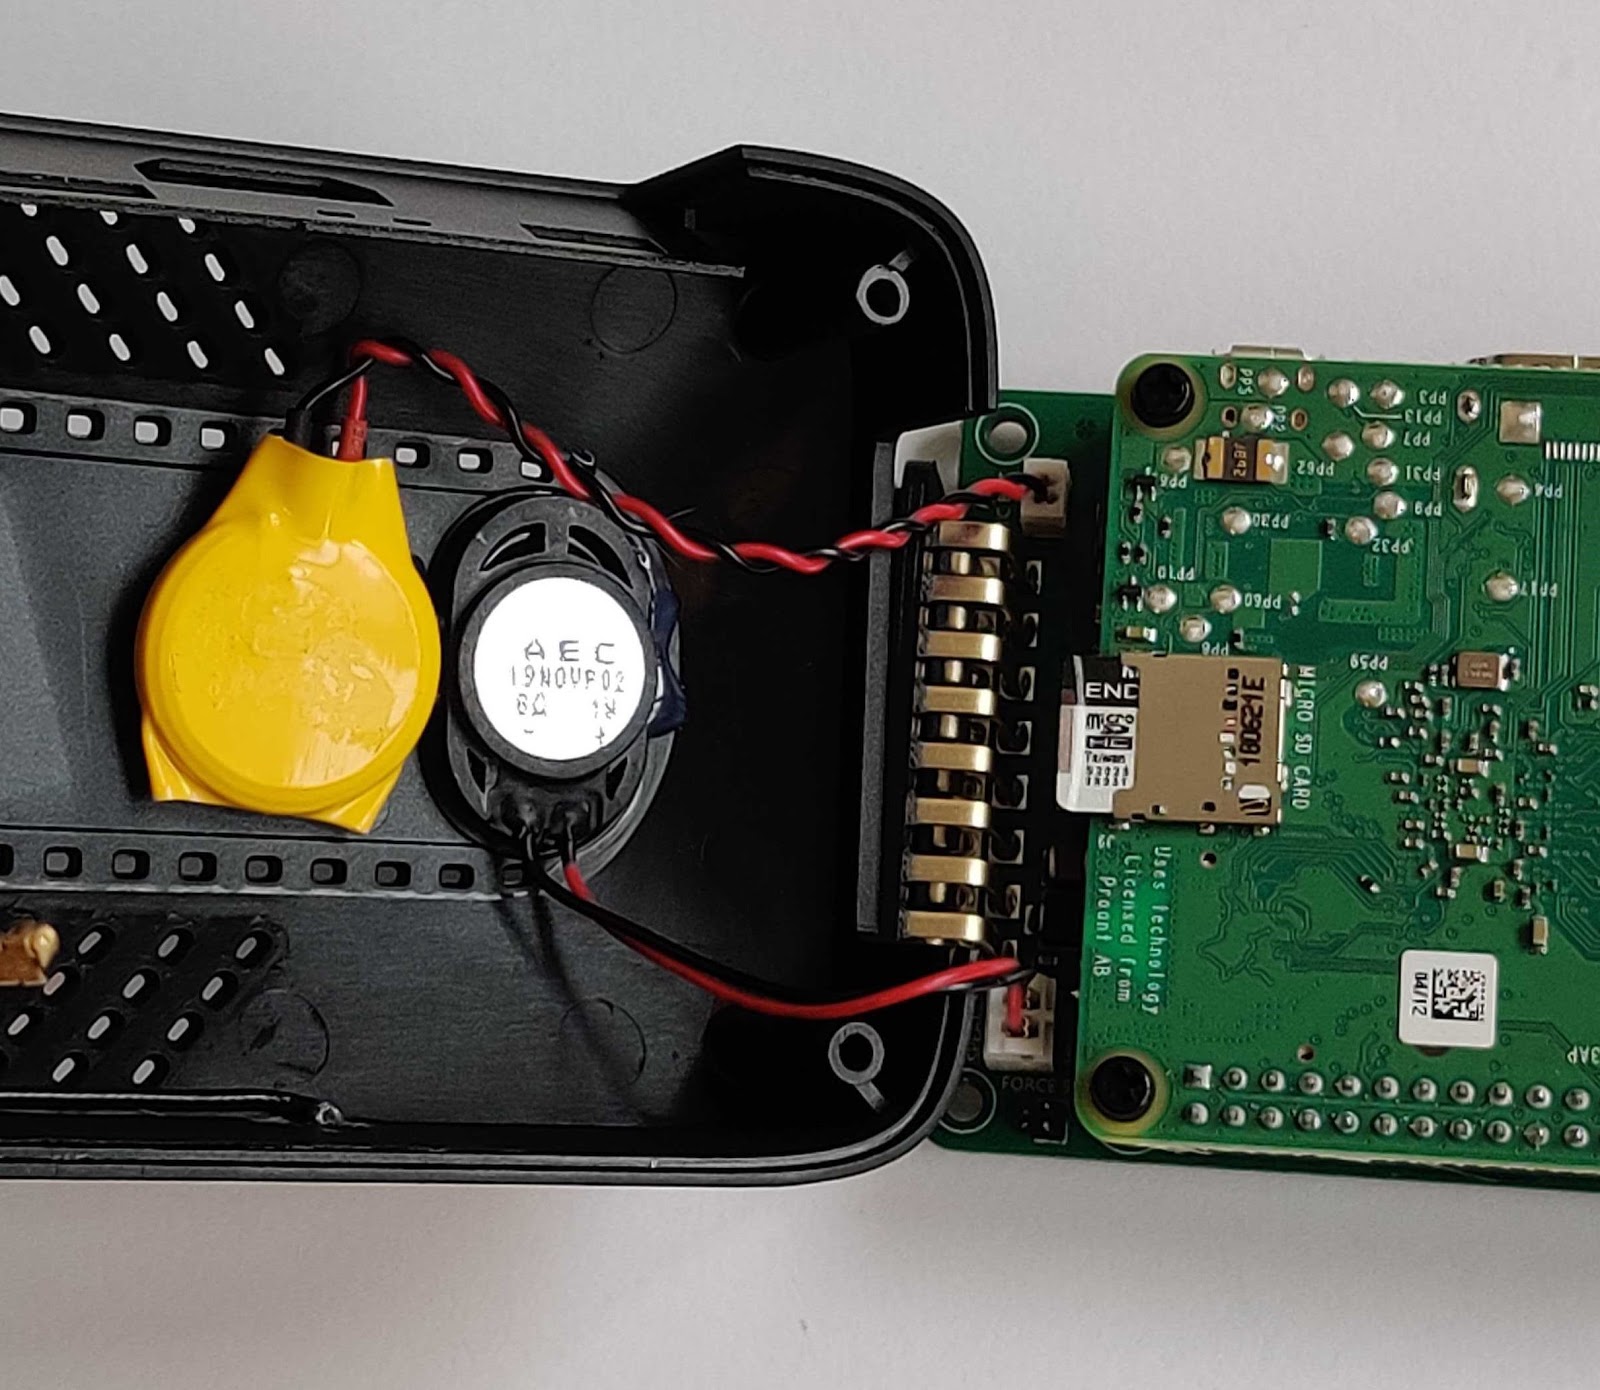
Step 6: Remove the speaker and the battery connector, while keeping in mind the location of the connectors.
Step 7: Now that you have separated the enclosure from the device, you will see that there are dots located around the casing. These dots show placement location for possible antennas.
Please note there are 5 possible locations on the side opposite to the OBD port, and 1 on each side of the device.
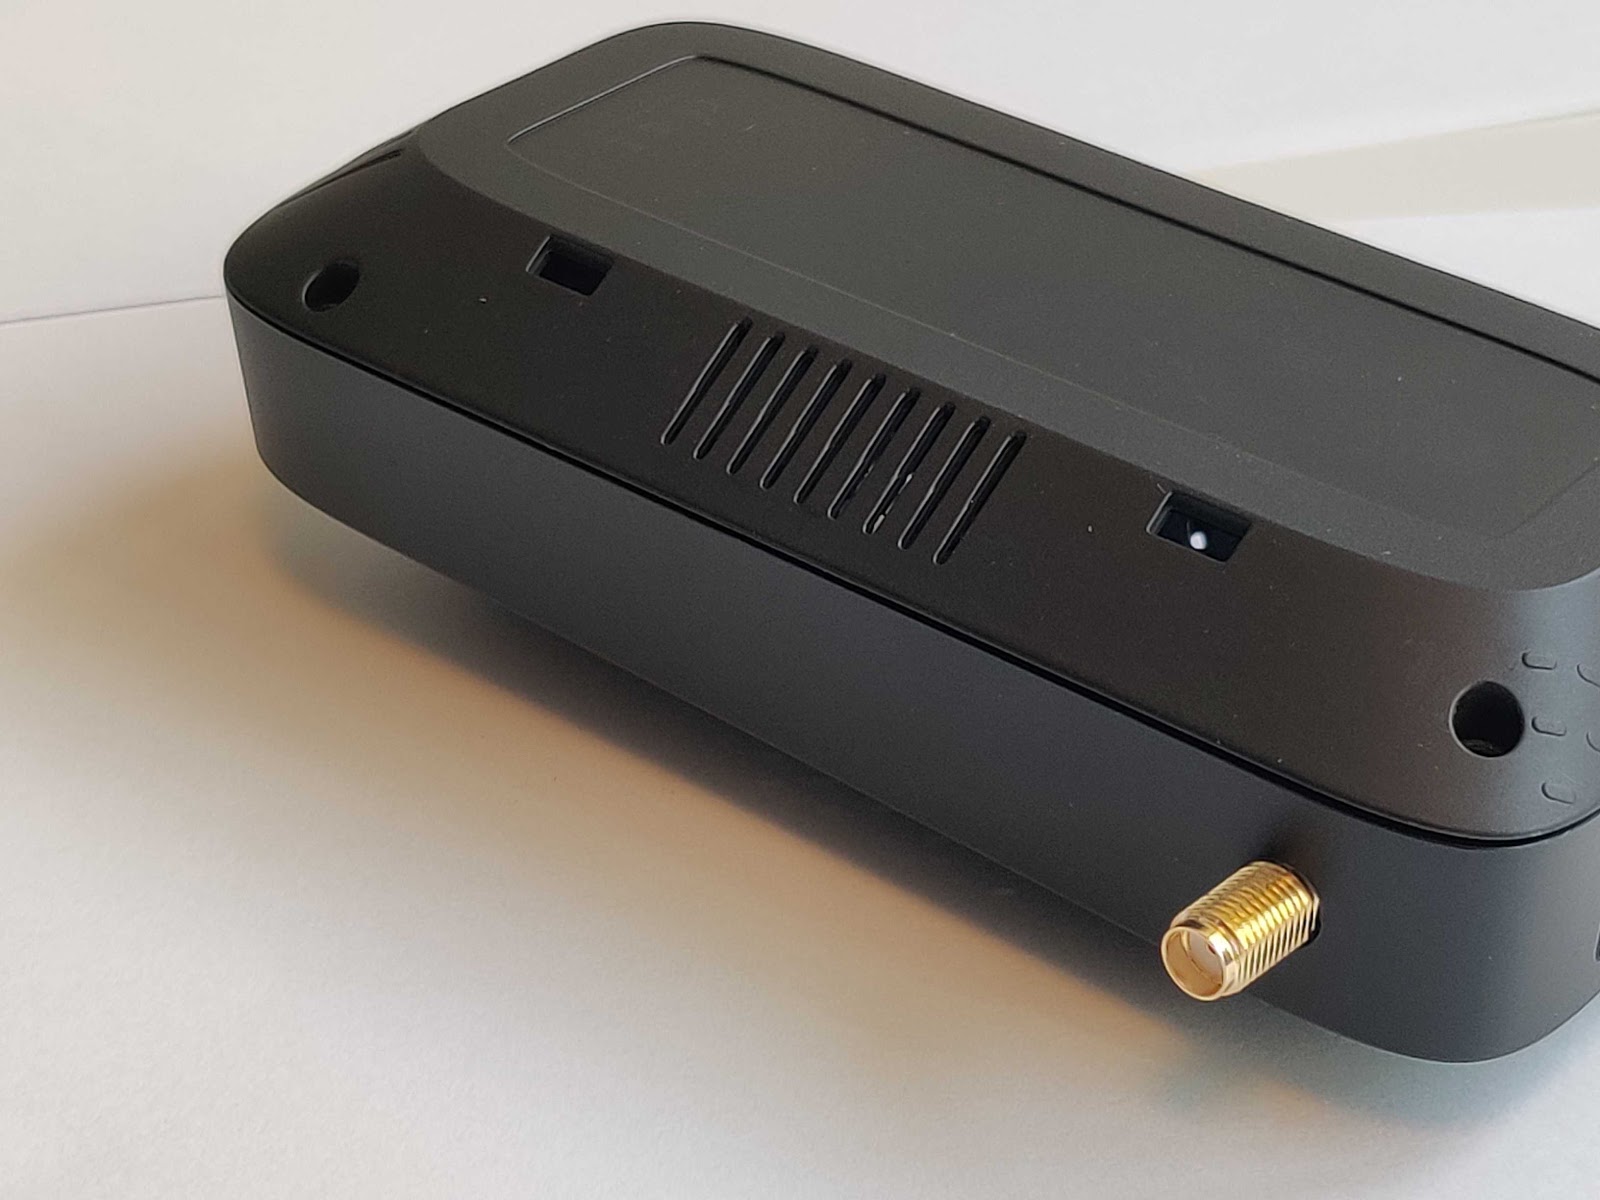
Step 8: To drill, use a 6.5 mm drill bit, and drill directly on top of the dots.
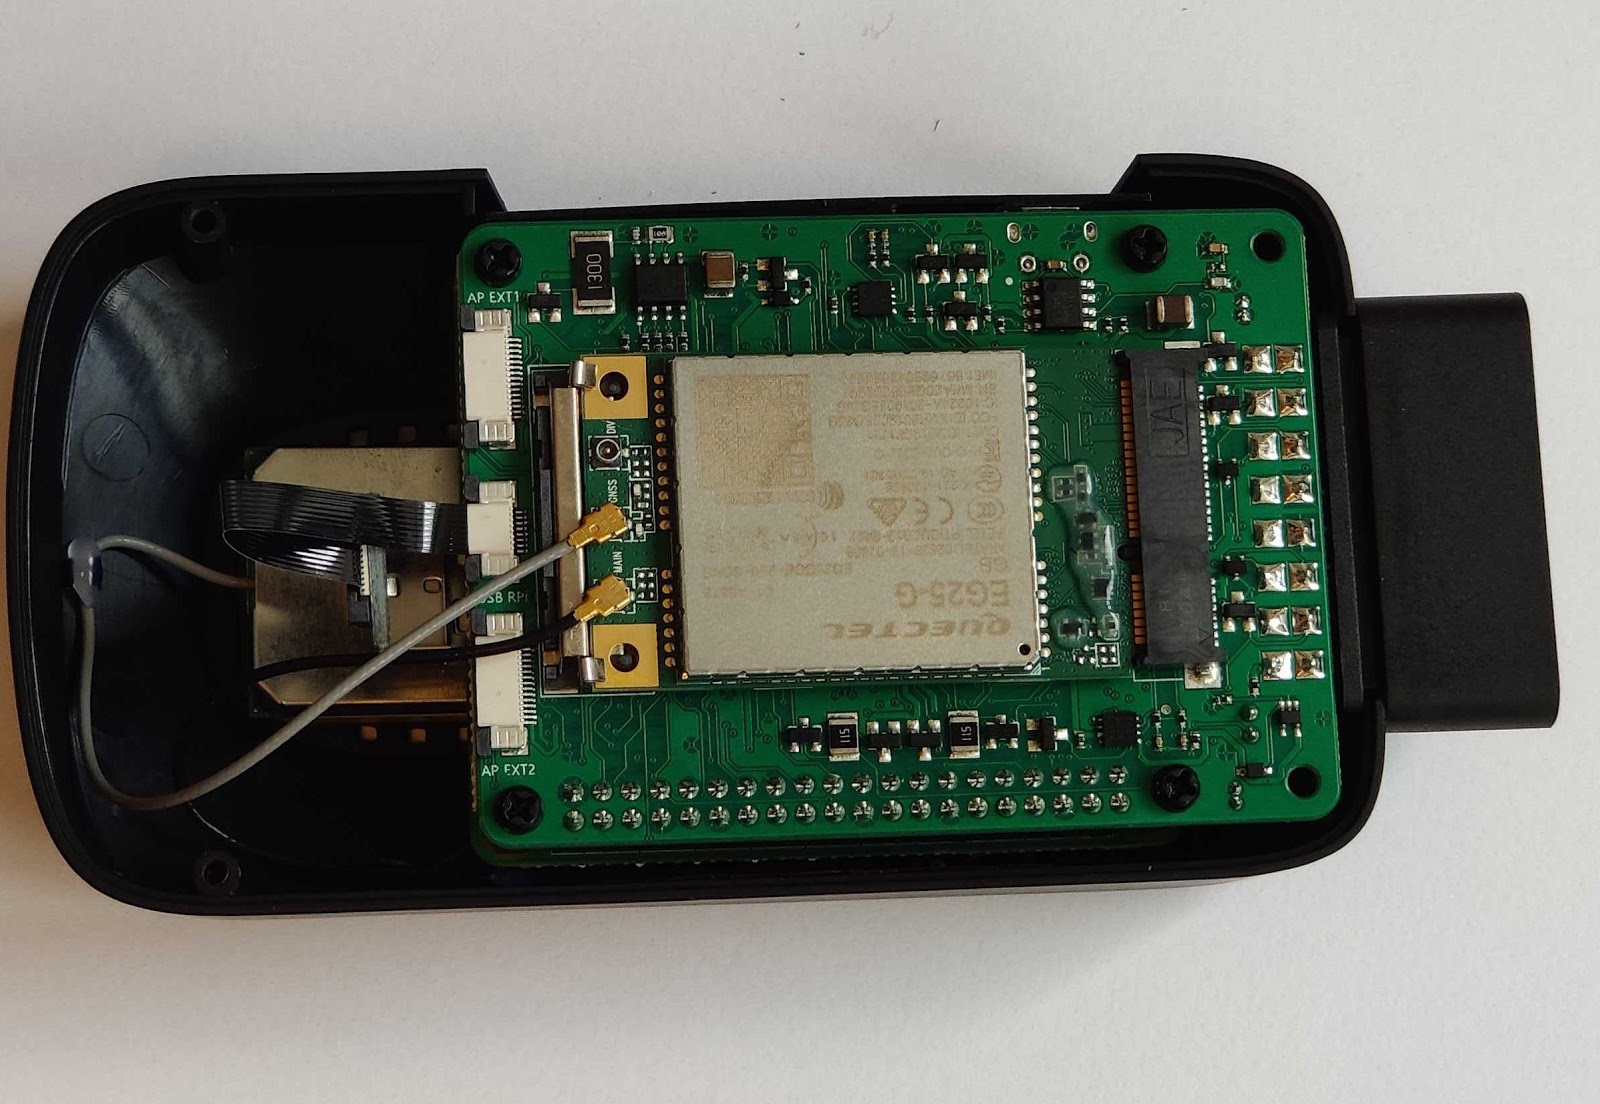
Step 9: After drilling, insert the SMA cables through the holes you have created.
Step 10: Next, we are starting the reassembly process. First the battery and speaker will be connected, then the device will be slowly put in the enclosure, while being very careful not to pinch any wires.
Step 11: The next step is to reconnect the SMA cable to the modem by positioning them above the connector and pushing down gently until a click is heard. Please keep in mind that the GPS SMA cable will be in the middle of the three connectors. In the picture below, the GPS antenna is the GRAY SMA cable.

Step 12: The top lid of the enclosure will be mounted using the 4 black screws.
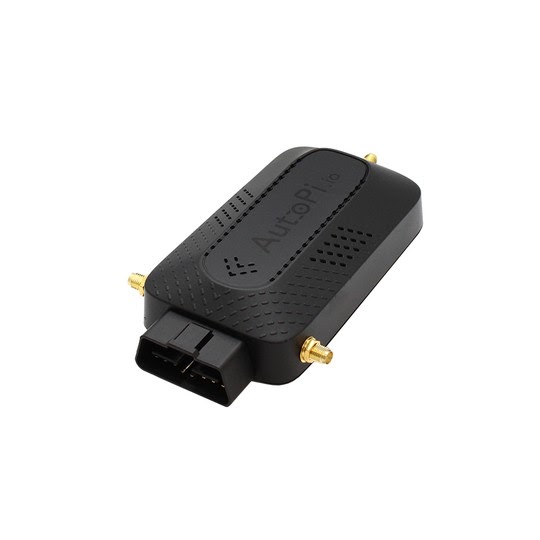
Step 13: Next, the antennas will be connected to the SMA cables, while keeping in mind not to mix the GPS antenna with the 4G antenna.
Discussion
If you'd like to discuss this topic with us or other fellow community members, you can do so on our community page dedicated for this guide: Installing and using external 4G and GPS antennas on the AutoPi TMU.
You can also write us an email on support@autopi.io. We usually respond back in 24 hours on working days.