Using the RPi3 adapter
Please note: The AutoPi always needs power through the OBD connector, to function properly. Powering the board through the micro usb power plug on the Raspberry Pi could damage your board. If you need to test the AutoPi in a lab environment, we encourage you to get the OBD power connector from the shop.
This is a step-by-step instructions on how to set-up your Raspberry Pi3 adapter. You will need the following tools to get started:
- Your RPi3 adapter (with screws, spacers and nuts)
- Screwdriver
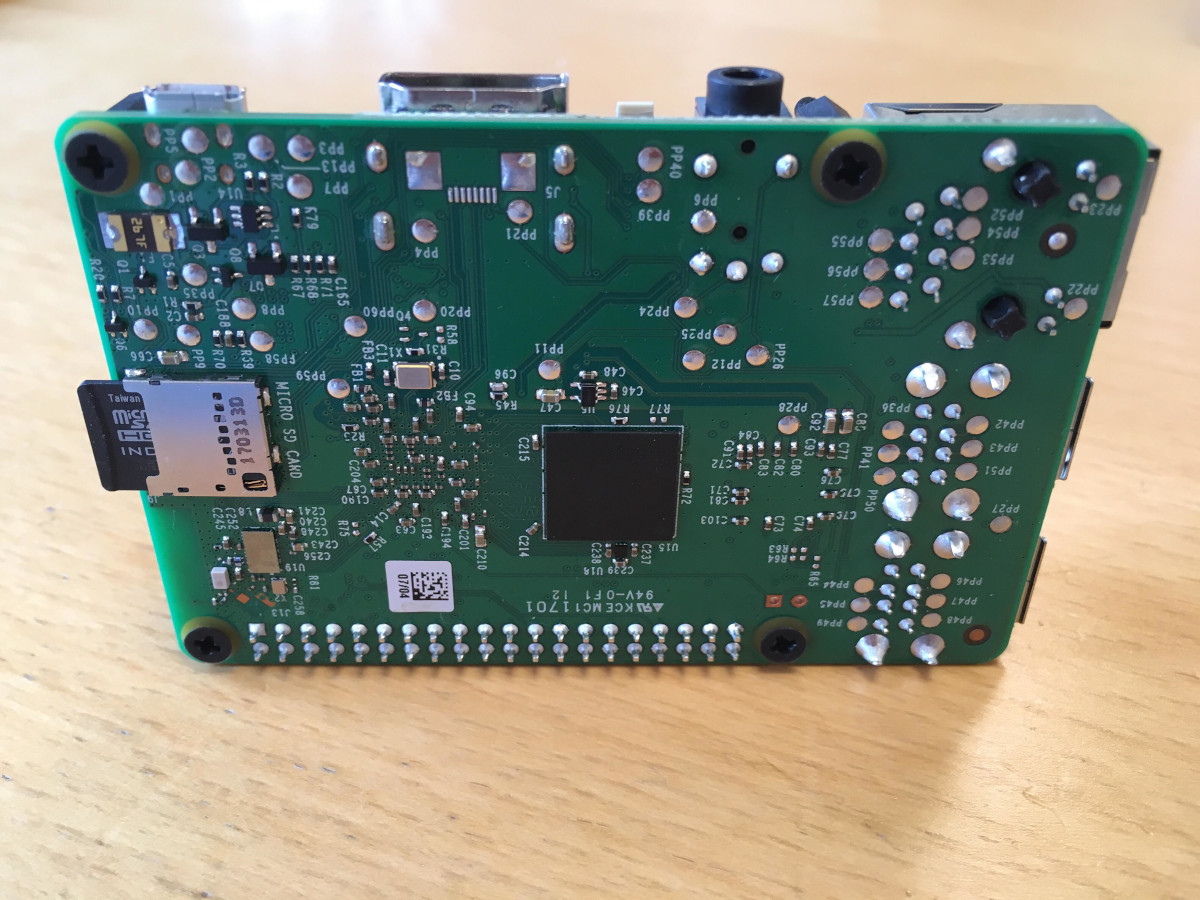
- Your Raspberry Pi 3 (isn't included in the kit)
- Your AutoPi dongle
Here is what you need to do:
Remove the casing from your AutoPi (if you have a 4G or WiFi edition)
Remove the Raspberry Pi Zero from the AutoPi dongle, leaving only the black AutoPi base board.
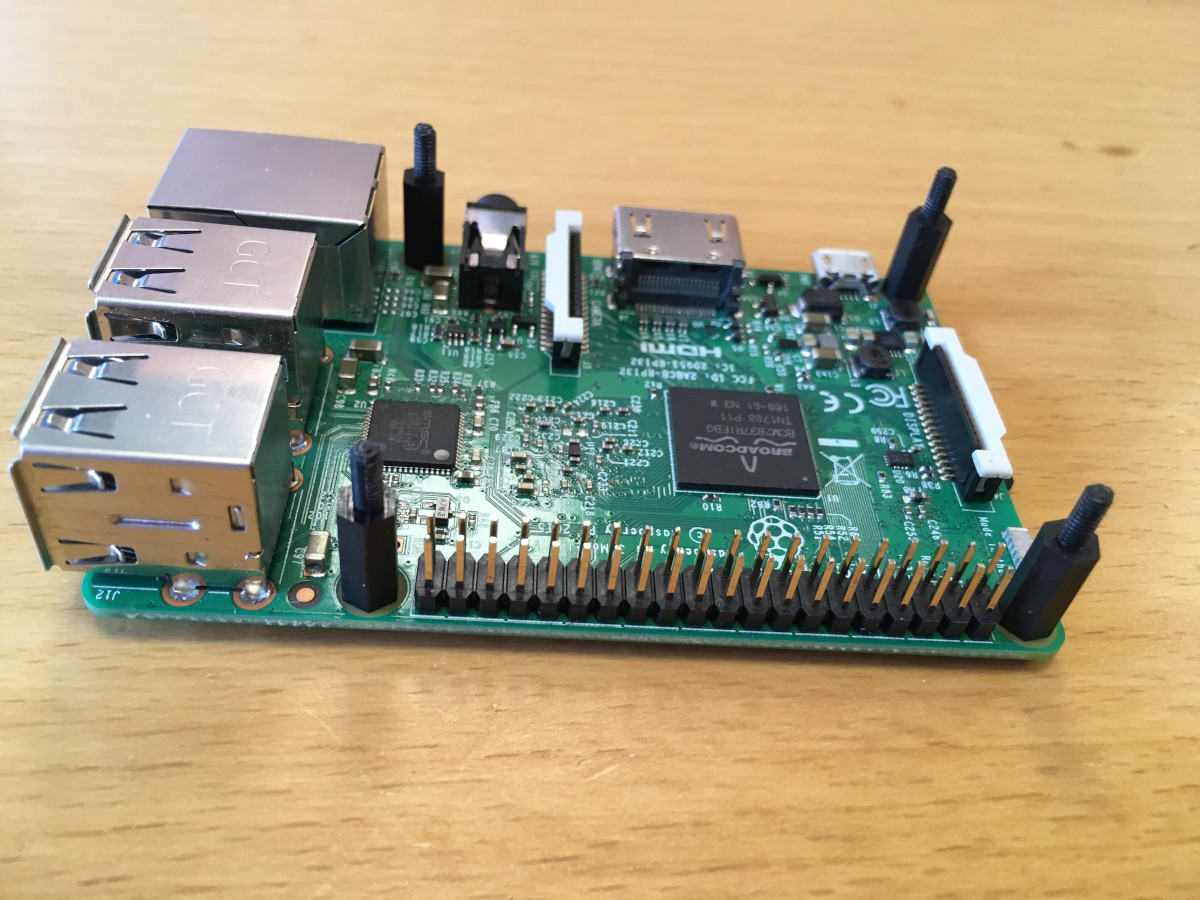
Your RPi3 adapter comes with screws that you’ll have to insert (from the bottom side, upwards) in four corners of your RPi3, once you do that, you can put the spacers down unto your screws. Be gentle with the screws since they are made of plastic. The following image illustrates how it should look:
It is important that you insert your screws first, from the bottom so the spacers can be put on:
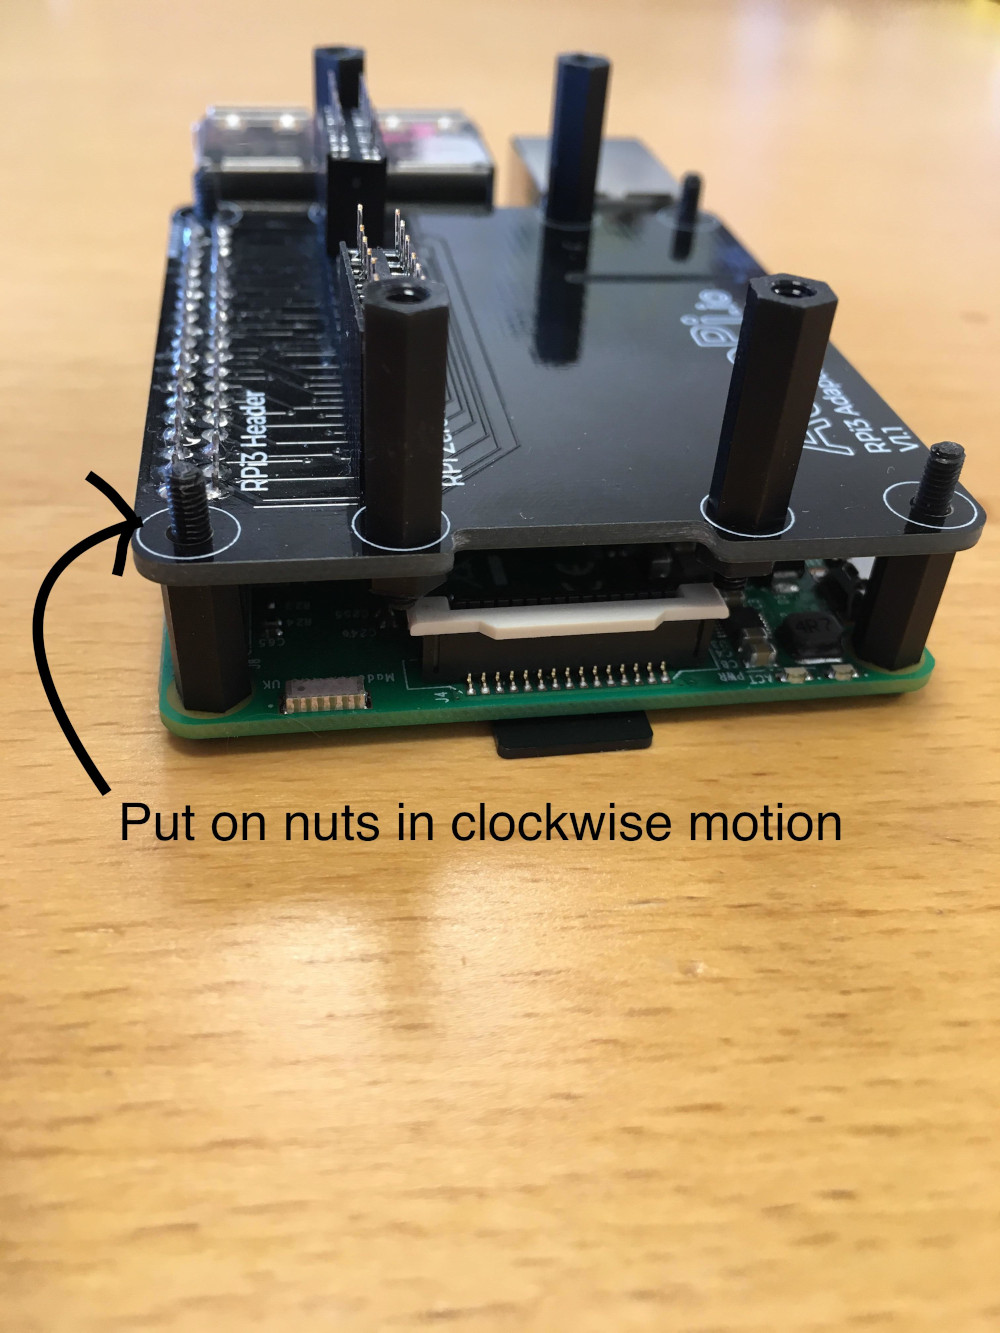
- Hereafter, insert 4 screws downward the four inner holes on your RPi3 adapter, and screw them closed with 4 nuts.
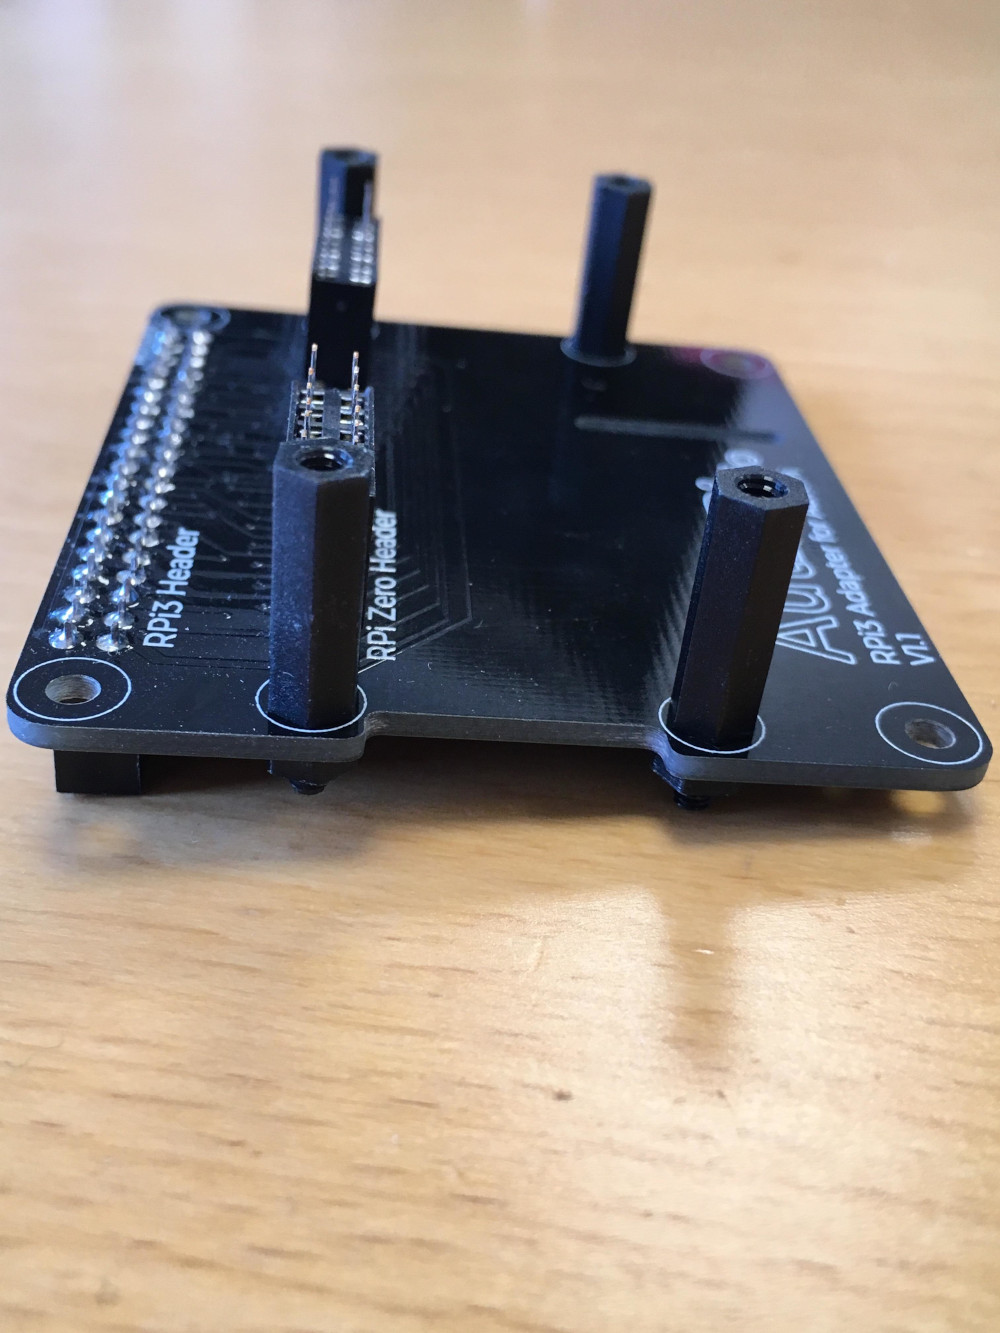
Make sure the screws are faced downwards in the four inner holes.
Put on the nuts and tighten the screws in place by rotating them clockwise.
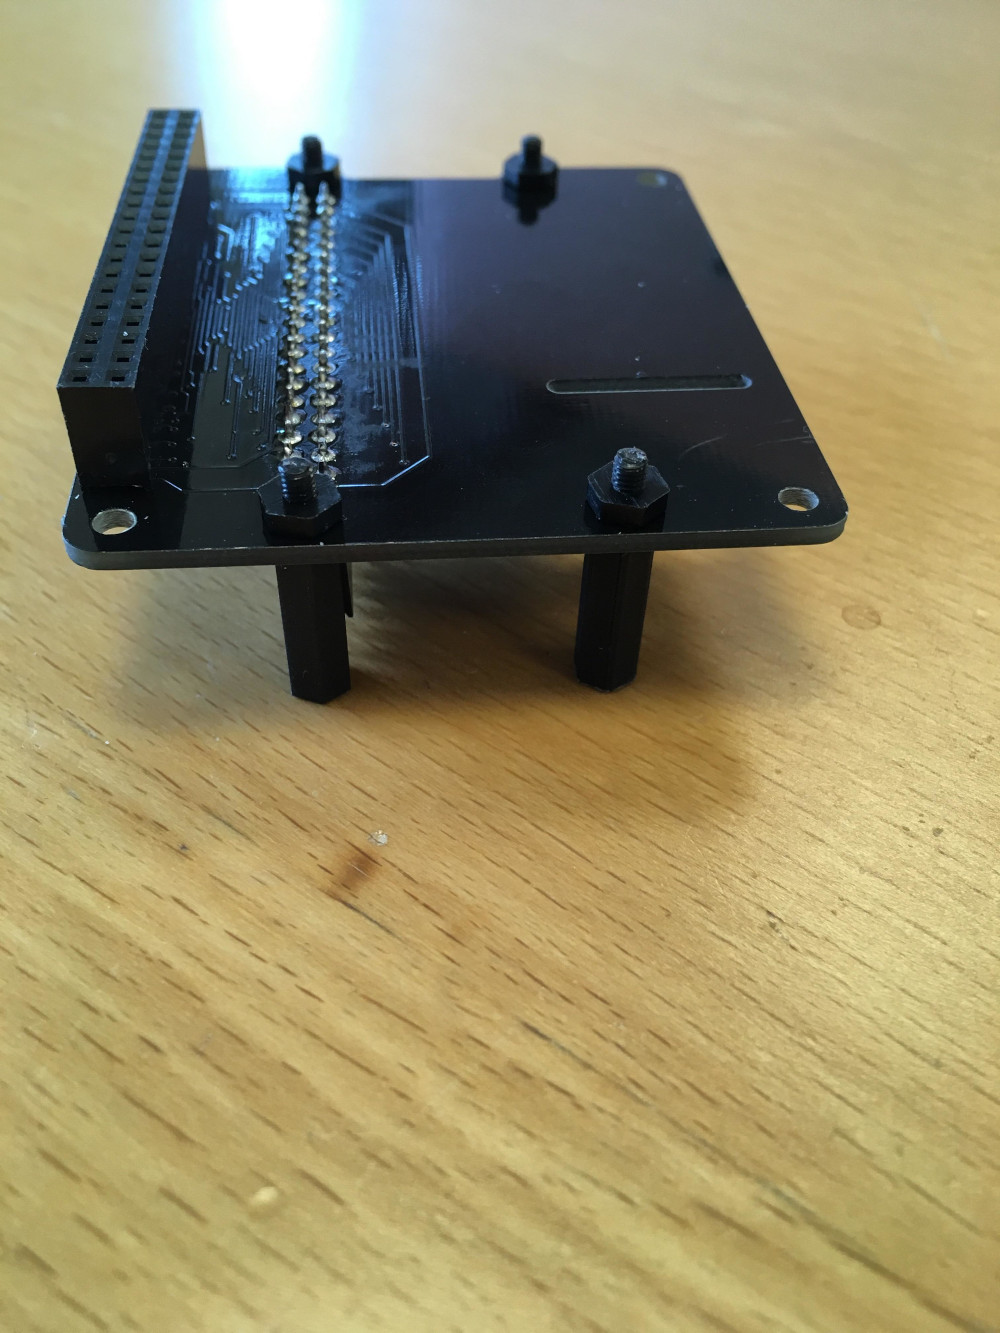
- Then, push down your RPi3 adapter unto the RPi3 (where the left side black box will fit the headerpins on the RPi3).
This is what it should like once you have safely pushed the adapter down on the RPi3
After you have securely and safely attached the adapter to the RPi3, use 4 nuts to tighten the screws in place.
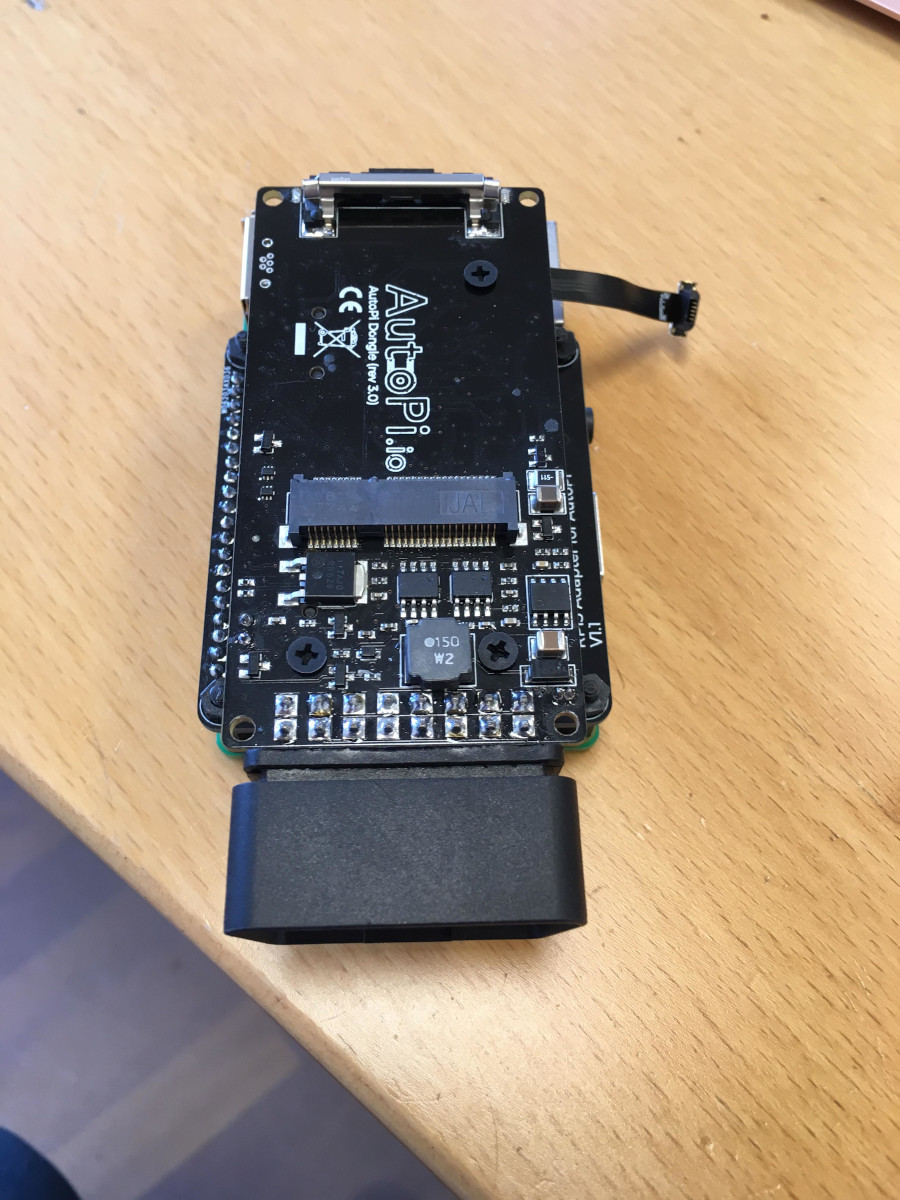
Hereafter, align your dongle correctly so the headpins of the adapter fits with the black box of the dongle and push them gently, but firmly unto each other.
Lastly, all you need to do is insert three screws in the three inner holes of the dongle, and be careful and gentle, too much pressure and screwing them too tightly can break the screw tops off. Once, you’ve done that you are;
This step only applies if you have a 4G edition and you want to use the modem. To enable the modem you need to connect the AutoPi to the RPi3 using the flat Micro USB cable that came with your AutoPi. Insert the USB cable into the micro USB to USB adapter that came with your Raspberry Pi 3 Adapter. Then insert it into the RPi3. You can see how in this image (red circles):
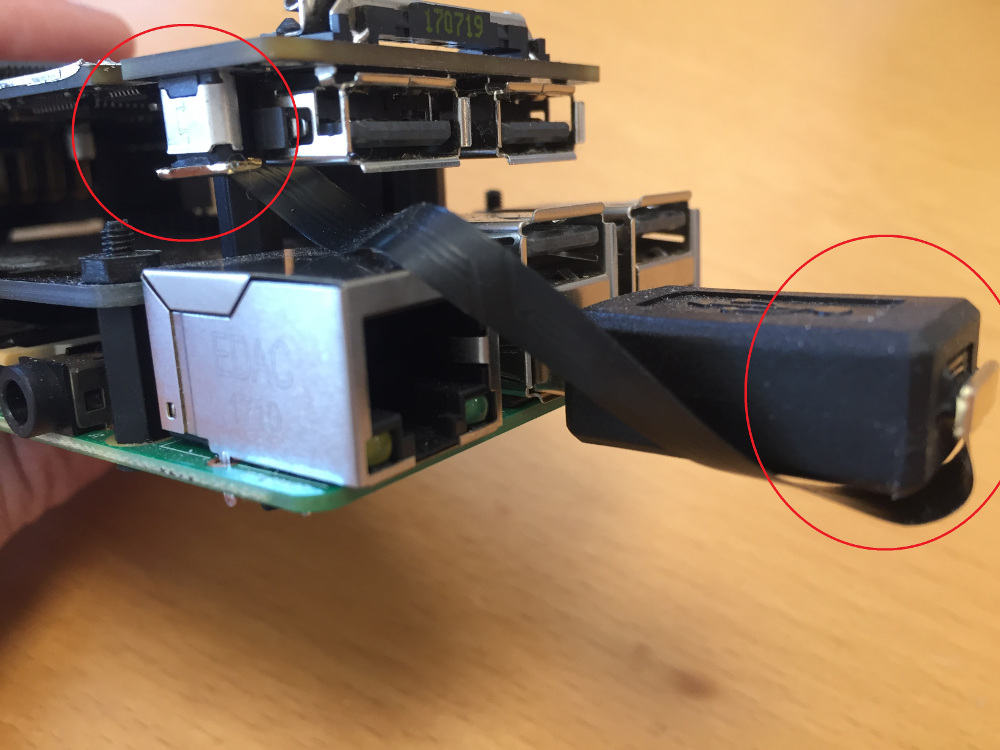
If you have another micro USB to USB cable, you can also use that. Anyone will work.
- To get your AutoPi (RPi3 edition) online in the AutoPi Cloud, it needs to be registred again. The reason for this is that your Dongle ID is generated from the Raspberry Pi. So now that you've upgradet you AutoPi to the RPi3, it's received a new ID. You can get this ID from the local terminal with this command:
grains.get idor from the SSH promt:
cat /etc/salt/minion_idor from the web terminal
cmd.run 'cat /etc/salt/minion_id'This ID needs to be accepted by AutoPi. So you need to send the correct ID to support@autopi.io, so that it can be accepted by our servers.
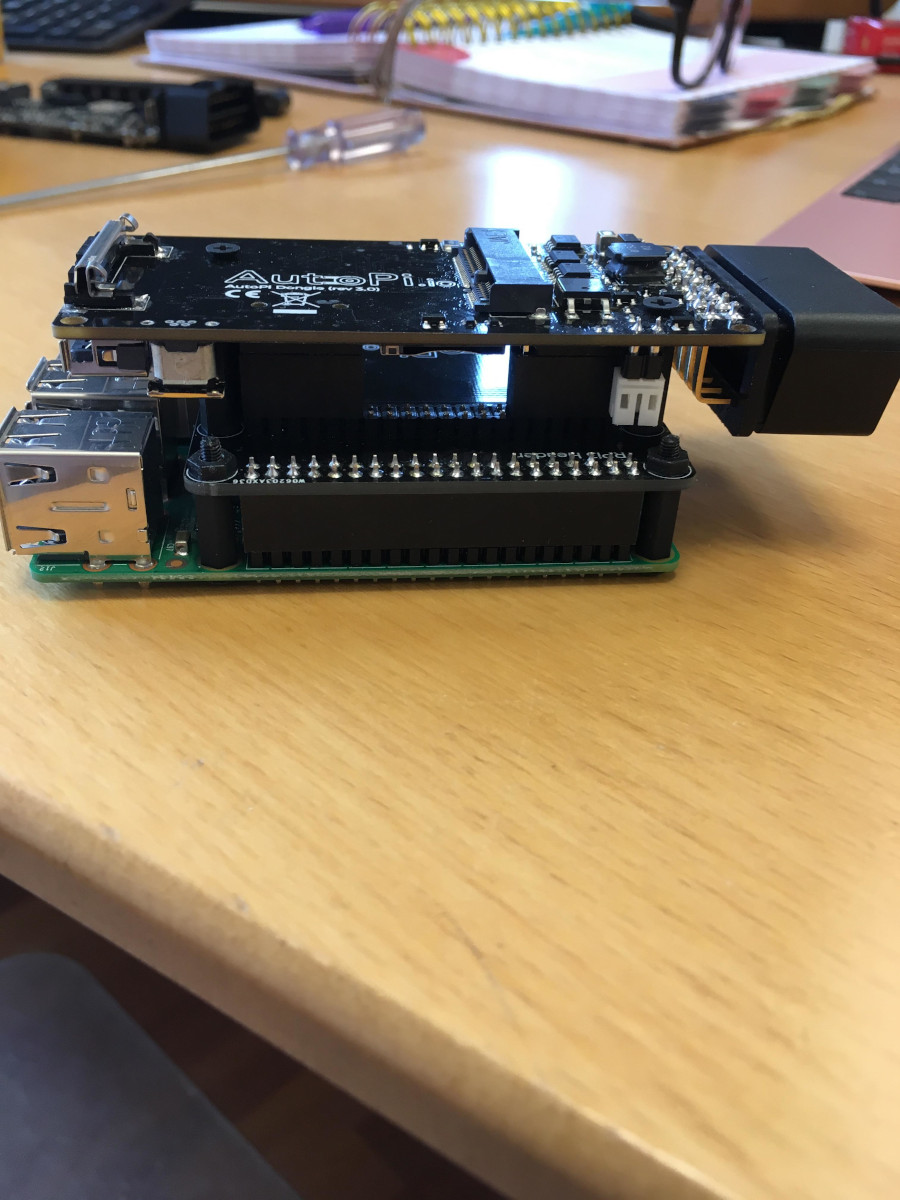
- Finished and completely done :)
The final result should look something similar to this.

Discussion#
If you'd like to discuss this topic with us or other fellow community members, you can do so on our community page dedicated for this guide: Using the RPi3 Adapter