Keyfob HAT Install
Before proceeding with the install
note
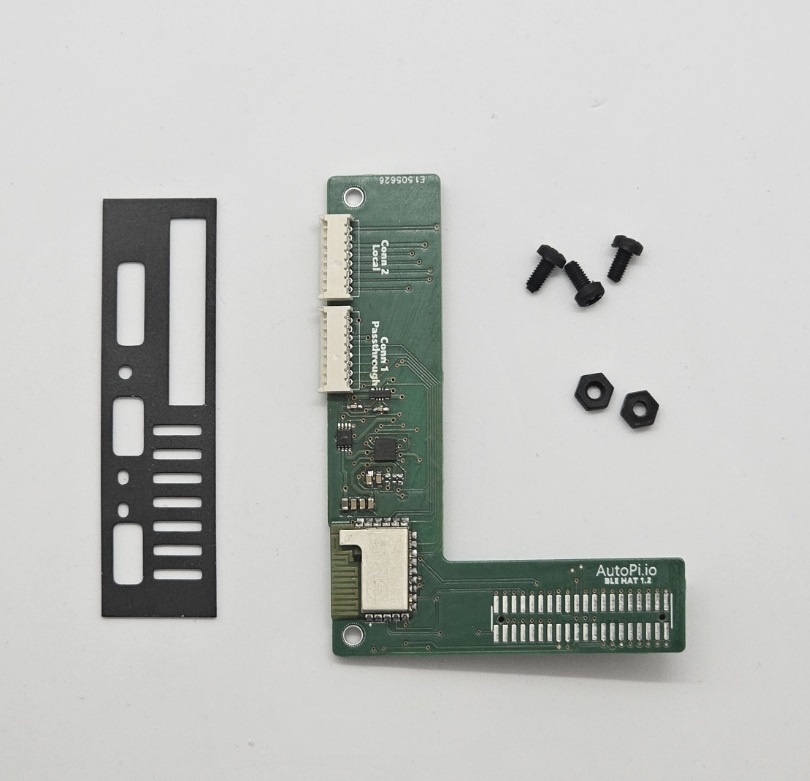
Prerequesites for this guide:
- 1x Keyless Entry BLE HAT PCB
- 1x 4mm plastic spacer
- 2x Plastic screw
- 2x 6.5 mm plastic spacer
- AutoPi BLE side shield
Step-by-Step Guide
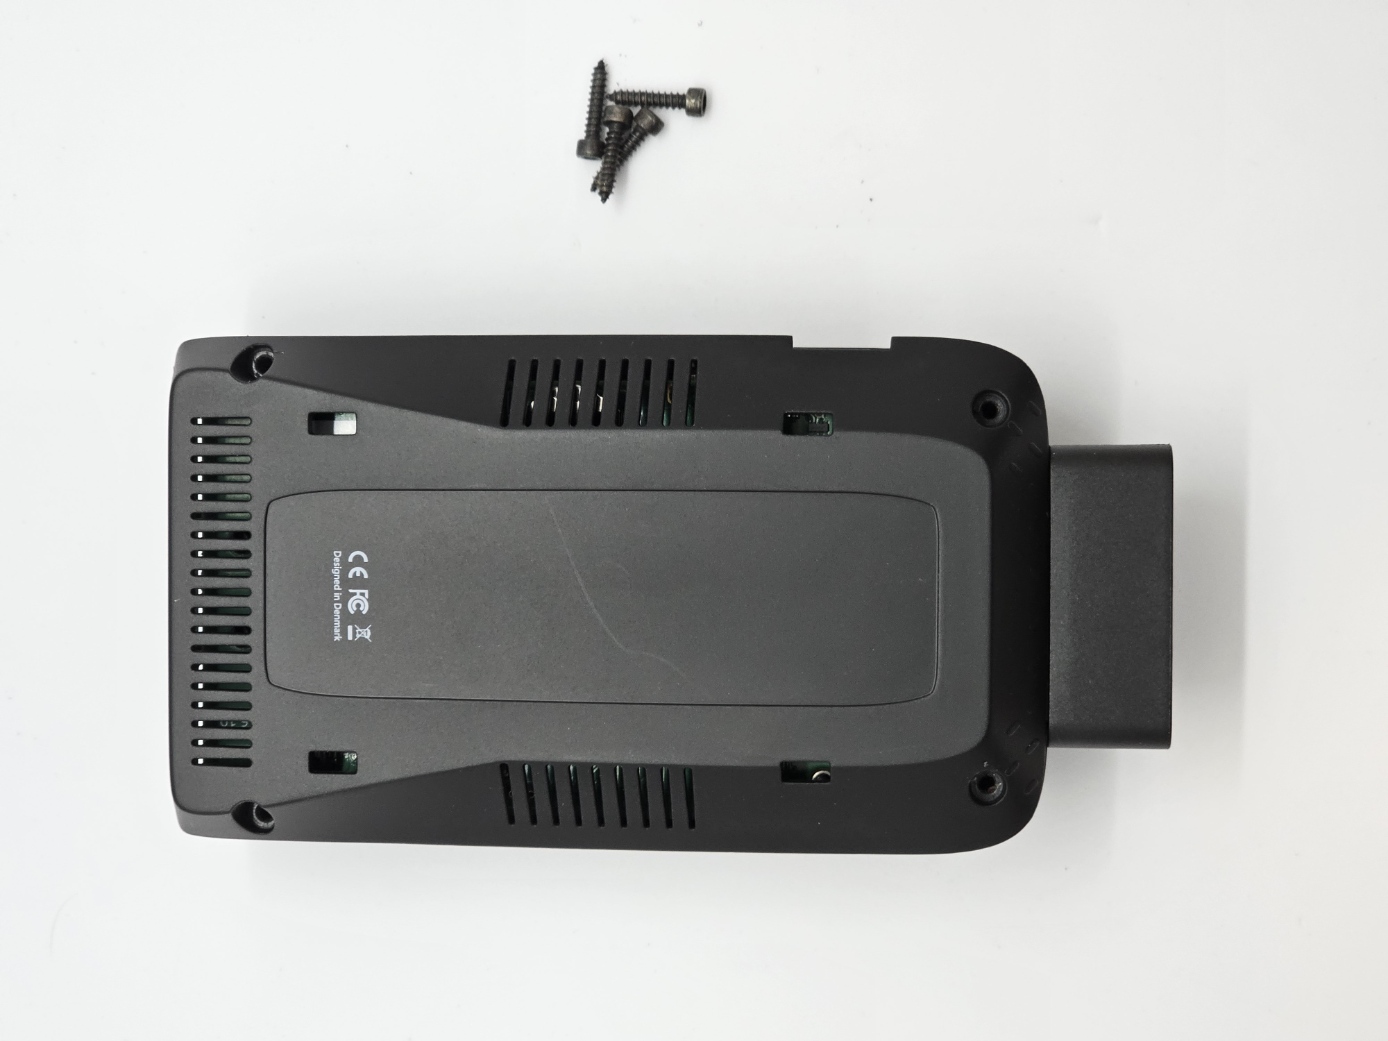
Step 1
Open up the AutoPi device by unscrewing the four screws at the bottom.
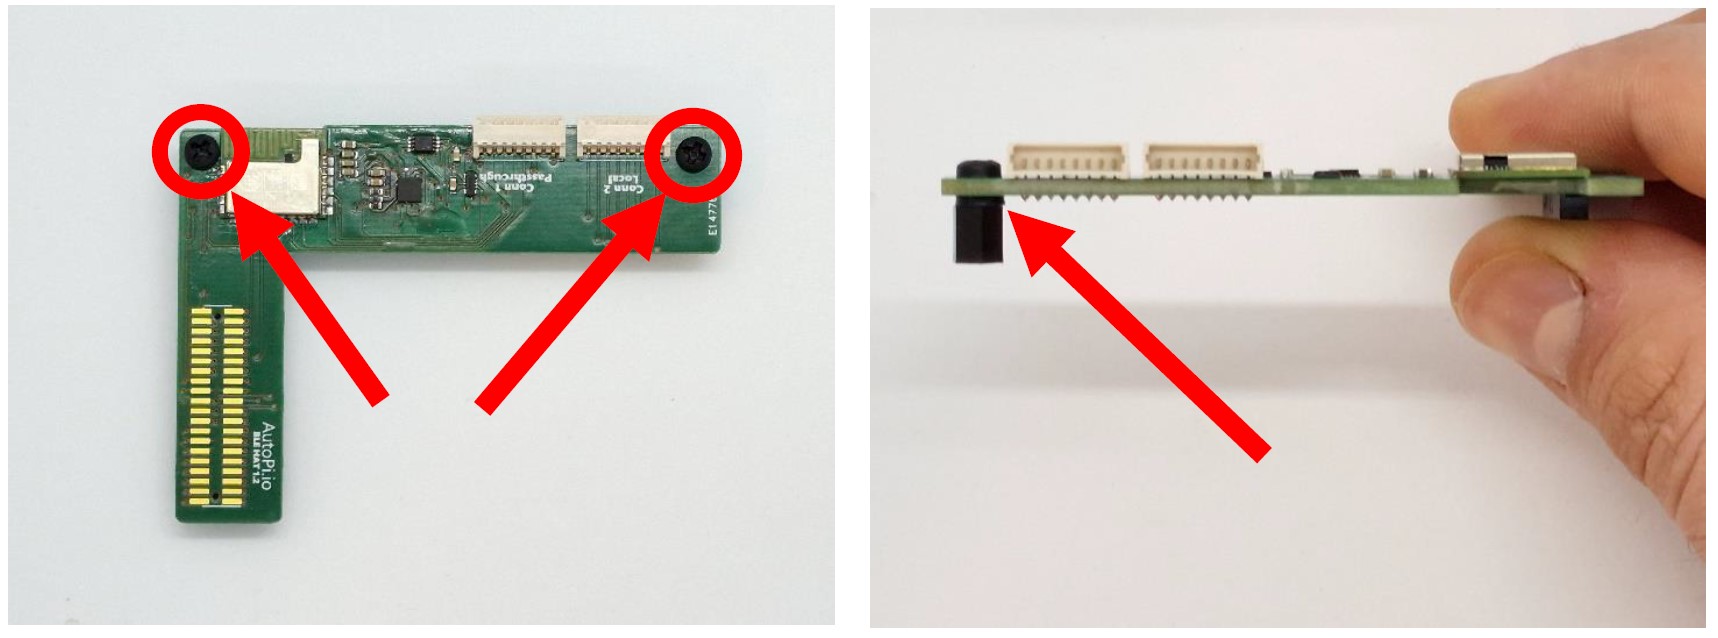
Step 2
Start preparing the BLE hat by screwing one 6.5 mm spacer in each hole of the PCB as seen in the pictures.
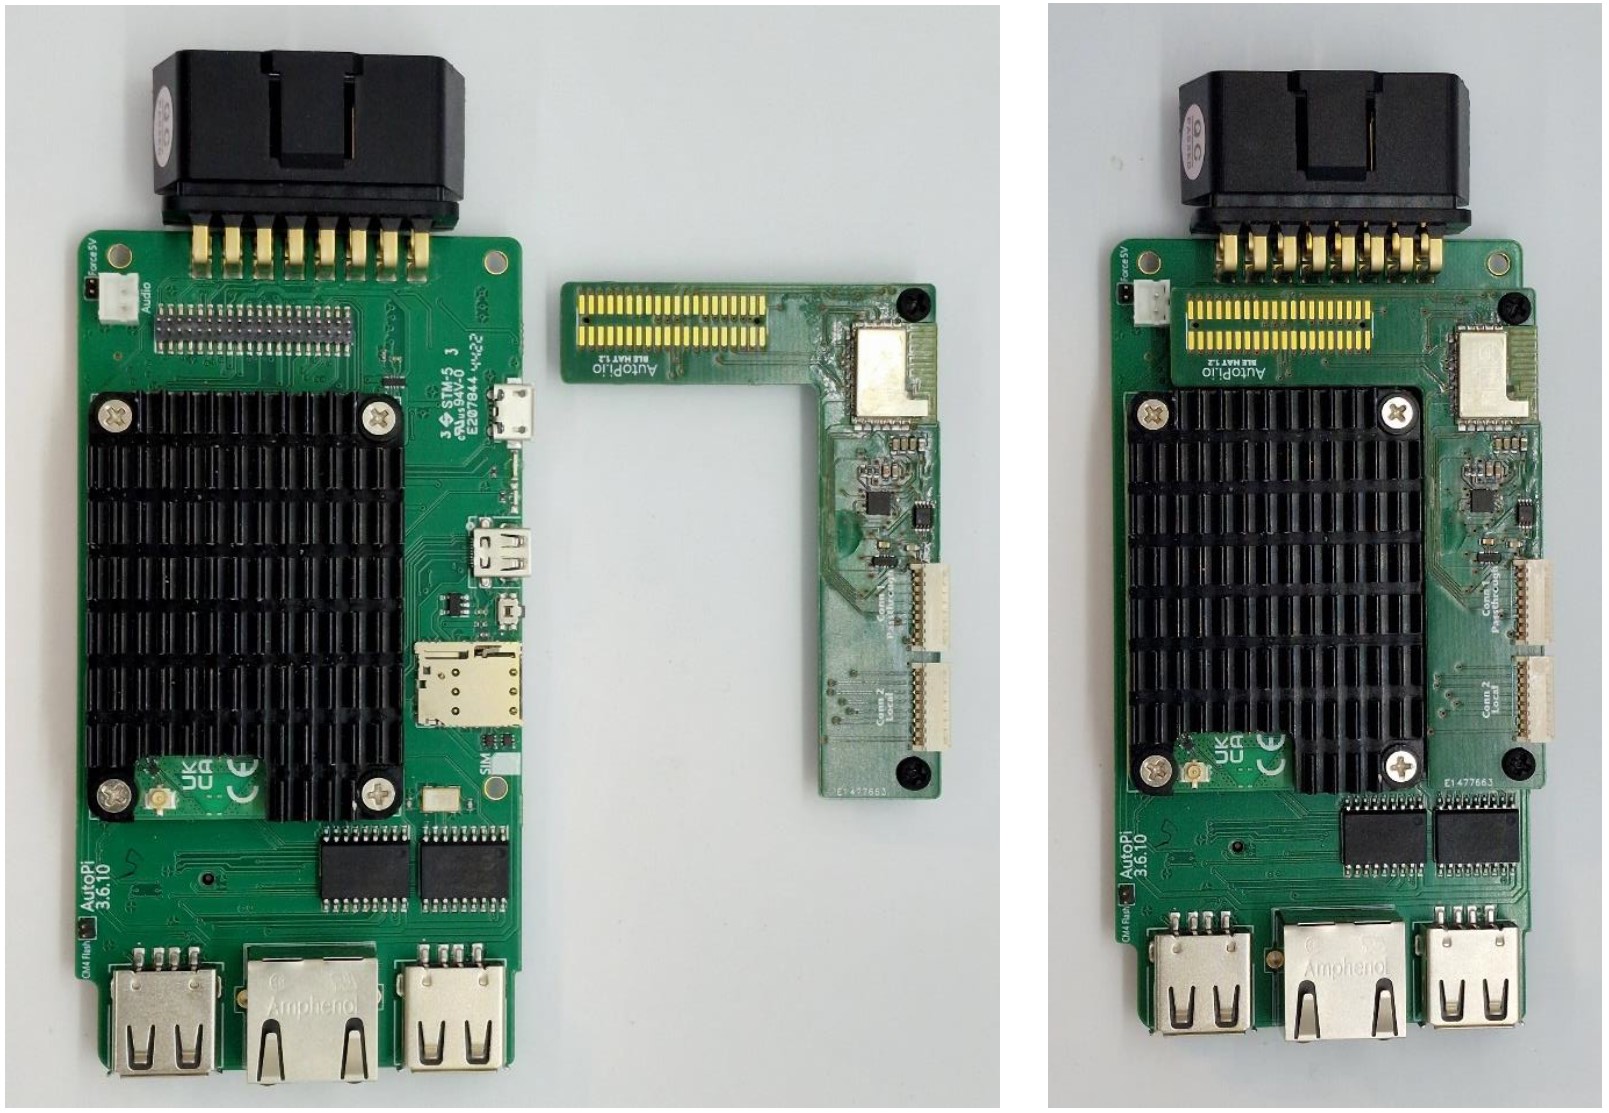
Step 3
Connect the BLE hat with the AutoPi board through the 40 pin headers. Verify that the connectors are properly connected.
Step 4
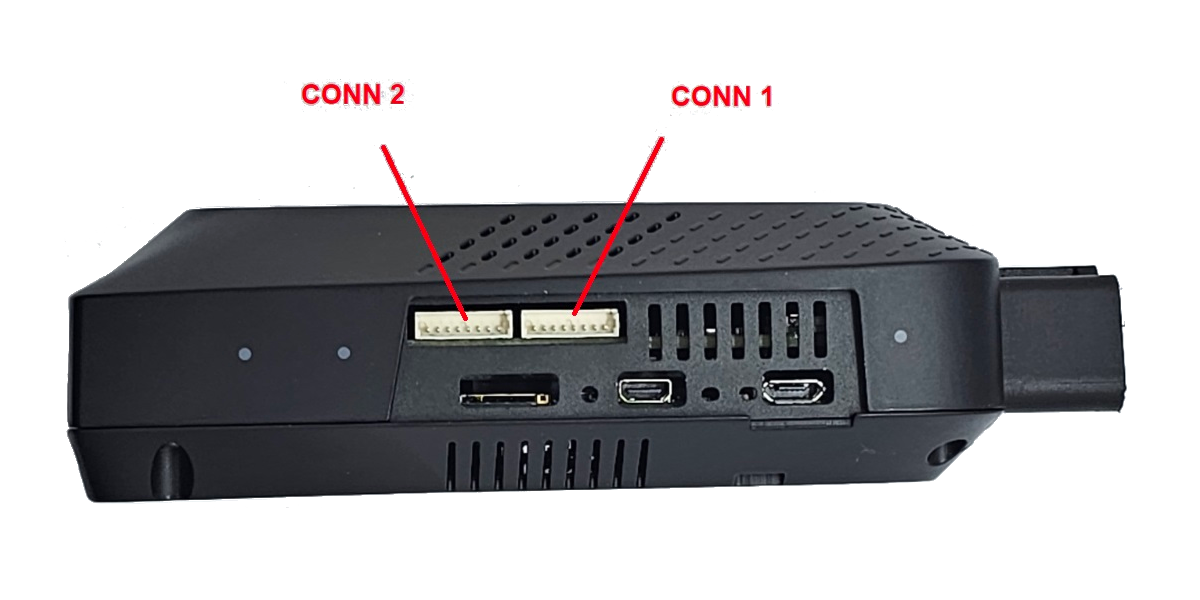
Reasemble the device using the new AutoPi BLE side shield, giving access to two new Keyfob control ports on the side.
Disscussion
You have now successfully installed the keyless entry solution to the device.
 Buy AutoPi device
 Compare all AutoPi devices
 Contact our sales team