HW Introduction
This section explores the hardware components of the AutoPi and how they differ from one generation to another.
AutoPi Hardware#
The AutoPi device is built with two major components - an AutoPi board and a Raspberry Pi. The AutoPi board has the OBD-II connector, used to plug the AutoPi device into your vehicle, but also has many other components (chips) that work together to provide the full AutoPi experience.
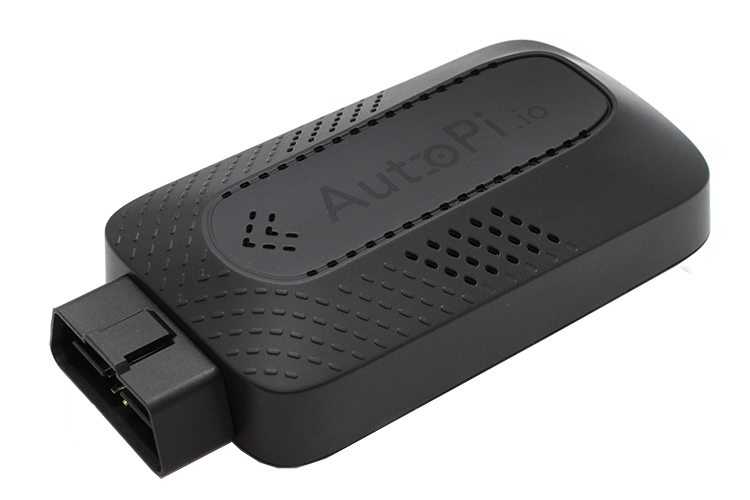
The AutoPi board is then connected to the Raspberry Pi's GPIO pins and an extra USB connector to build the full AutoPi device. There are two generations of AutoPi devices - Generation 2, which uses a Raspberry Pi Zero W and a Generation 3 (also called TMU), which uses a Raspberry Pi 3A+. It is also possible to use Pi 3B+ or Pi 4 with the TMU device.
Our latest generaetion devices is the AutoPi TMU CM4, which is built on the Compute Module 4 from Raspberry Pi. This version is more industrialized.
Tips for Best Device Performance#
When installing the device in the car, there is a few tips on how to get the best performance of your device.
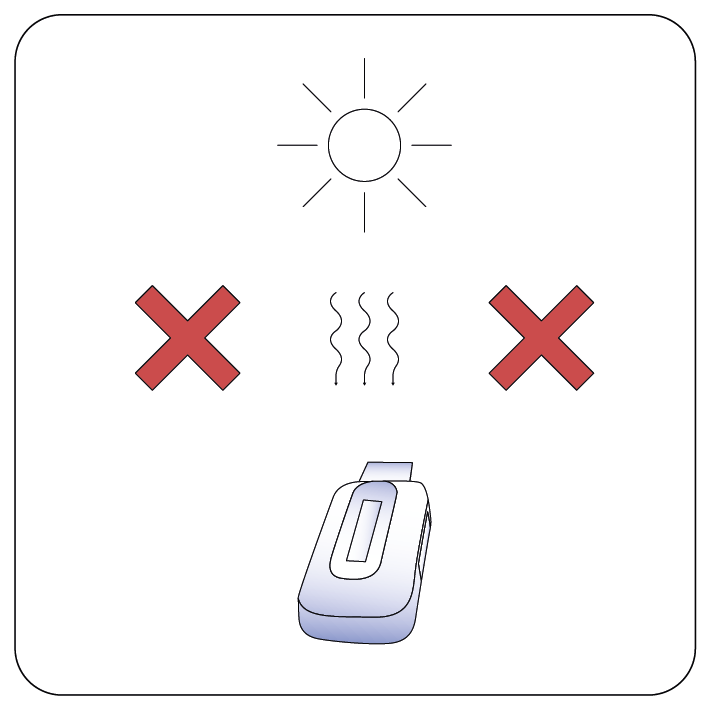
Hint 1: Try to avoid installing the device in direct sun. Direct sun will heat up the device and in the summertime this can cause the CPU to throttle down, if the temperature gets too hot.
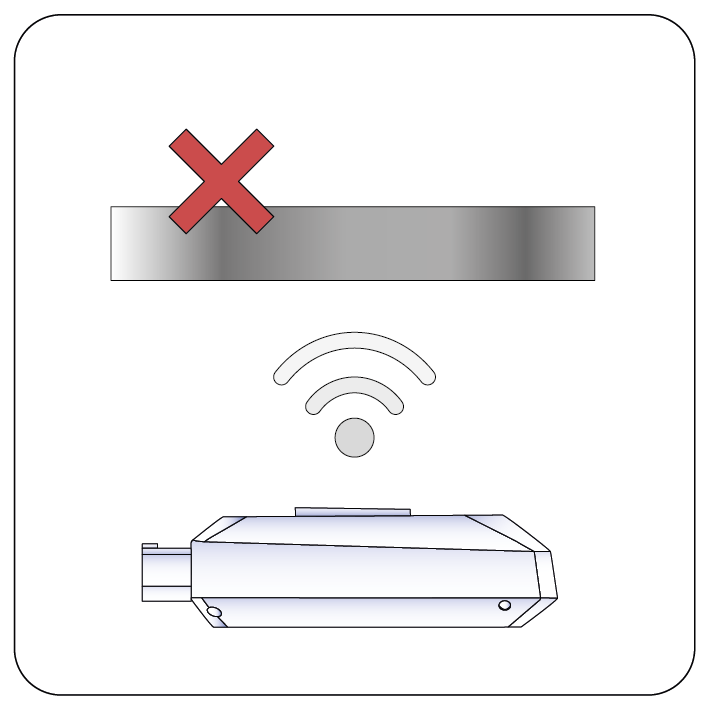
Hint 2: The device contains a GPS antenna inside. Make sure that there is no metal covering the device as this can affect the performance of the device.
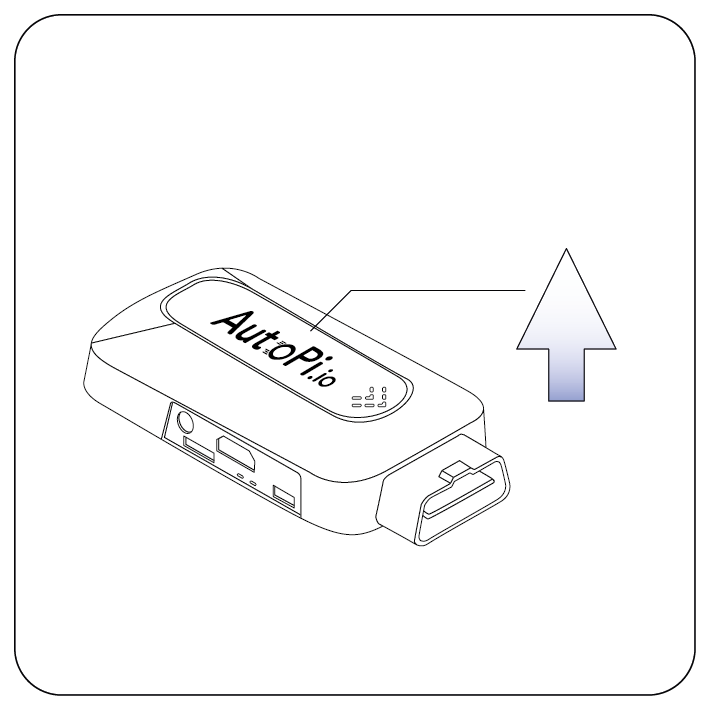
Hint 3: The GPS antenna is located close the the logo on the device. To ensure the best performance of your device, make sure the logo side of the device is facing the sky.
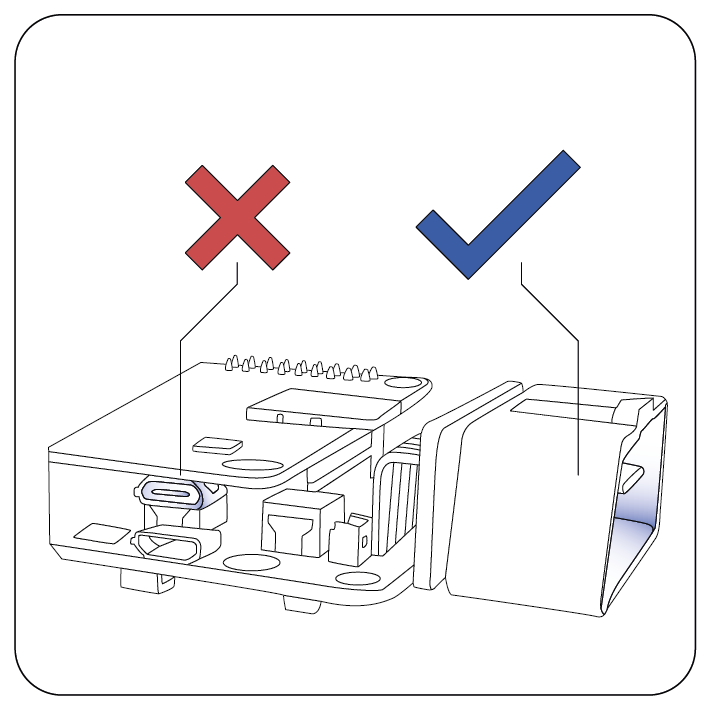
Hint 4: When powering the device, make sure you only power it through the OBD connector. The device can not be powered through any of the other ports.