Install External Antennas
Please read the whole guide in order to have a good understanding of how all the components fit together.
You need to be careful not to tear or damange some of the cables when handling the casing of the device.
Step-by-Step Guide
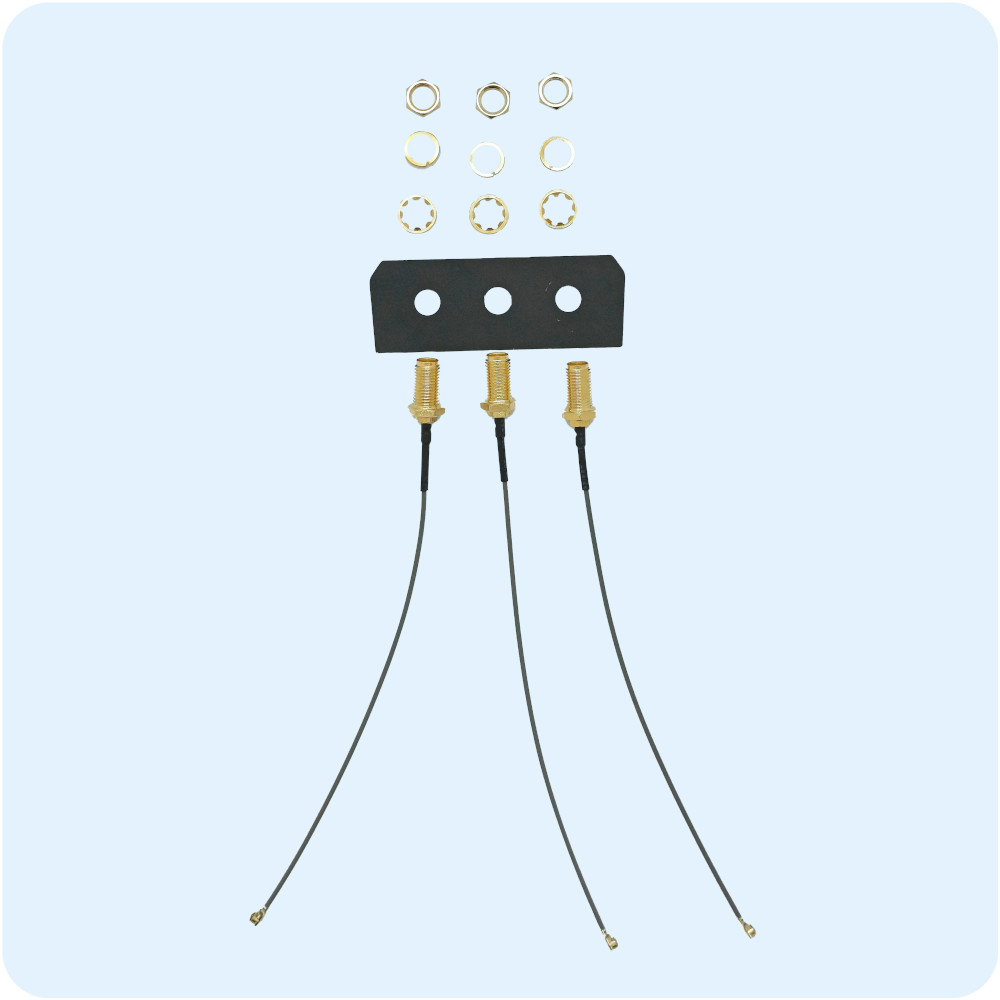
Step 1: Get the rear shield, spacers, lock rings, nuts and external antennas and position them like so.
Step 2: Insert the antennas in each hole.
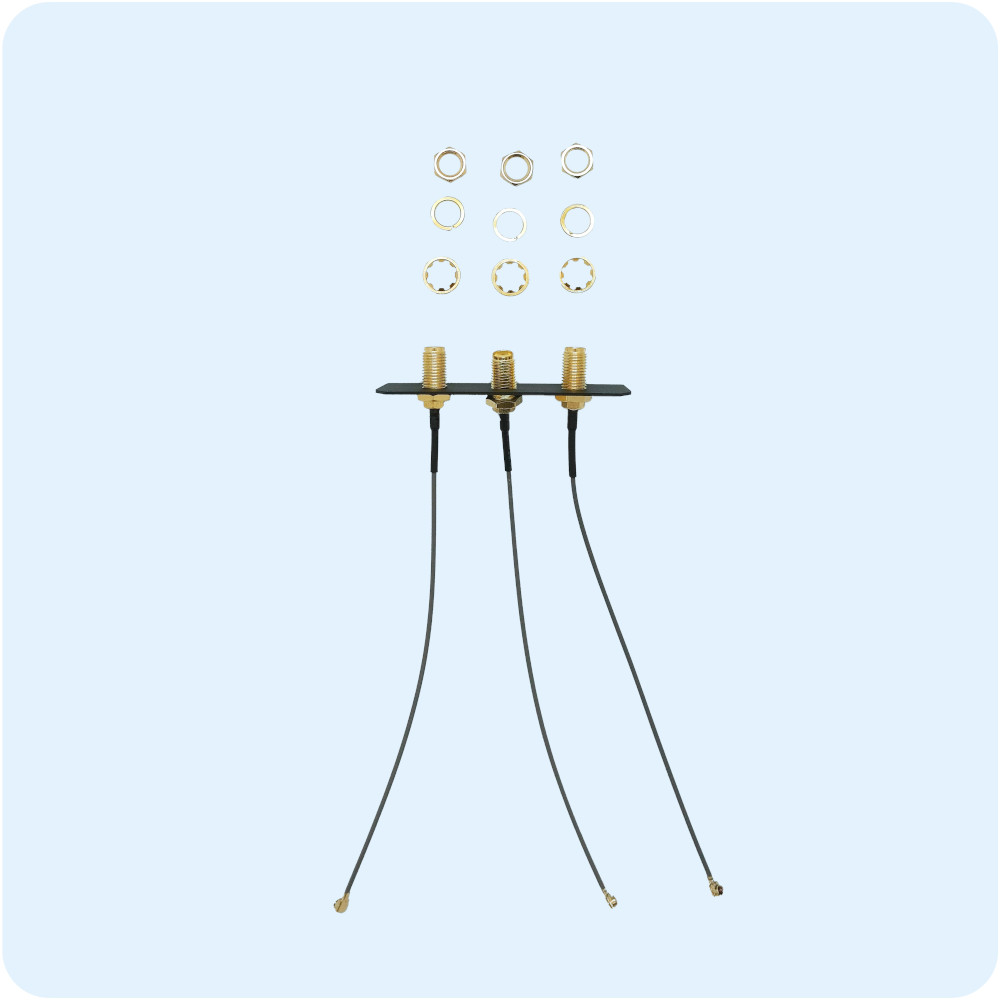
Step 3: After inerting the antennas, you will need to screw in the spacers, rings and nuts that will fix the antennas in position.
First, attach the spacers with the teeth facing inwards.
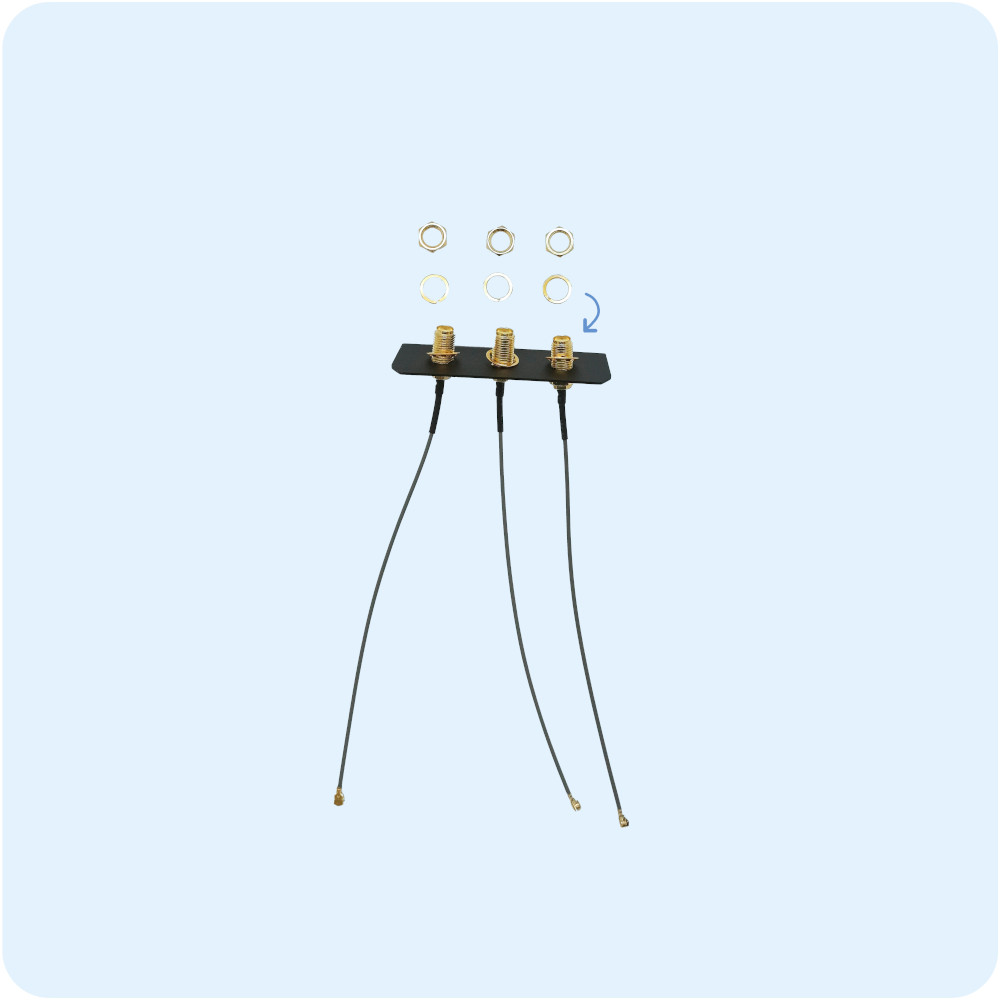
Step 4: Then, attach the lock rings and finally, screw in the spacers. Make sure that the screws are well screwed in and that no space is left between the lock ring and the nut (Please note that the order of the components is crucial in the last three steps).
Step 5: Now, take your AutoPi and flip it so you can face the bottom of the device. Next, unscrew the bottom cover of the device and get out the shield that was previously installed.

Step 6: Unscrew the bottom cover of the device and get out the shield that was previously installed.
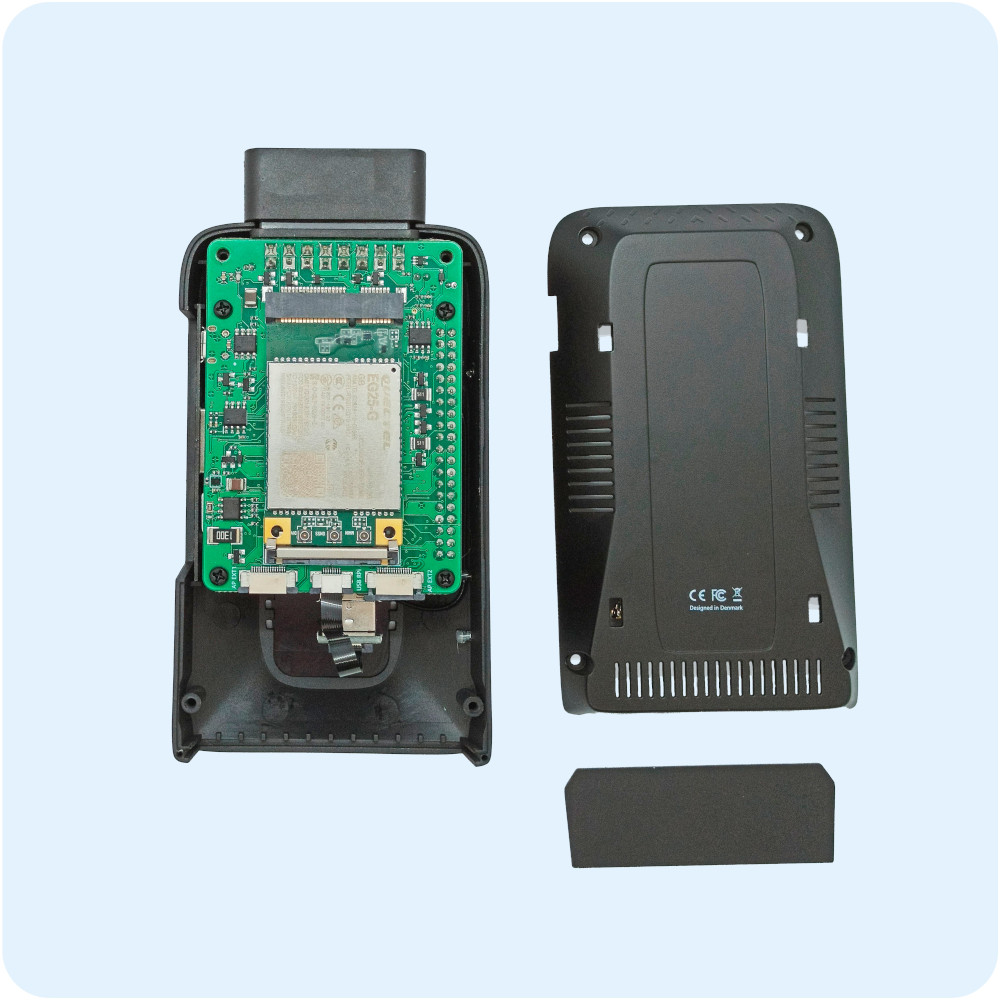
Step 7: Grab the rear shield that you have assembled with the installed antennas. Note that the cables of the antennas need to be facing the internals of the AutoPi device.
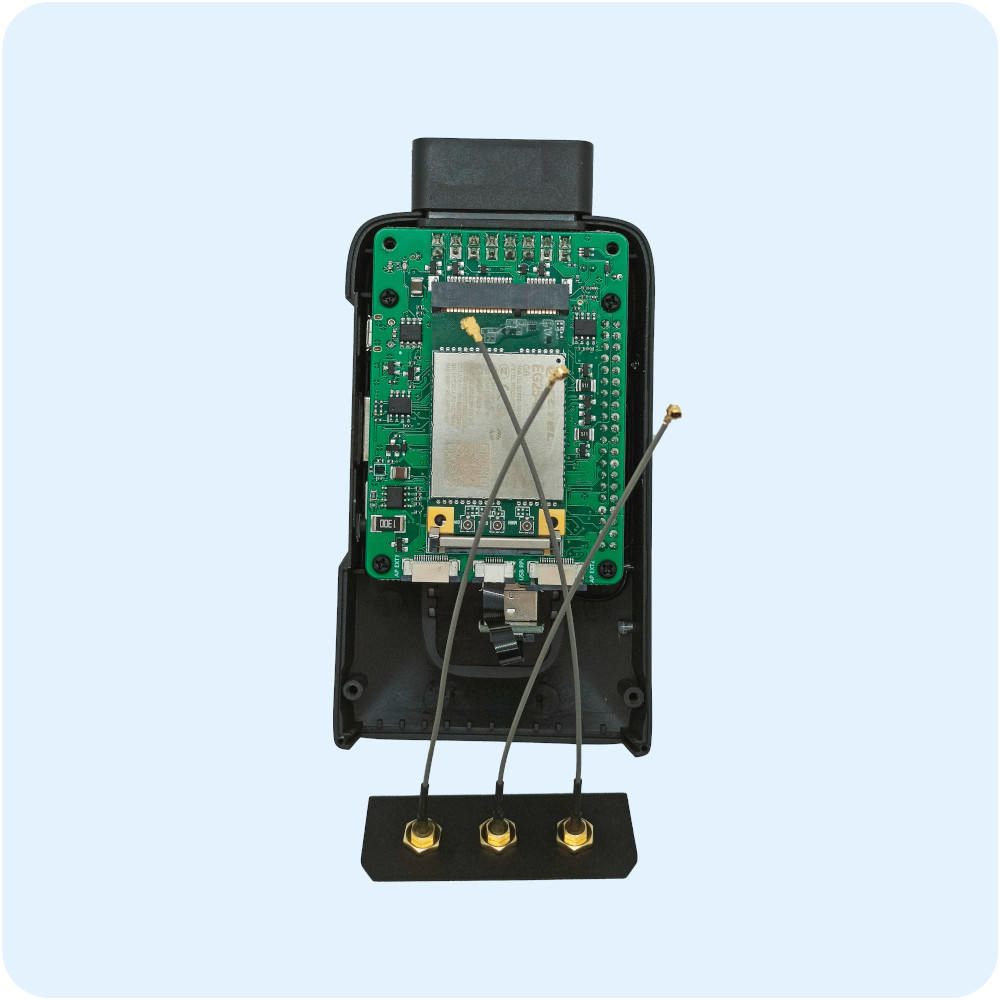
Step 8: Mount the shield inside the small cutout that runs along the rear of the device. Next, plug in each of the antennas in their respective socket. "The left antenna with the left socket, the middle antenna with the middle socket (the gps socket), and the right antenna with the right socket".
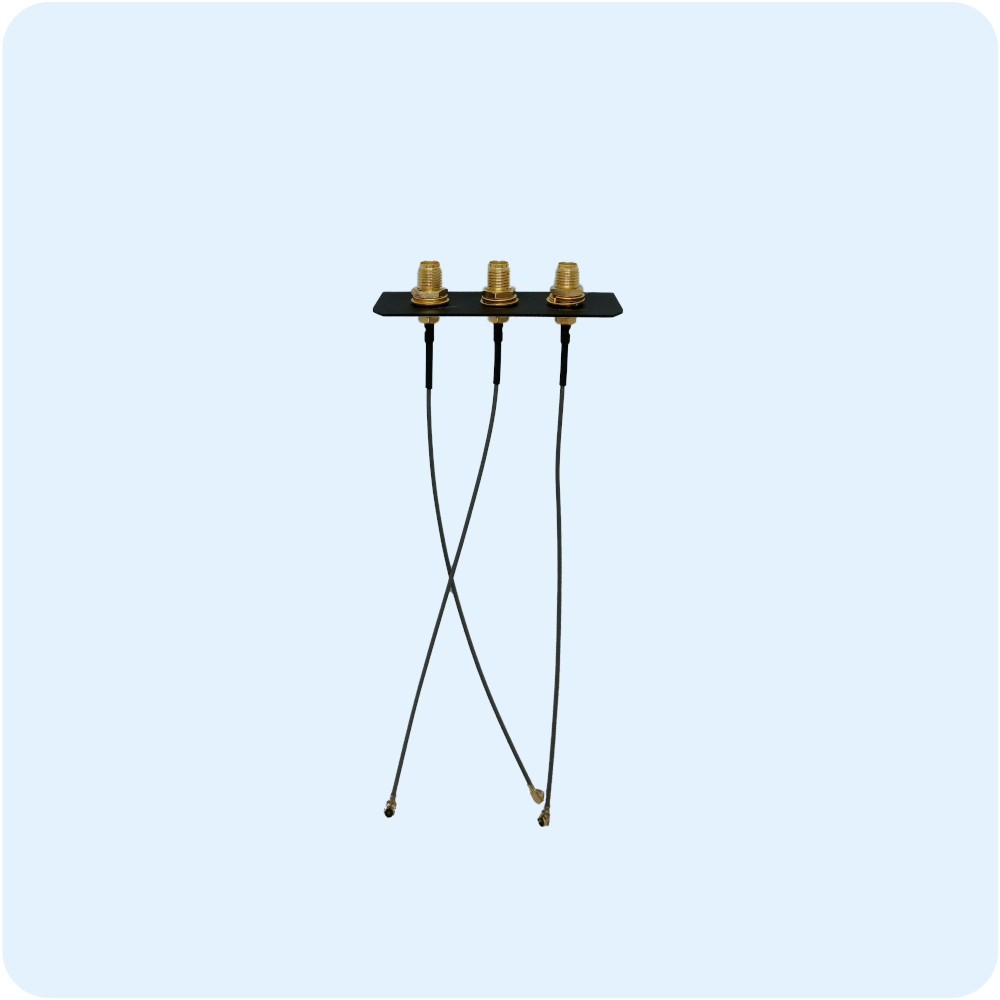
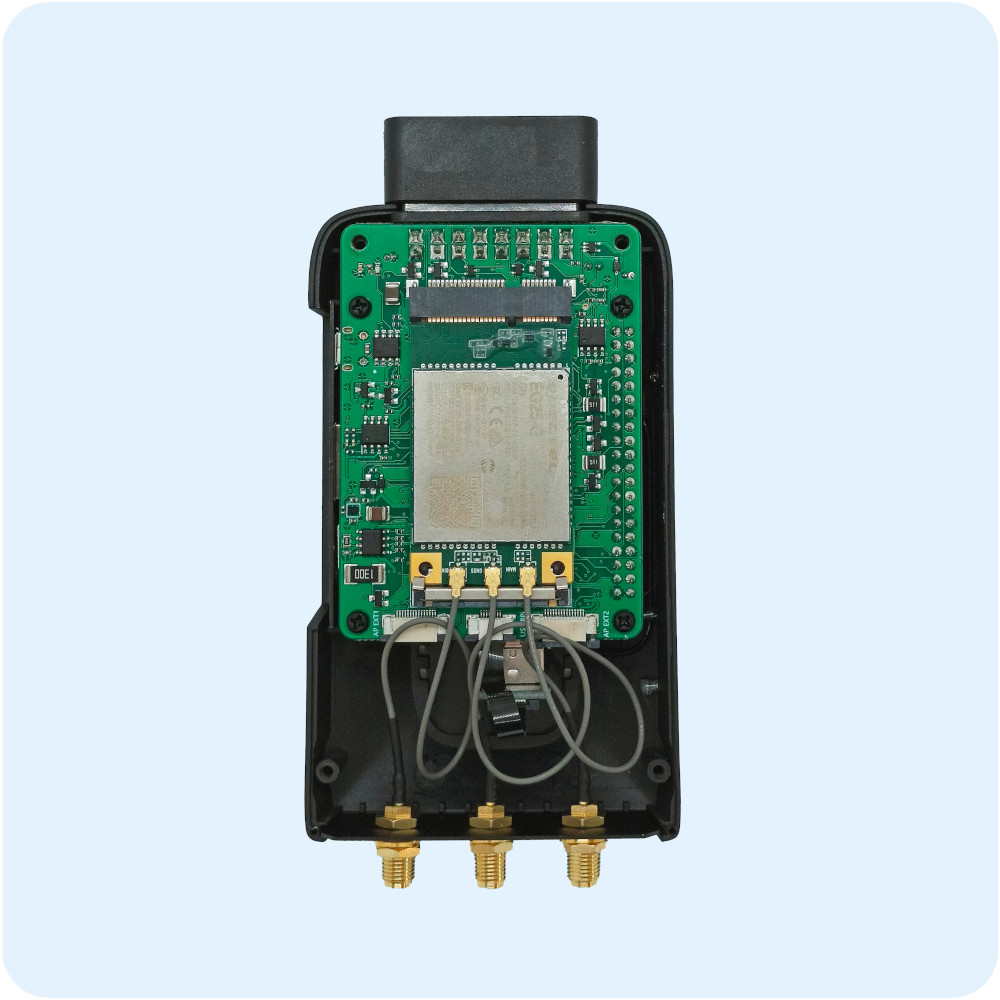
To manage the excess antenna cable, you can form a loop around the cable itself.
Note: Please make sure that the antennas are clumped together so they don't accidentally get stuck in between the casings or that they are accidentally screwed in when you put back the screws in the casing. Once installed, also make sure that you don't screw in the antennas anymore because they will twist and be damanged in the interior of the device.
Step 9: Screw back in the four metal screws that you took out in the beginning. You don’t have to worry about where to put them as they all have the same dimensions.
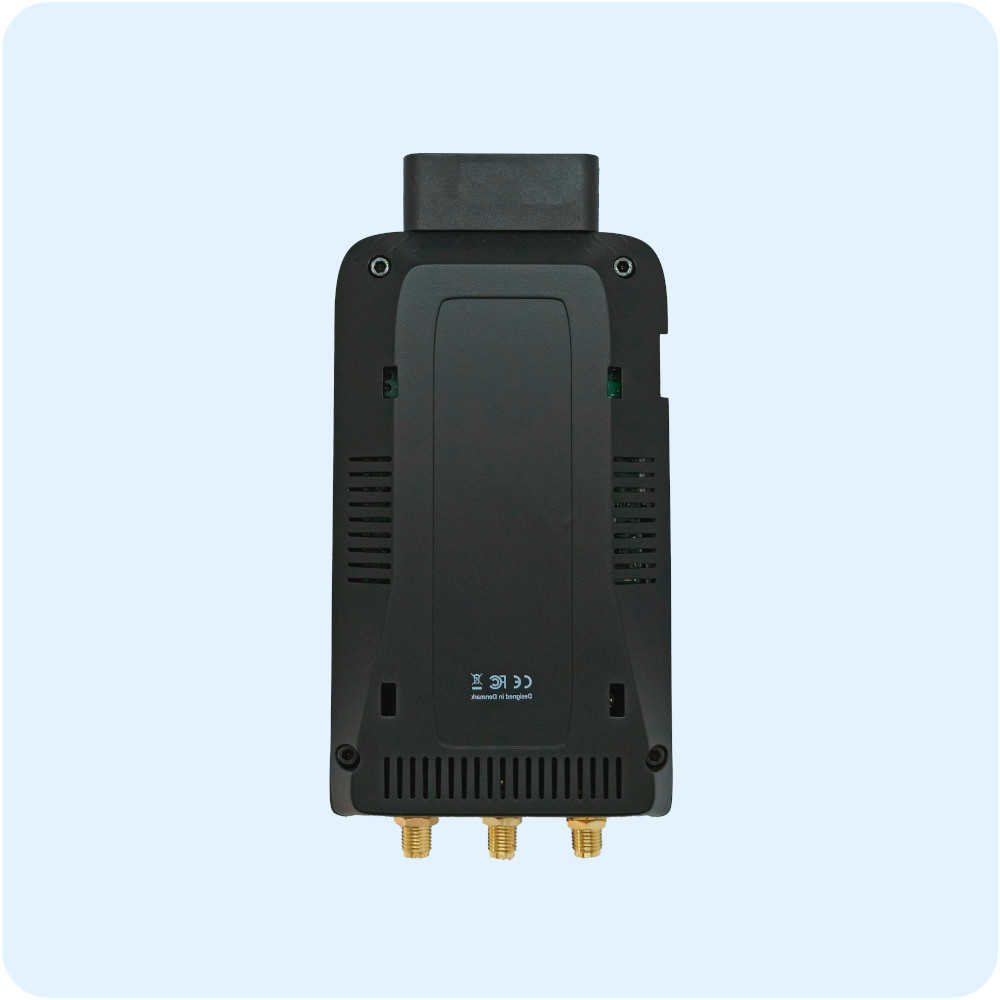
Step 10: You can now screw in the 4G antennas and the External GPS antenna like in the following image.
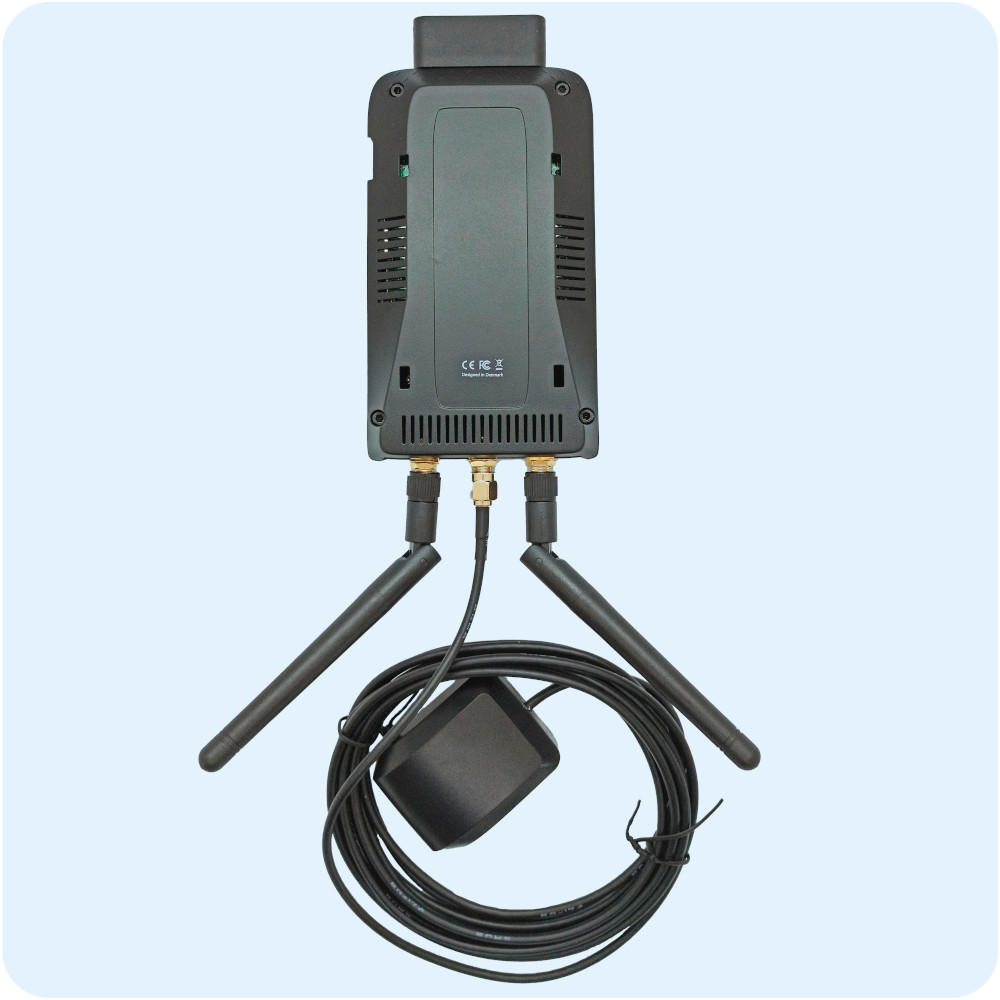
Disscussion
You have now successfully installed an external antenna kit onto your Gen3.5 CAN-FD AutoPi device.
In case you have any questions, don't hesitate to contact us at support@autopi.io.
 Buy AutoPi device
 Compare all AutoPi devices
 Contact our sales team