Mounting Options

Do you need more flexibility when installing your AutoPi CAN-FD Pro with the IP67 casing? No worries, there are several practical options to make installation easier and more reliable.
Mounting of the IP67 Casing in the Vehicle
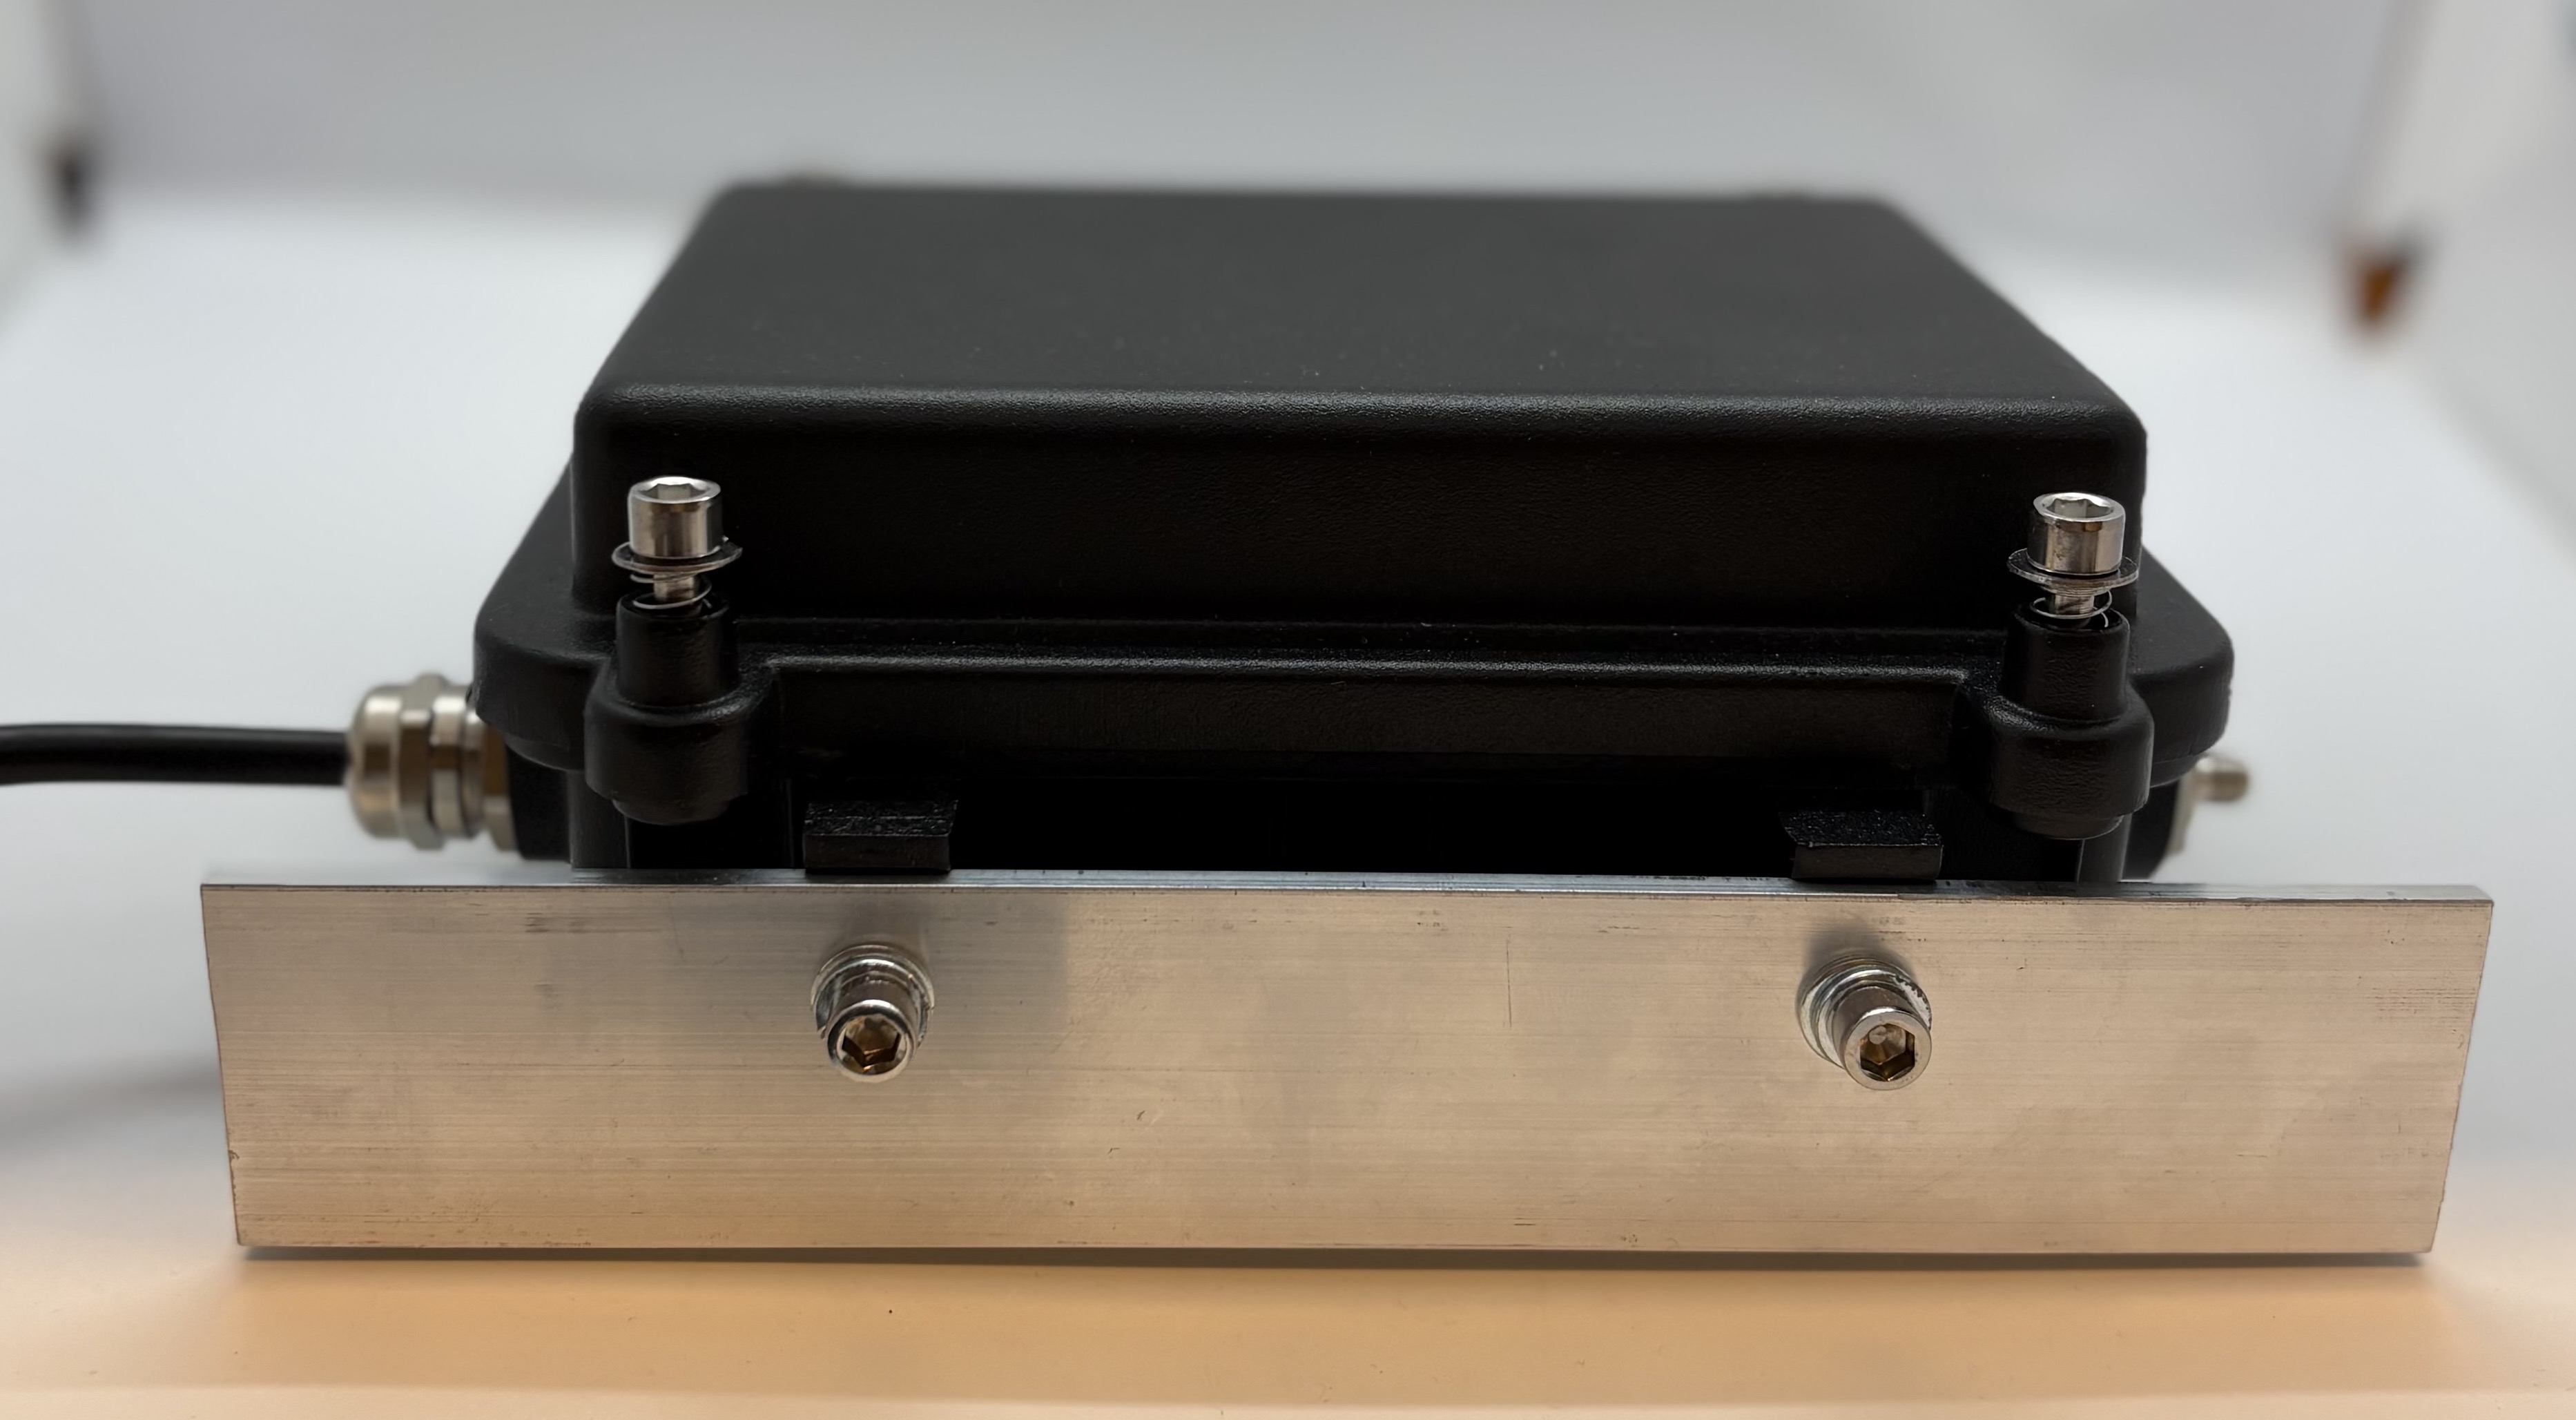
In the images below, you can see examples of recommended mounting options for the IP67 casing. We suggest using metal mounting brackets or shaped metal plates that allow the casing to be securely screwed into the vehicle.
When selecting mounting hardware, keep the following in mind:
- Use durable, high-quality materials.
- Ensure the mounting solution can support the combined weight of the casing and the device.
- Mount the casing securely to prevent movement while driving.
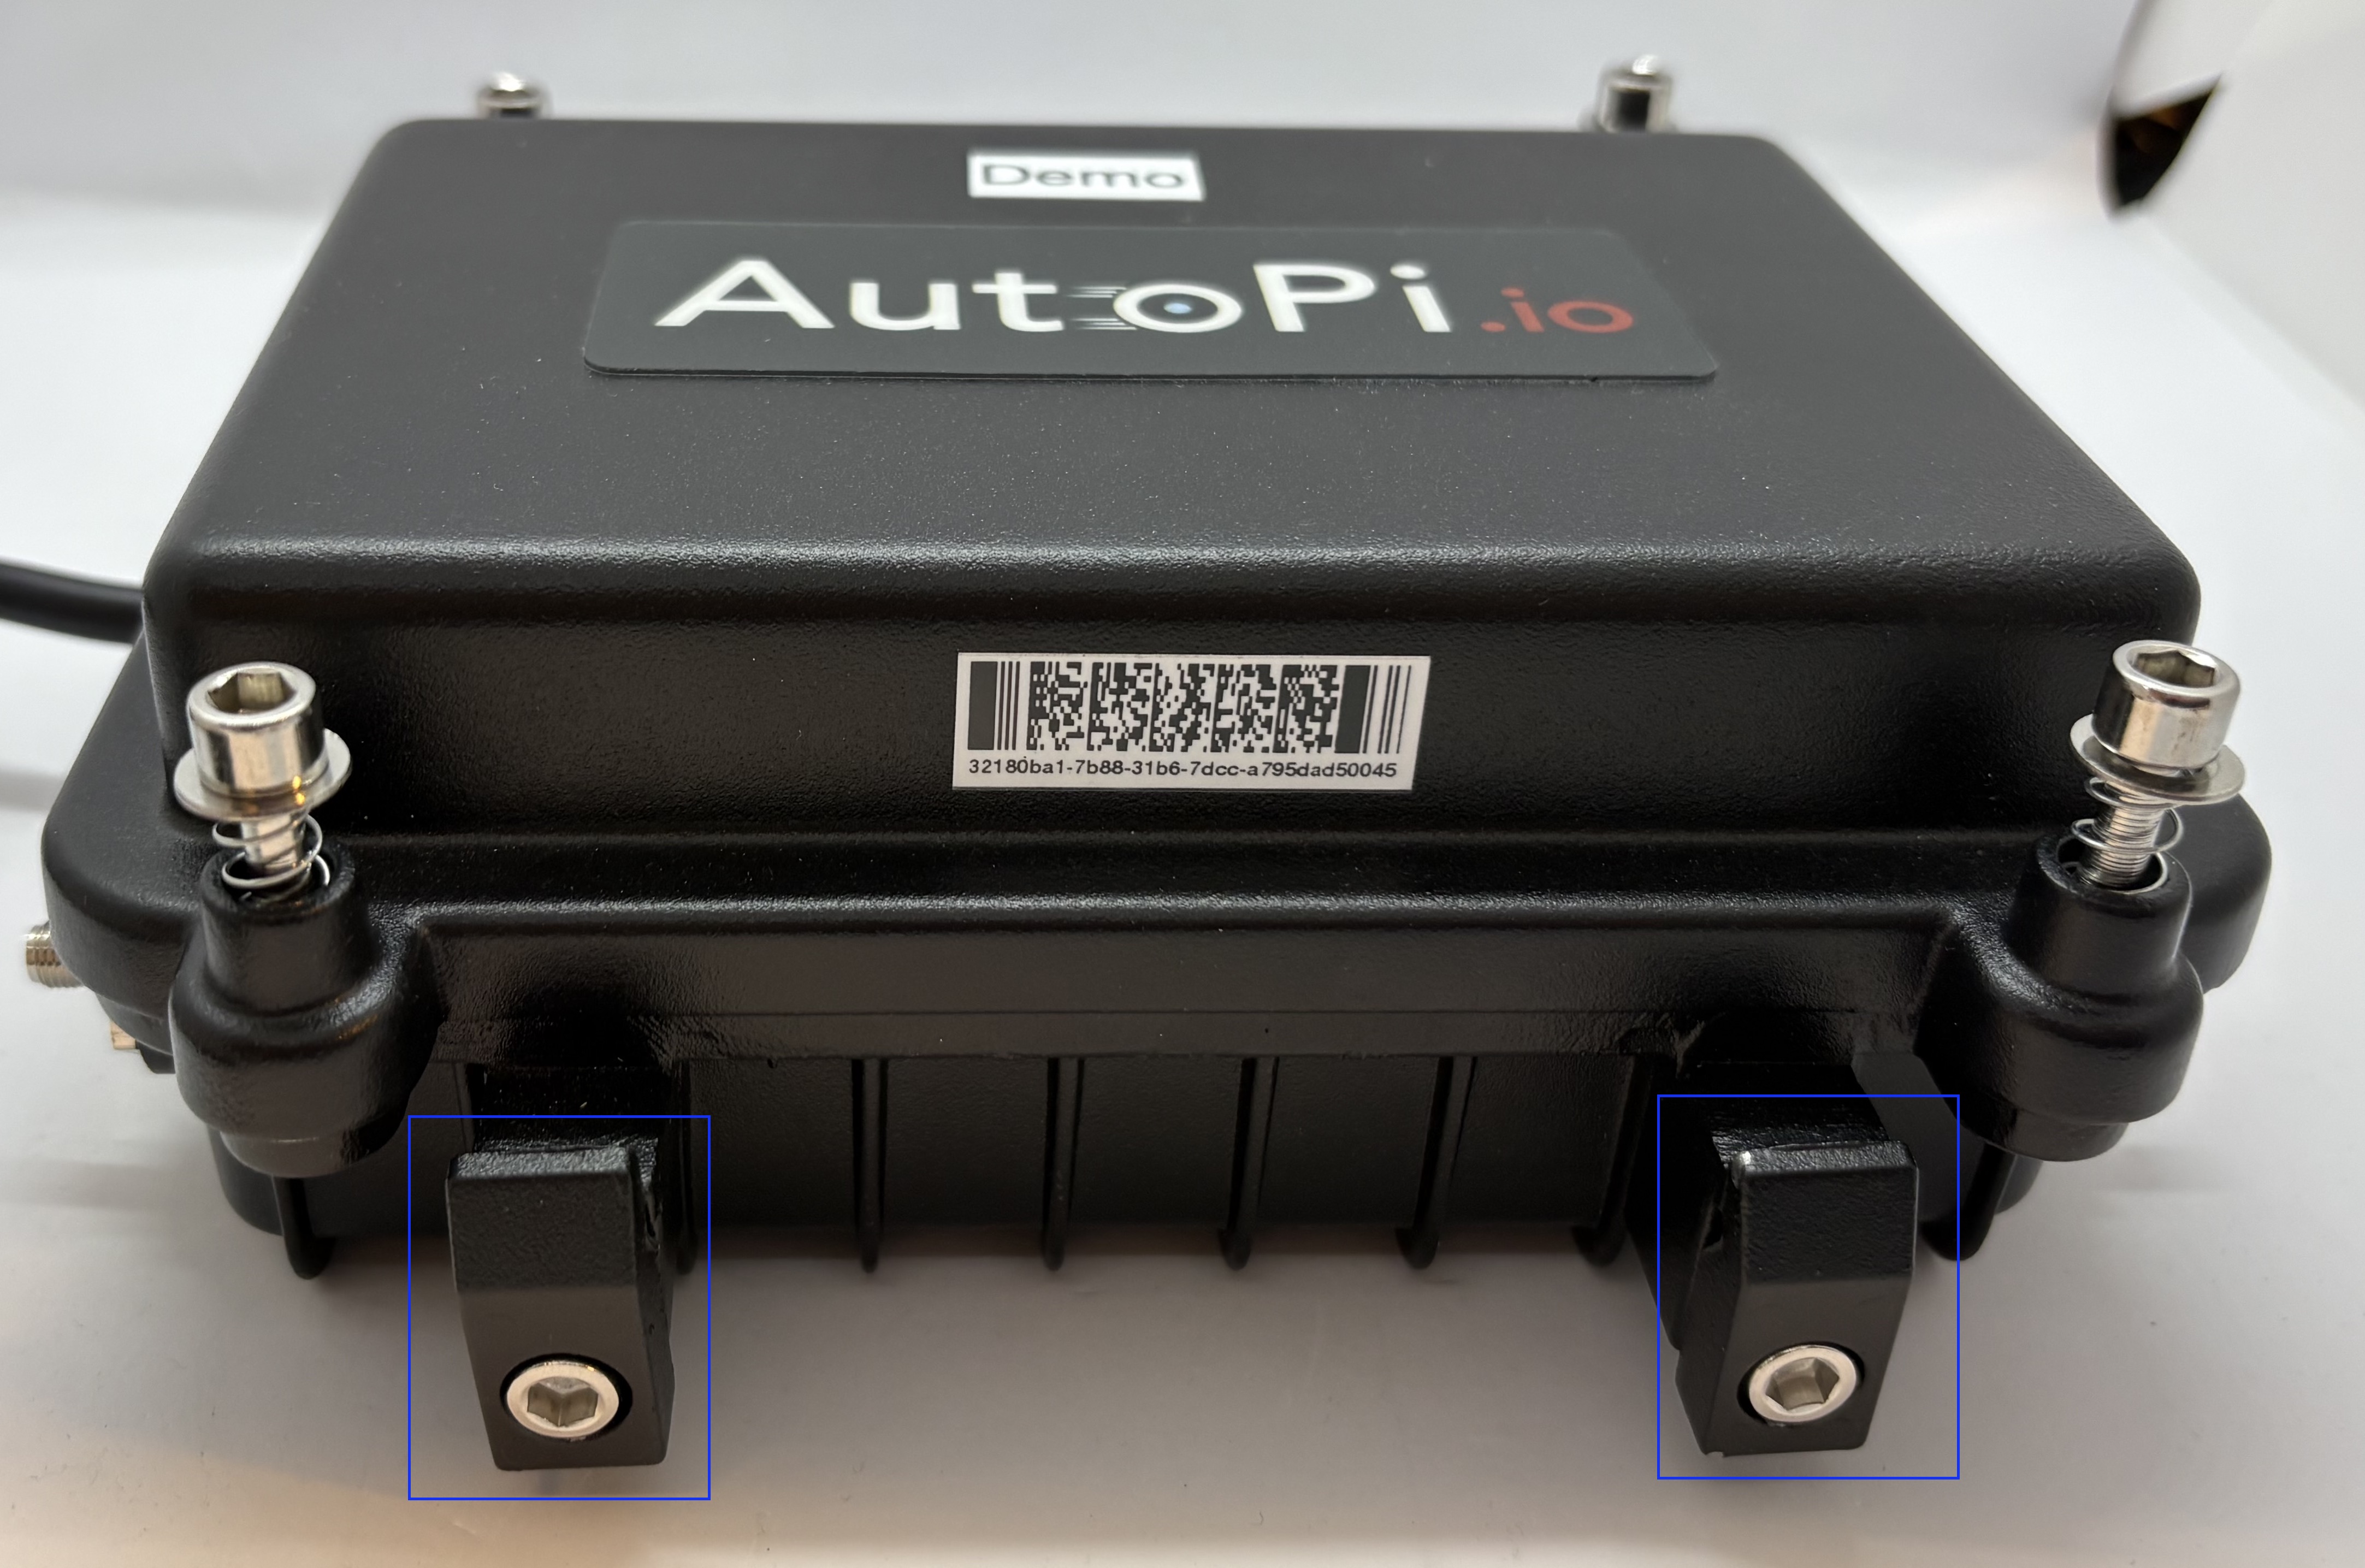
- The casing includes dedicated mounting holes on both sides, make sure screws are properly tightened on all mounting points
(the image below highlights the locations of the mounting holes that can be used with brackets):
Examples of the Mounting Brackets
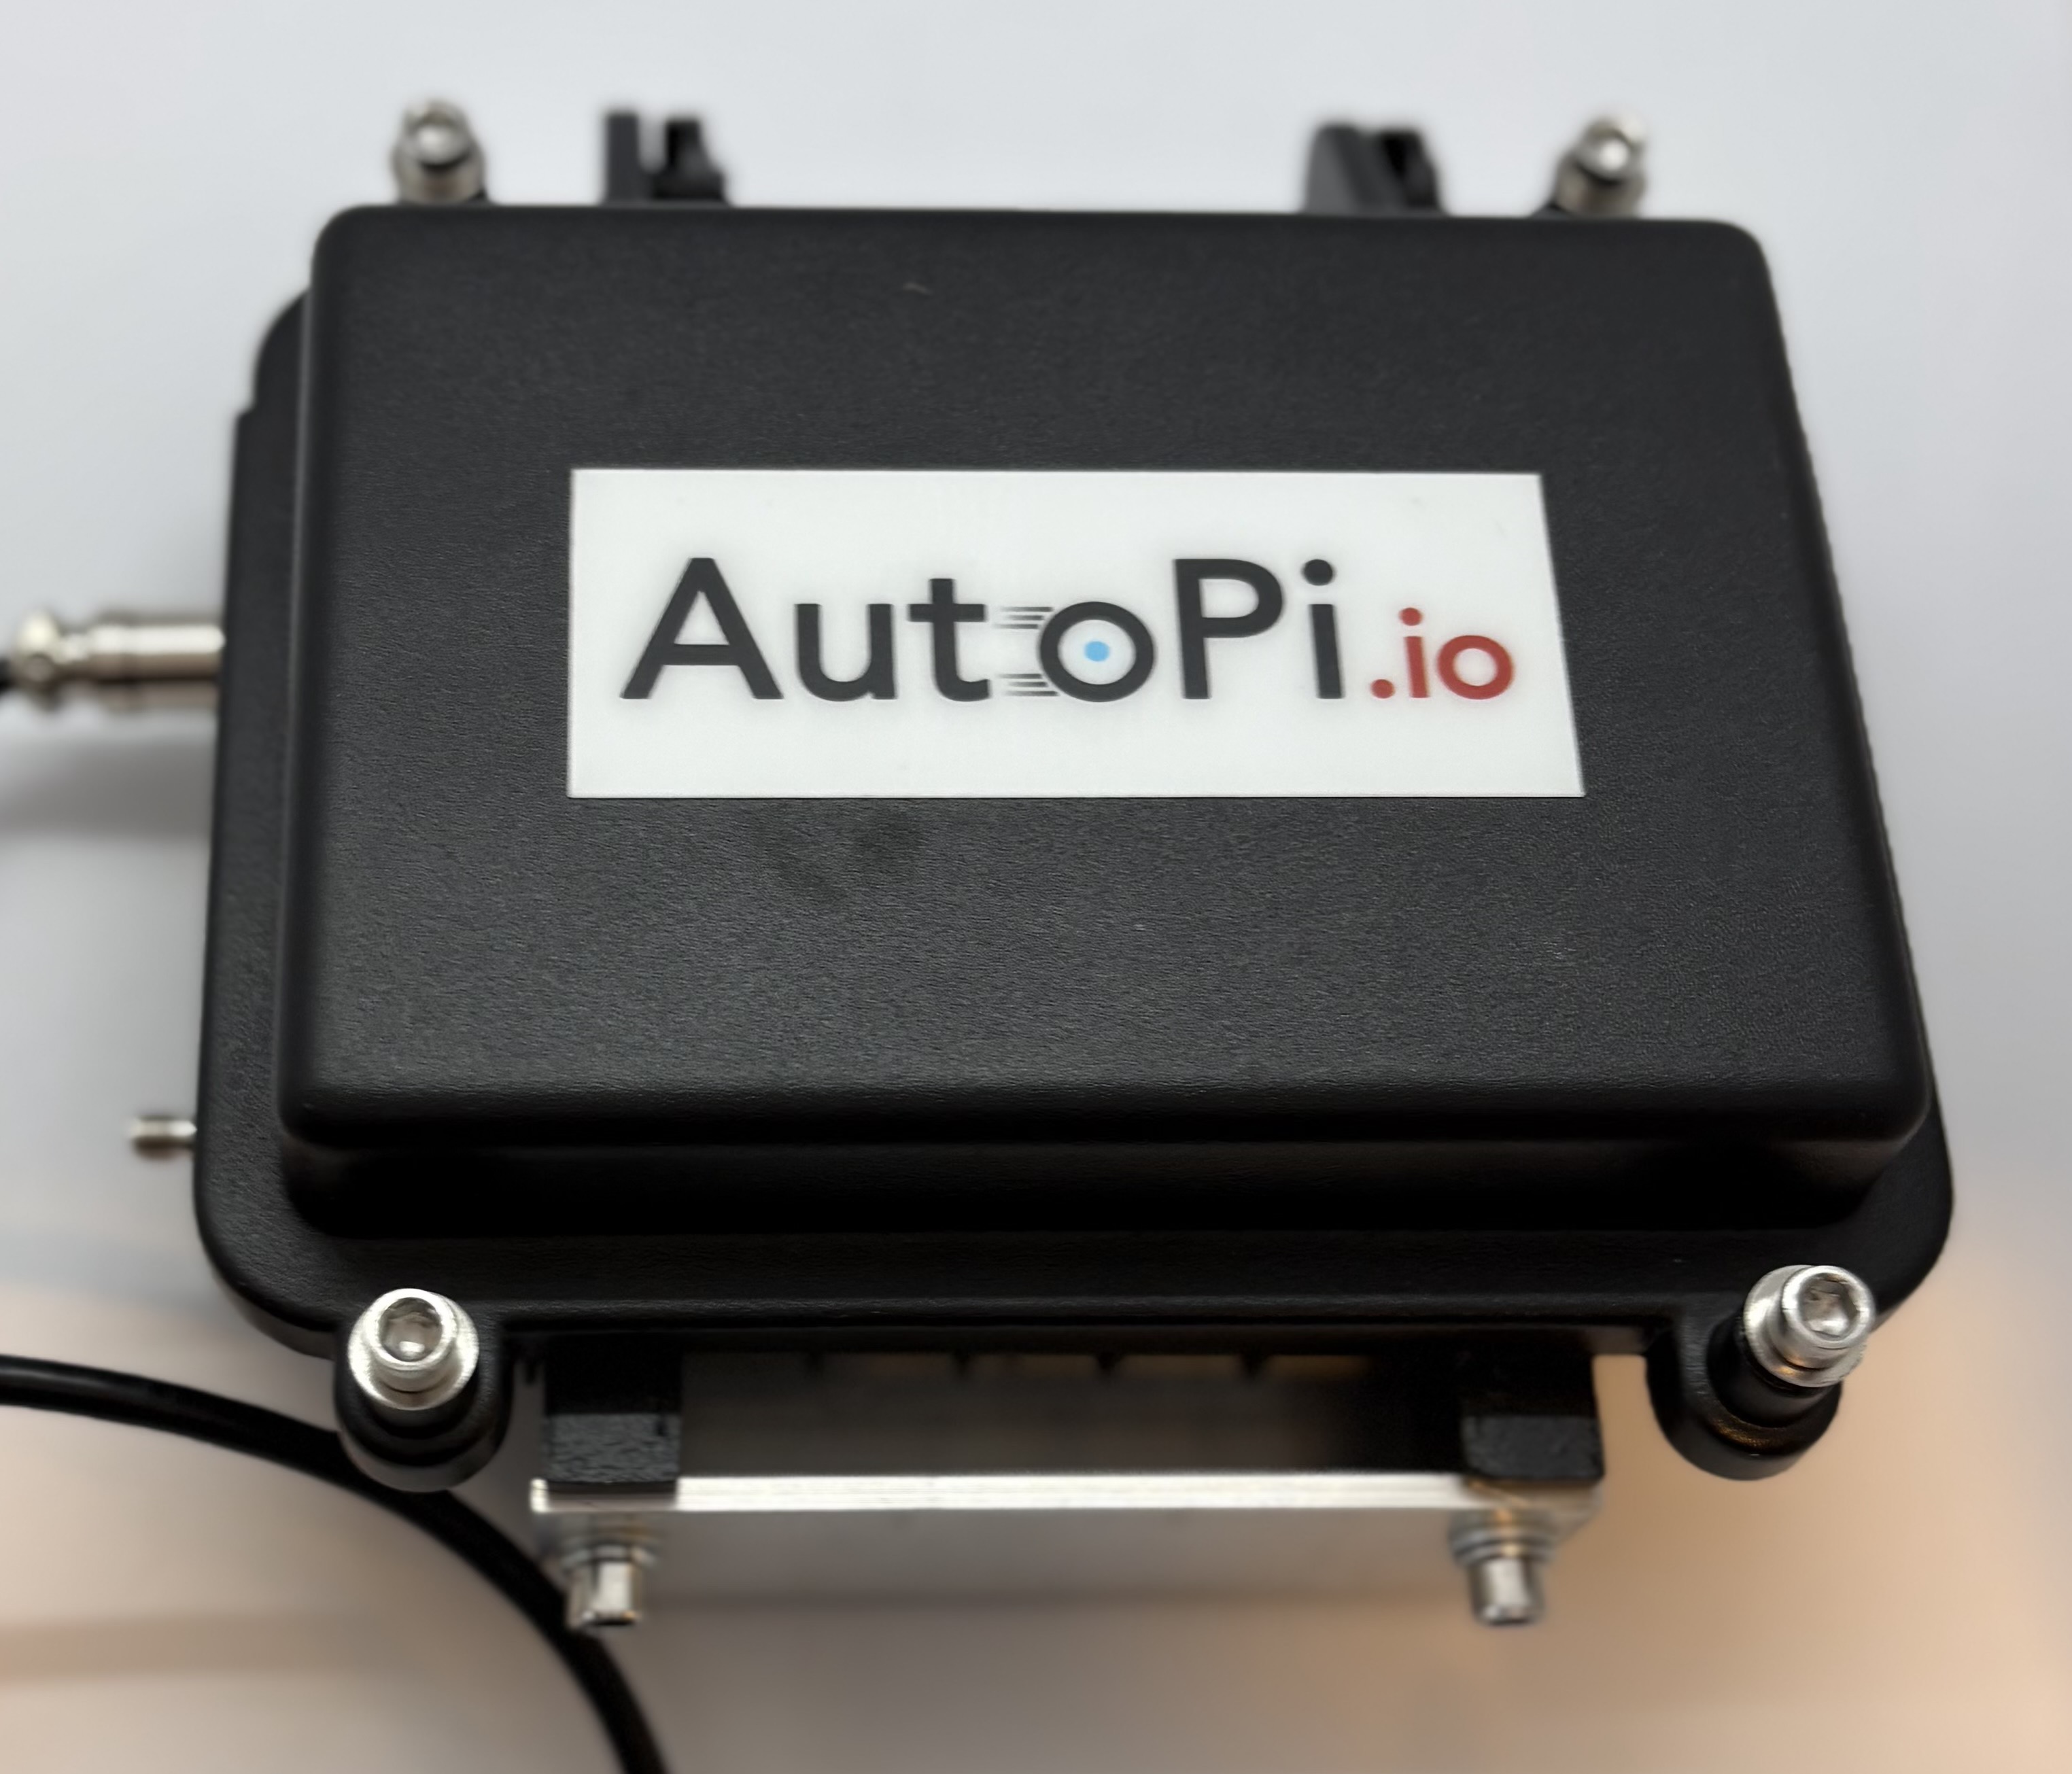
Below, you can find examples showing how the device can be mounted using an L-shaped metal bracket. Both options provide a stable and secure mounting solution, depending on the available space in the vehicle. Two options:
-
A shorter bracket:
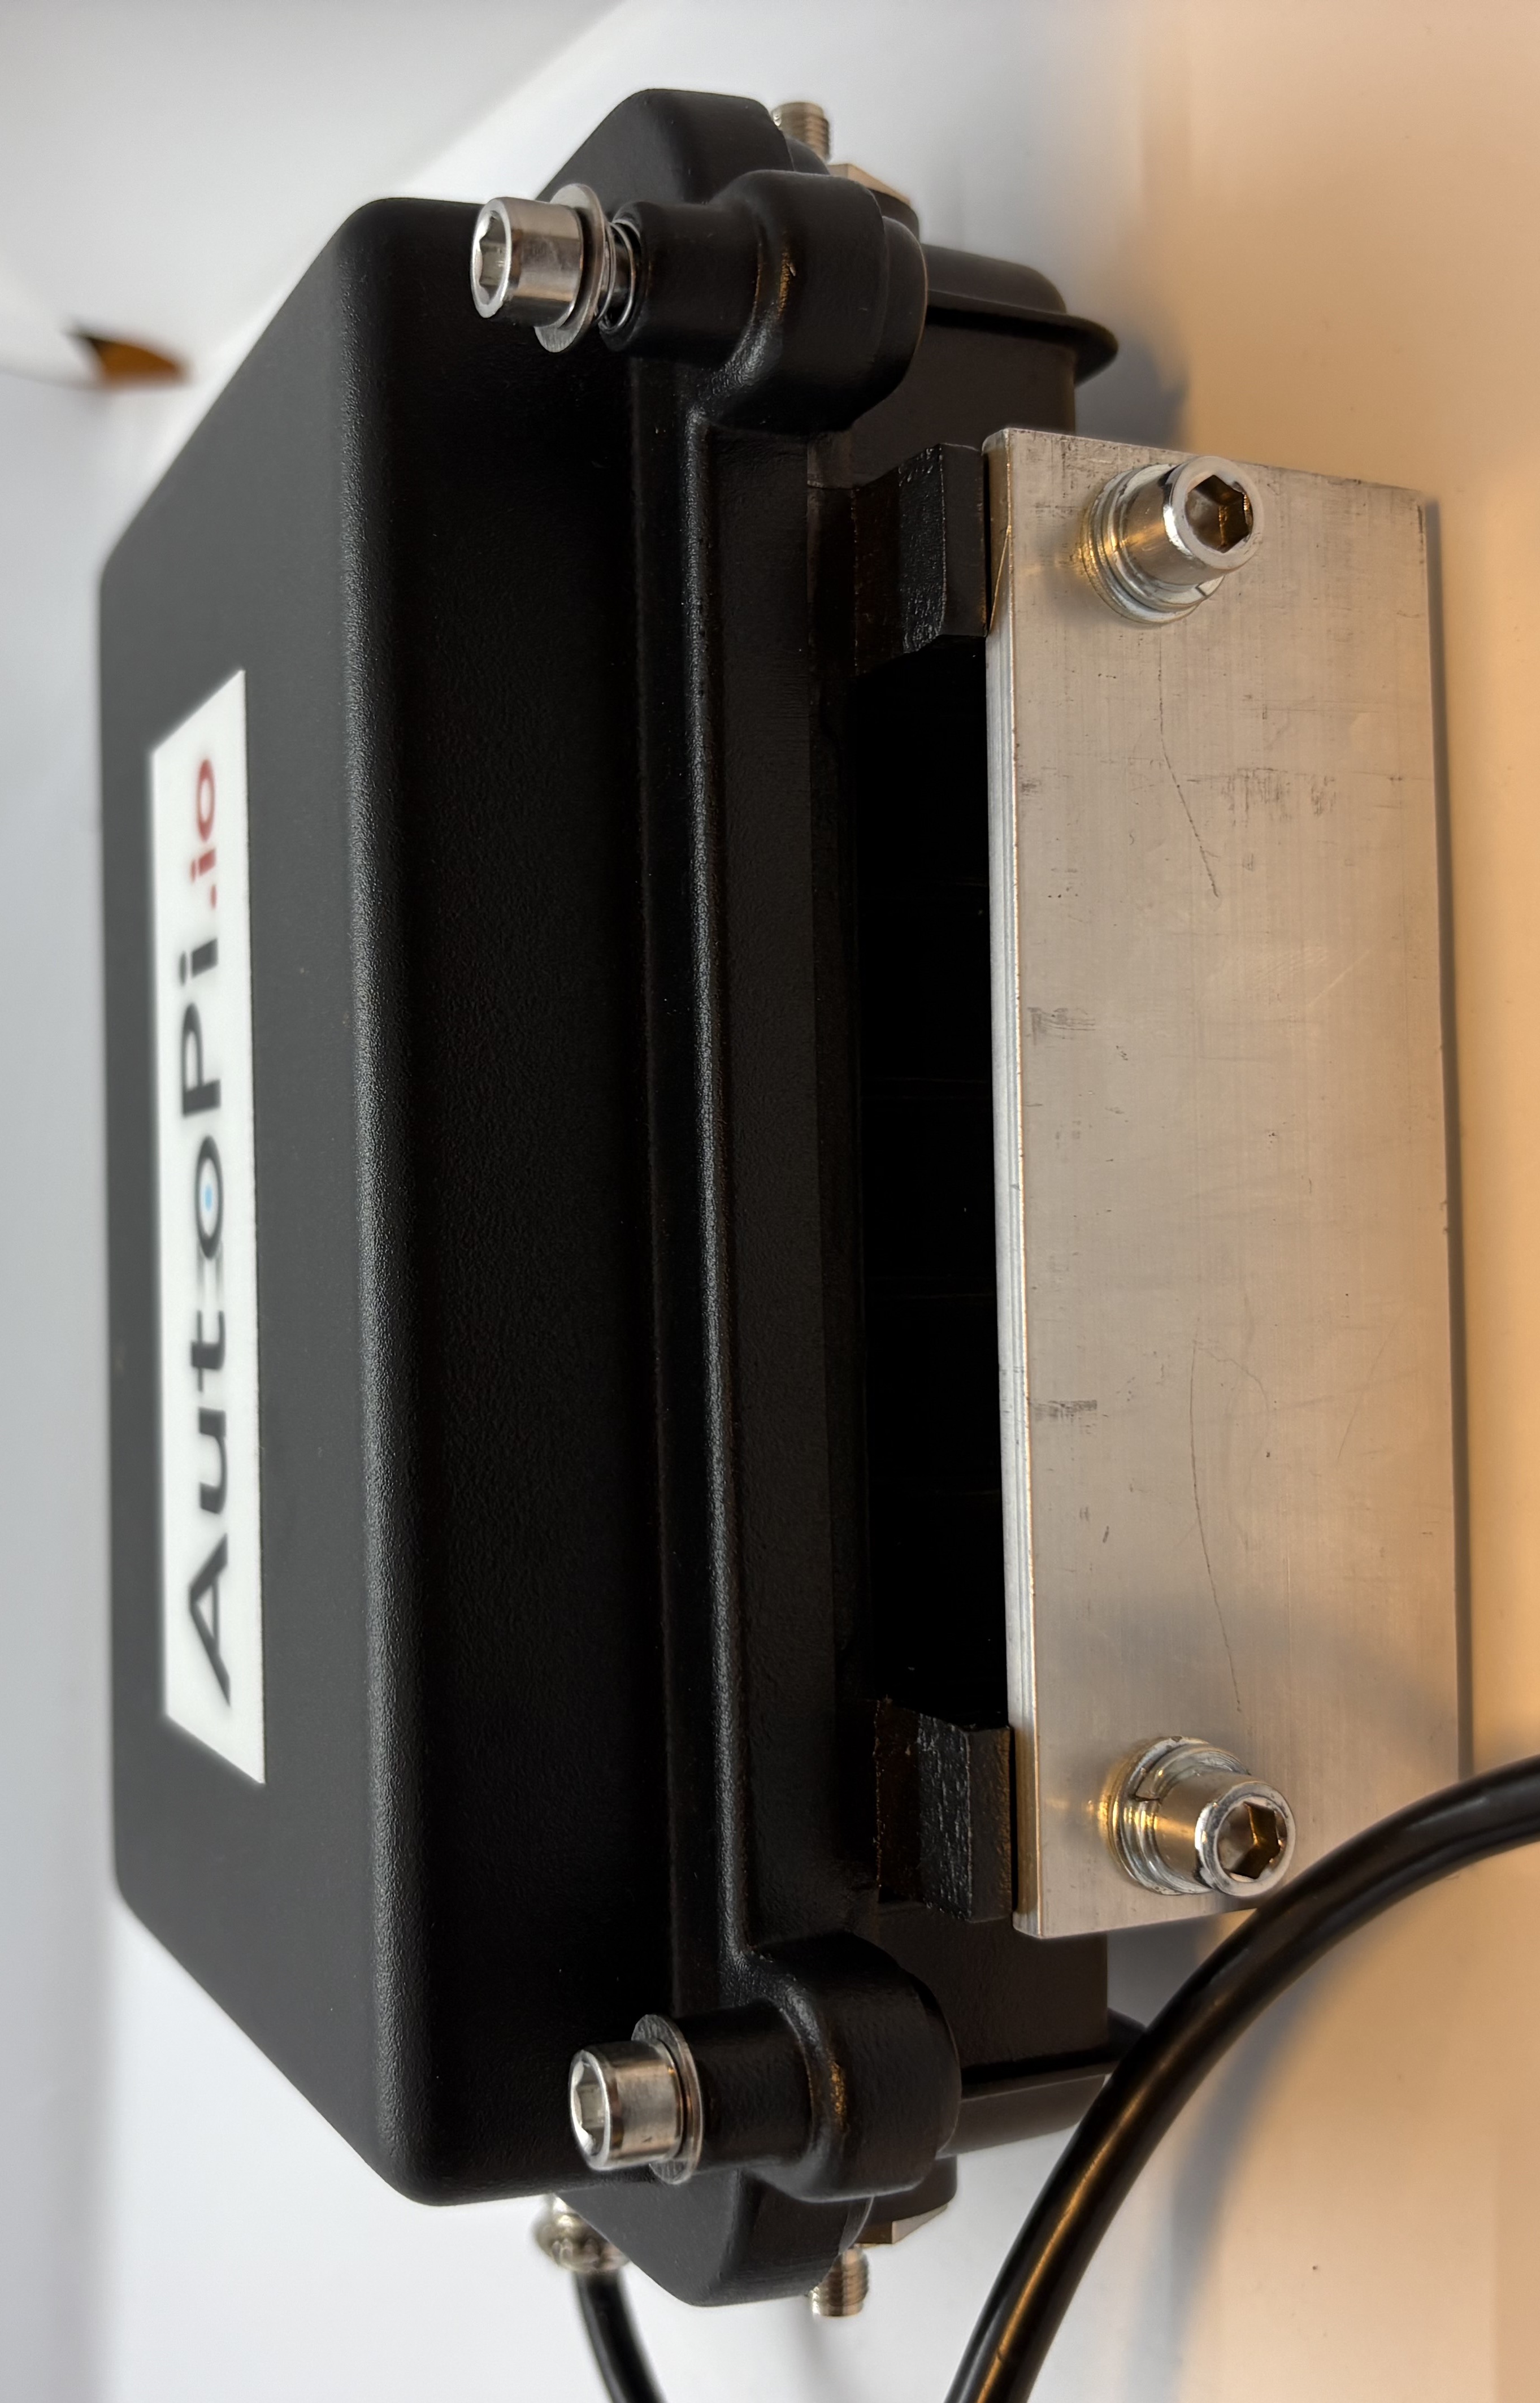
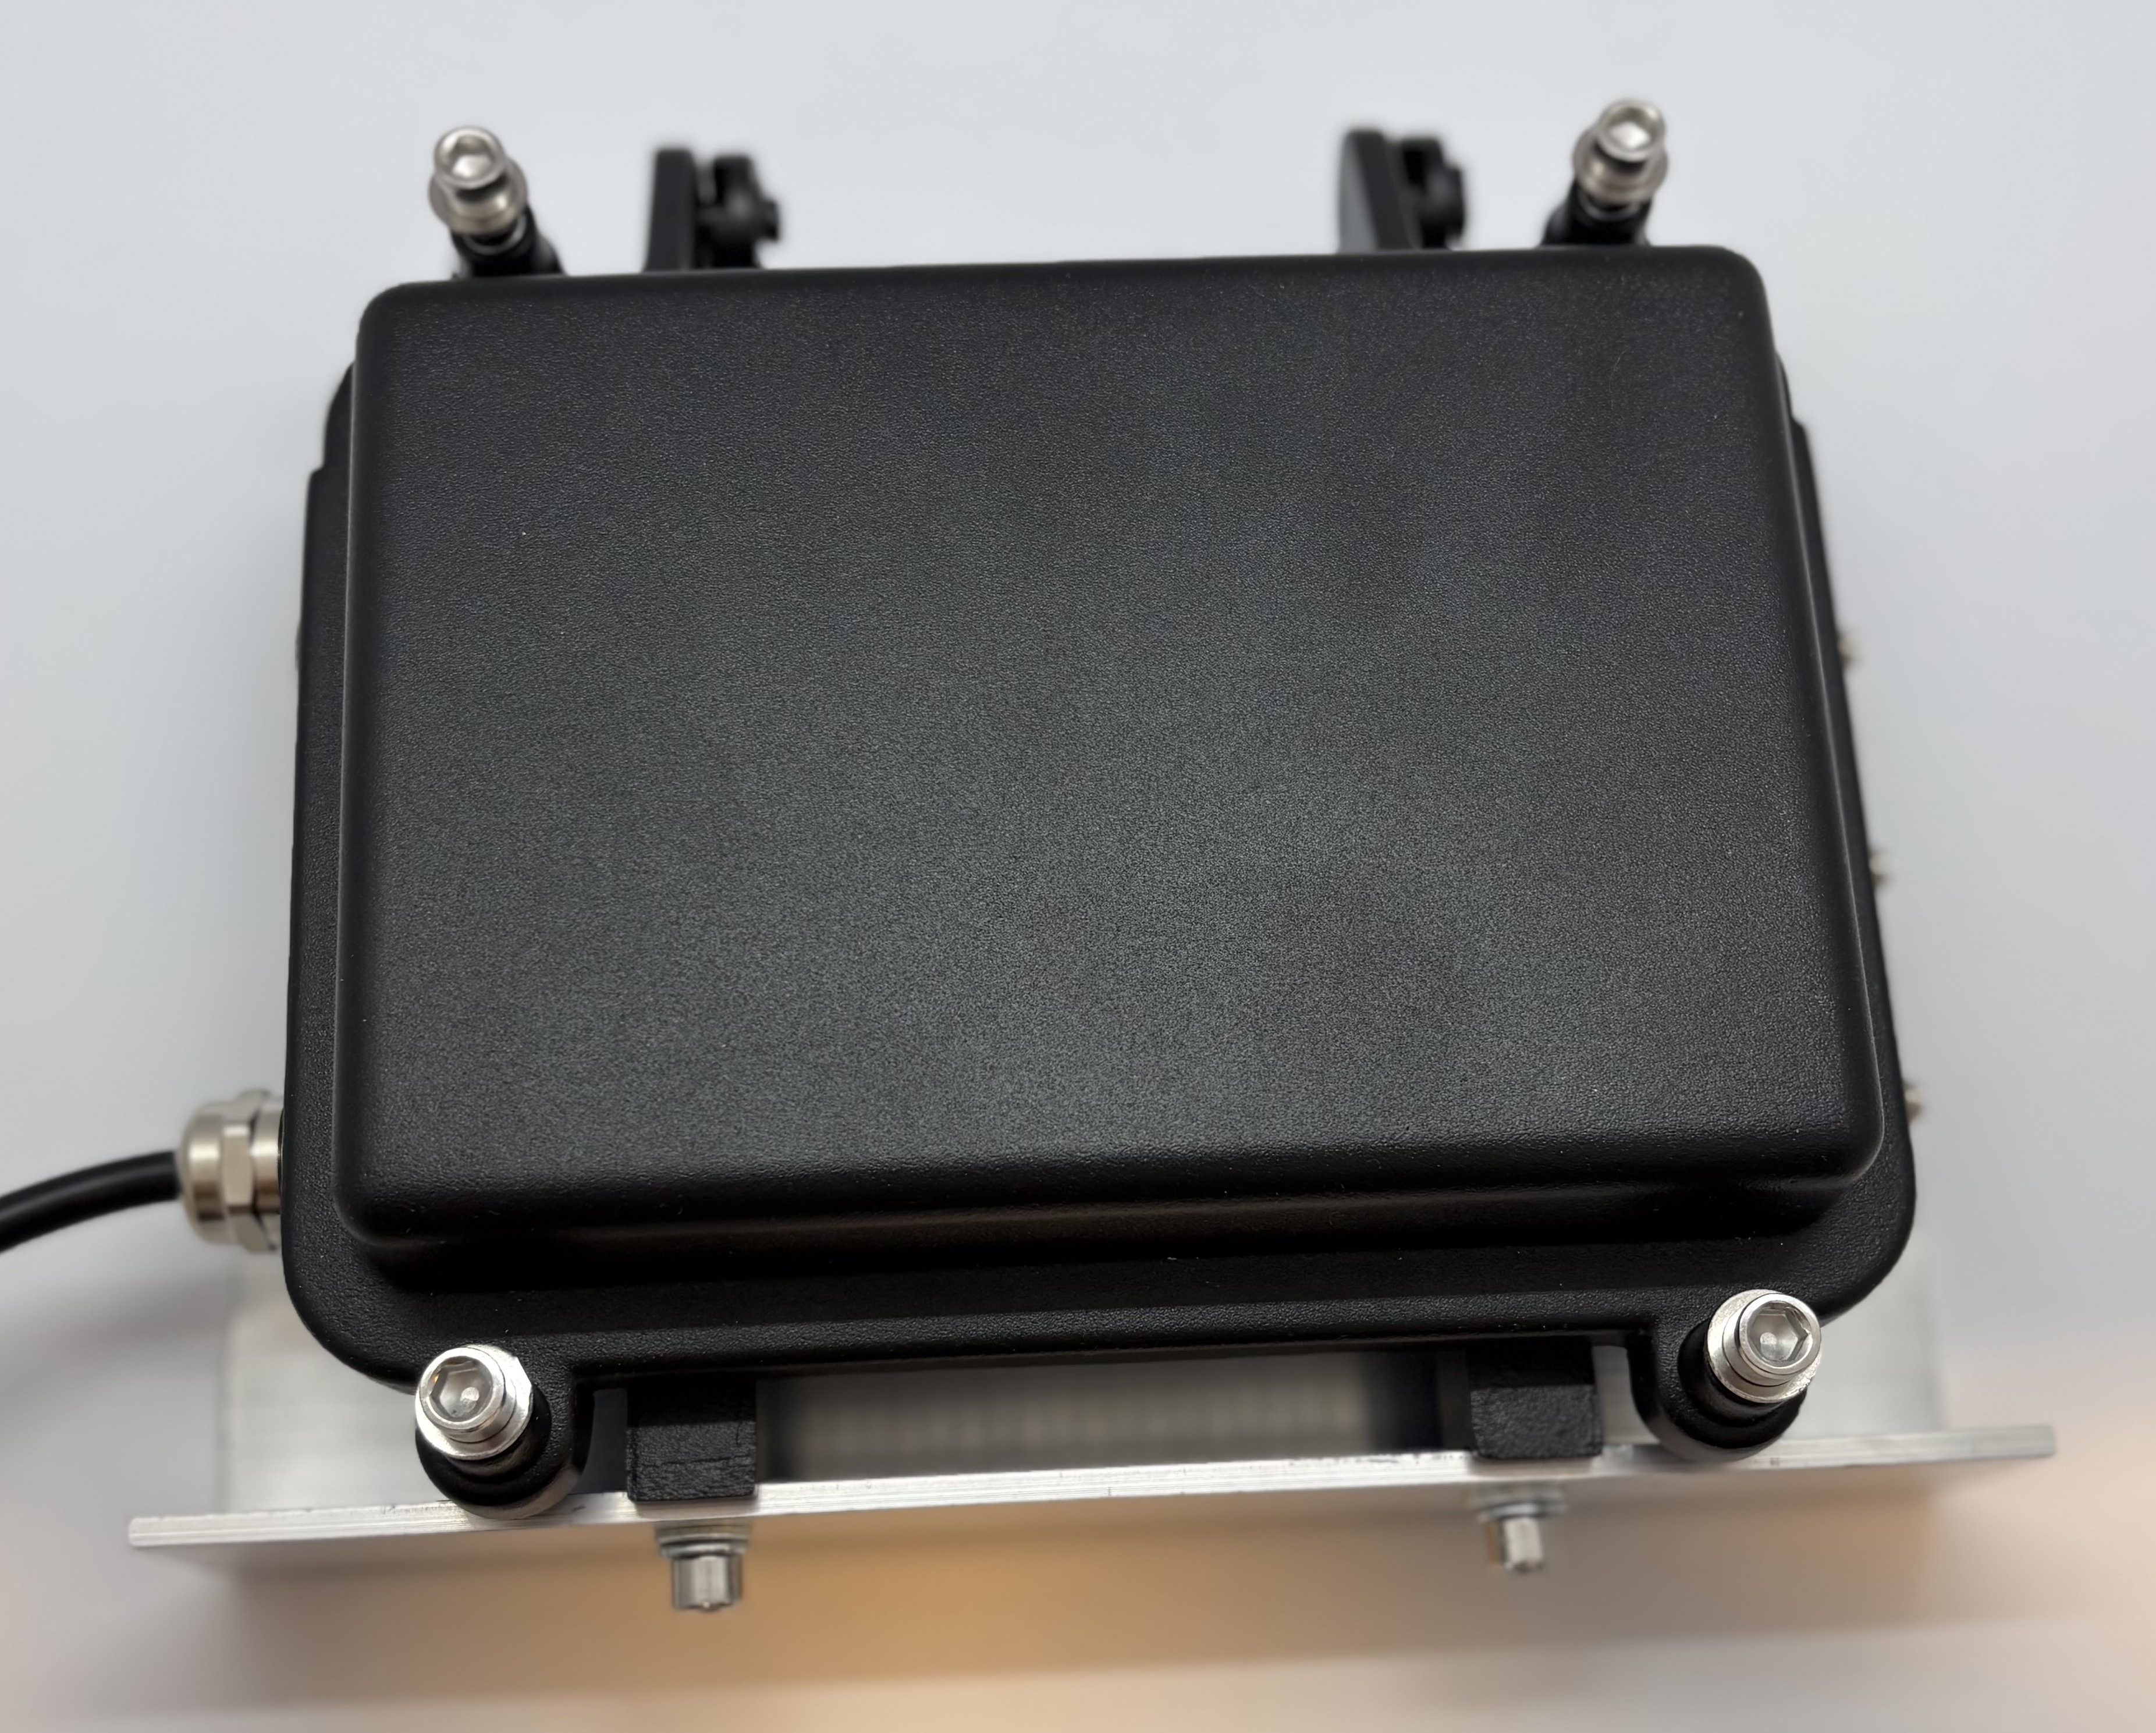
-
A longer bracket:
At the moment, we do not sell mounting accessories for Pro devices. If you have any questions or need guidance, feel free to contact us at sales@autopi.io.
Accessories for AutoPi CAN-FD Pro with IP67 Casing
If you need additional cable length for your AutoPi CAN-FD Pro, you can use an OBD-II Extension Cable. This is especially useful when the device needs to be mounted away from the OBD-II port. You can find the extension cable on our webshop: OBD-II Extension Cable
Wiring of the IP67 Casing
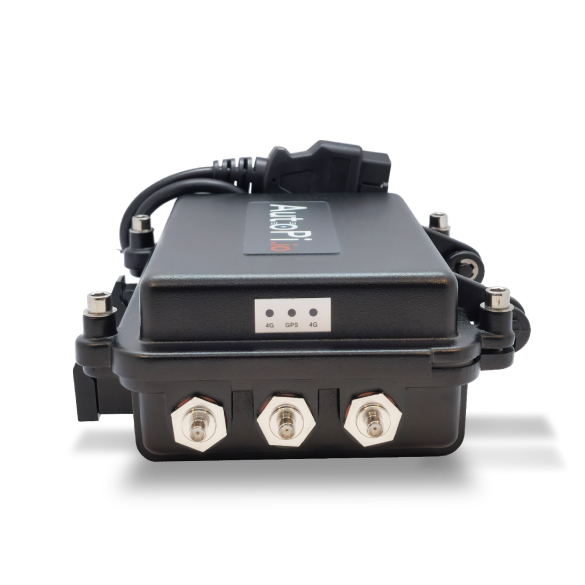
When connecting antennas to the IP67 casing, make sure the device is oriented correctly. With the AutoPi logo facing upward, the antenna ports are arranged as follows:
-
Right side (top to bottom):
- 4G
- GPS
- 4G
-
Left side (top to bottom):
- OBD-II
- Empty
- Wi-Fi
Correct antenna placement ensures optimal connectivity and performance.
 Buy AutoPi device
 Compare all AutoPi devices
 Contact our sales team